33 Kitchen Counter Styling Ideas for Instant Charm
Your kitchen counter can look stylish without being crowded, expensive or difficult to maintain. Kitchen Counter Styling Ideas can help turn an ordinary surface into a warm, organized part of your home.
This article shares 33 practical ideas you can easily adapt to your own kitchen, whether you love farmhouse warmth, modern simplicity, natural textures or cozy details. From layered cutting boards and fresh herbs to coffee corners, decorative trays, ceramic pieces and useful storage, each idea offers something you can actually try.
I’ve noticed that the most inviting kitchens often use just a few carefully chosen pieces rather than filling every open space. The goal is to create a counter that looks beautiful while still giving you room to cook, prepare meals and enjoy your daily routine. Keep reading to find simple inspiration you can save and come back to whenever your kitchen needs a fresh touch.
Layered Cutting Boards
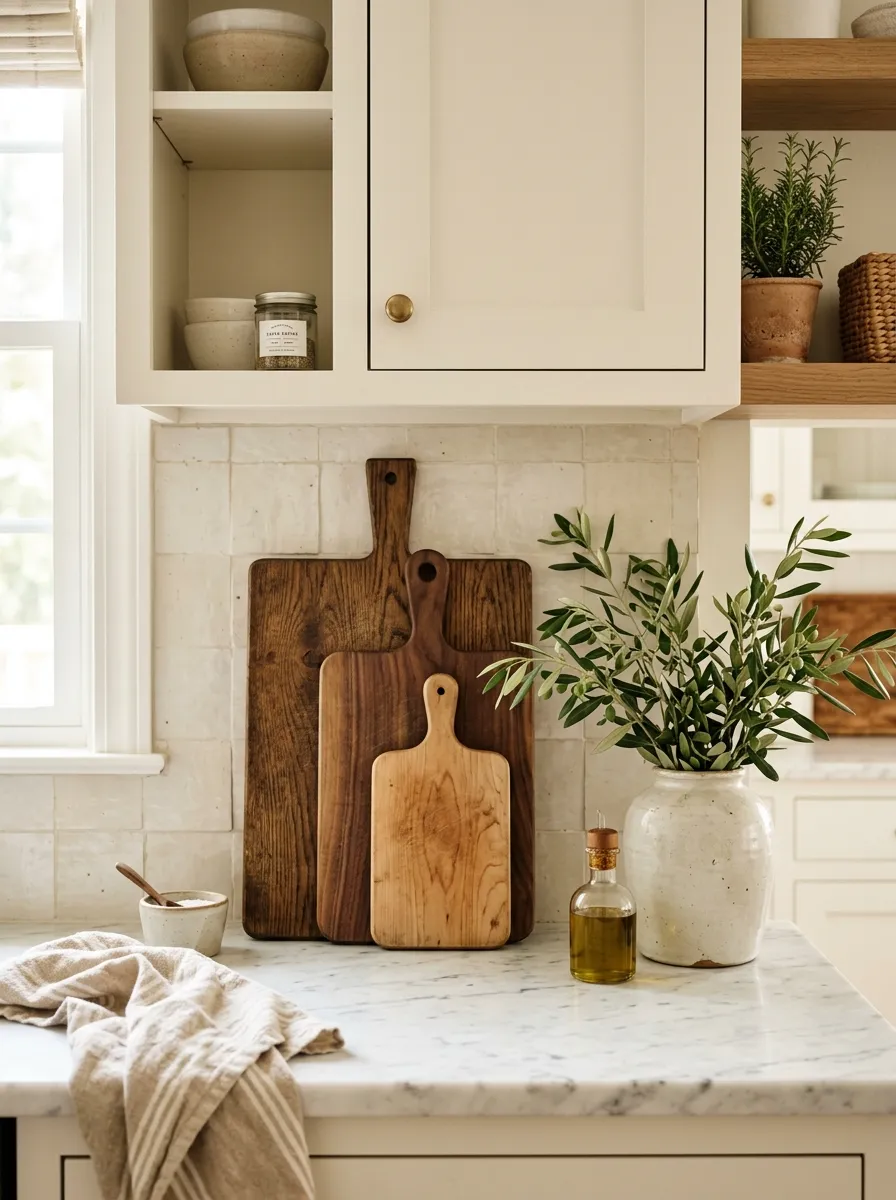
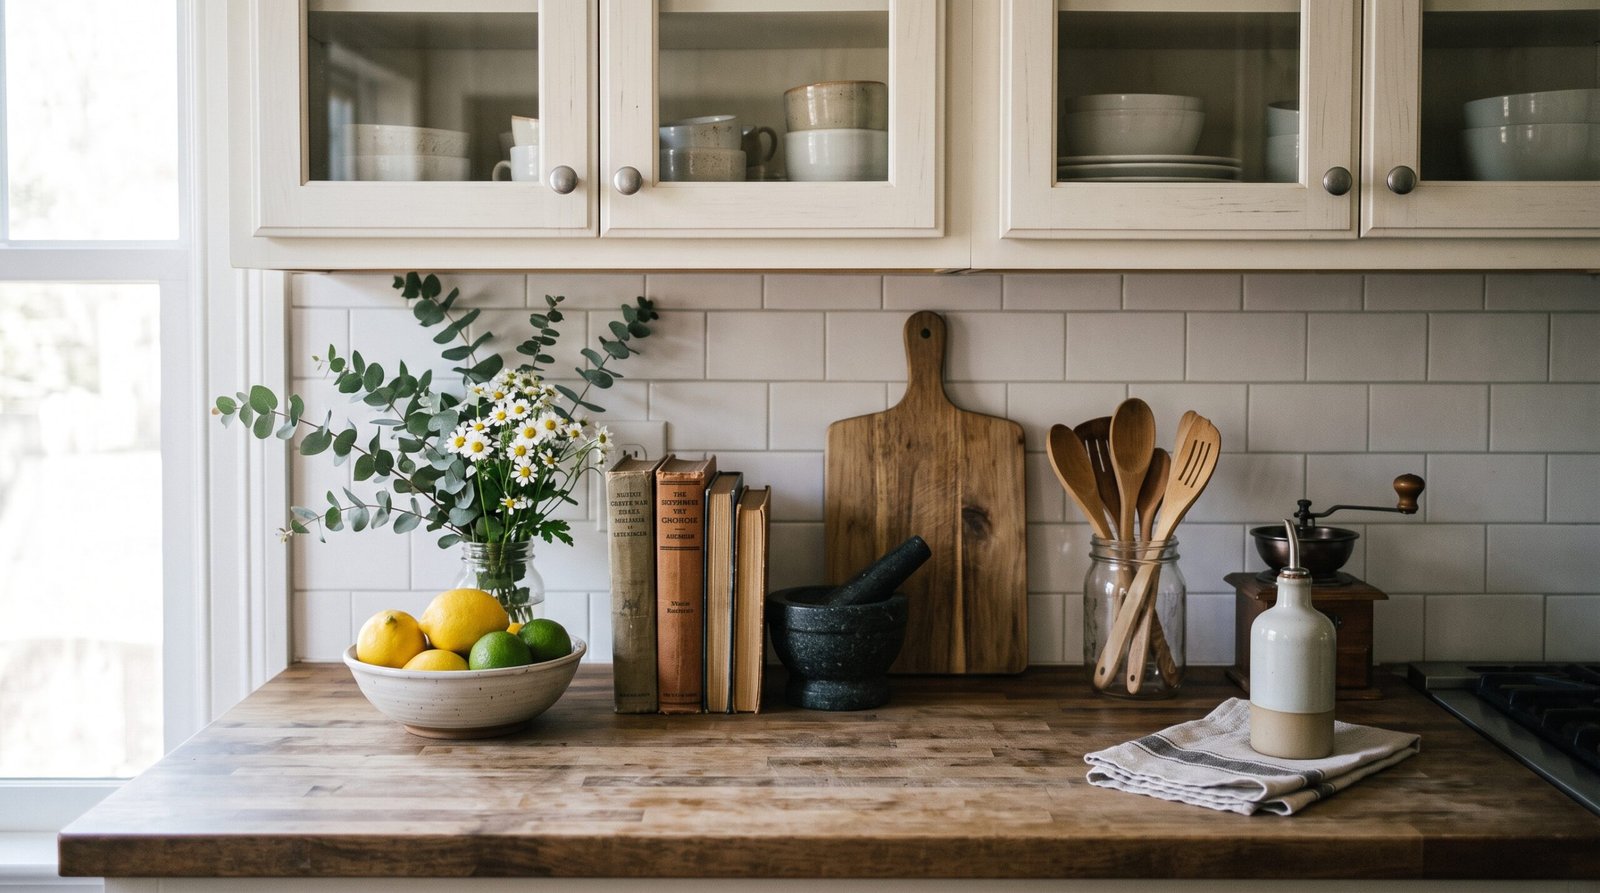
A few well-placed cutting boards can make an empty counter feel intentional without adding clutter. Choose boards in different sizes, then lean them together against the backsplash. Mix wood tones carefully, keeping the largest board at the back for a balanced layered look.
Leave a small amount of counter space beside the boards for daily tasks. A shallow bowl or tiny plant can soften the arrangement without competing with the wood. In my experience, boards with visible grain add warmth especially well to kitchens with white cabinets and simple finishes.
Styled Coffee Corner
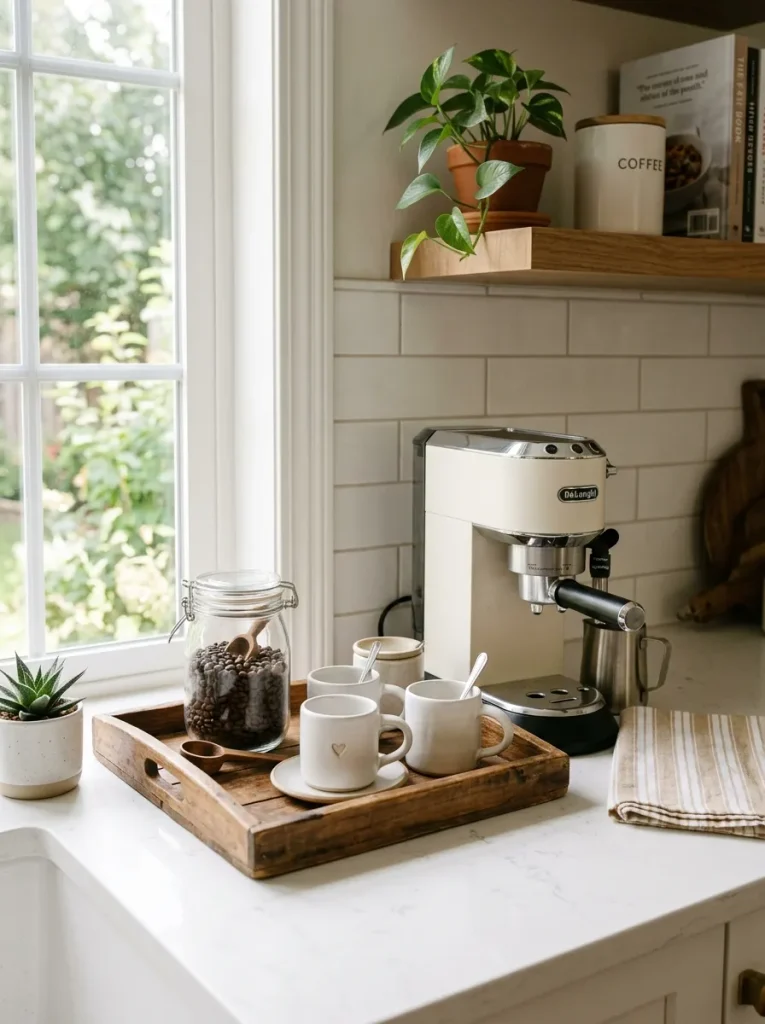
- Place the coffee machine against the backsplash to keep the workspace open.
- Use a small wooden or stone tray to group mugs, sugar and coffee tools.
- Add one clear jar for beans or grounds instead of several loose containers.
- Keep everyday mugs within easy reach for convenience.
- Finish with one small plant or simple framed print nearby.
A dedicated coffee corner gives frequently used items a clear home while making the counter feel more organized. Choose only the pieces you reach for daily and keep decorative extras minimal. This approach works especially well in smaller kitchens because the tray visually separates the station without taking up much space.
Green Herb Display
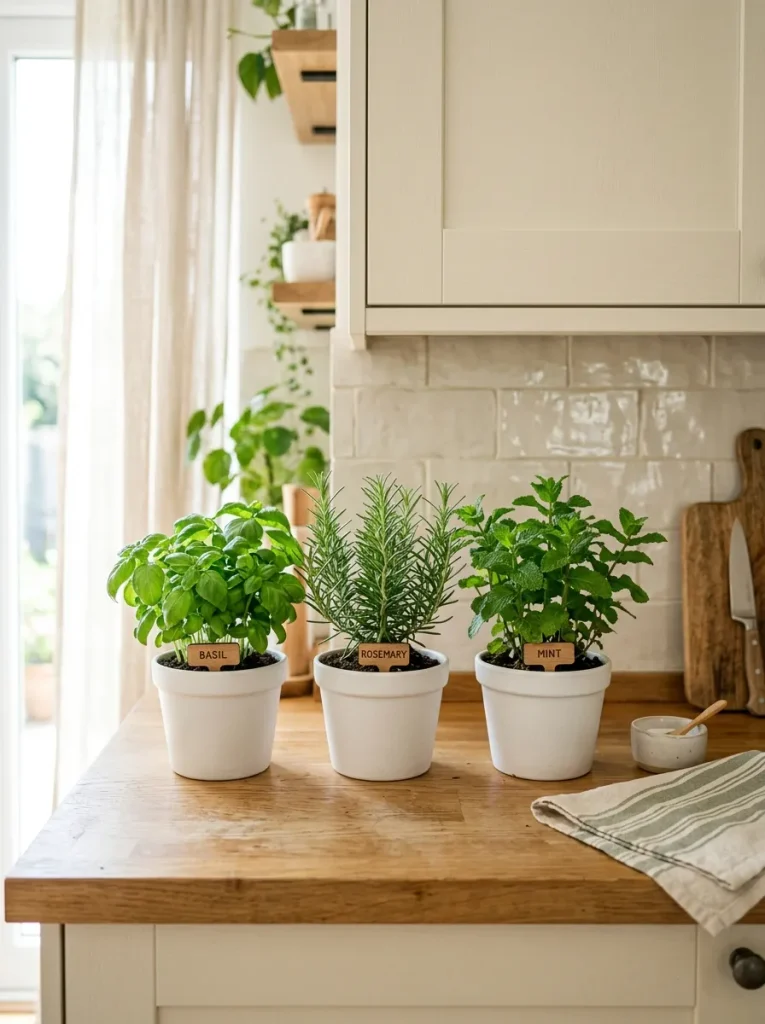
Quick Tip: Choose herbs that match how often you cook. Basil, mint and rosemary are useful choices, but avoid crowding the counter with more pots than you can maintain.
Fresh herbs bring color and texture while giving the counter a practical purpose. Place the pots near a bright window, but keep them away from strong heat from the stove. Matching planters create a cleaner look, while slightly different plant heights add natural dimension.
Woven Fruit Basket

BEFORE: Loose fruit sits across the counter, creating small pockets of clutter and making the workspace feel busy. Different colors and shapes compete for attention.
AFTER: A single woven basket gathers the fruit into one defined area. The natural texture adds warmth while keeping the counter practical and easy to maintain.
A fruit basket works best when it stays partly filled rather than overflowing. Choose produce with similar tones for a calmer appearance, such as green apples with lemons. I’ve noticed that a medium basket is usually easier to maintain because it provides enough storage without taking over valuable preparation space.
Decorative Tray
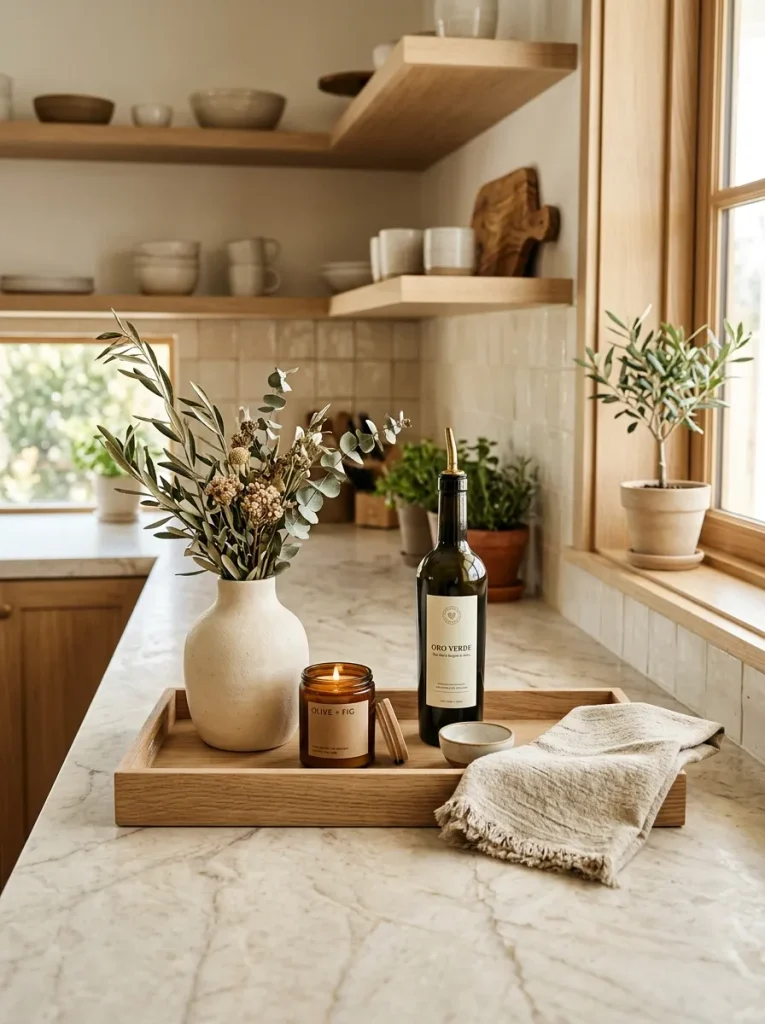
- Choose the tray: Pick a rectangular tray that leaves plenty of countertop visible around it.
- Add one tall piece: Place a vase or bottle toward the back to create height.
- Layer smaller items: Add a candle, small bowl or folded towel beside it.
- Check the spacing: Keep each object close enough to feel connected but not crowded.
A decorative tray creates a visual boundary for small kitchen accessories, making the entire arrangement feel more organized. Keep the tallest object toward the back and shorter pieces in front. For busy kitchens, choose washable and durable materials so the display stays attractive without becoming difficult to clean.
Wood and Ceramic Mix

| Comparison Point | Option A | Option B |
| Main Material | Wood | Ceramic |
| Visual Effect | Warm and natural | Clean and refined |
| Best Pairing | White or cream kitchens | Wood or neutral kitchens |
| Maintenance | Easy to wipe | Easy to clean |
Combining wood and ceramic prevents a neutral counter from feeling flat. Let one material take the lead and use the other as an accent. A wooden bowl with cream ceramics is especially versatile because the textures contrast without introducing too many colors or competing patterns.
Minimal Spice Station
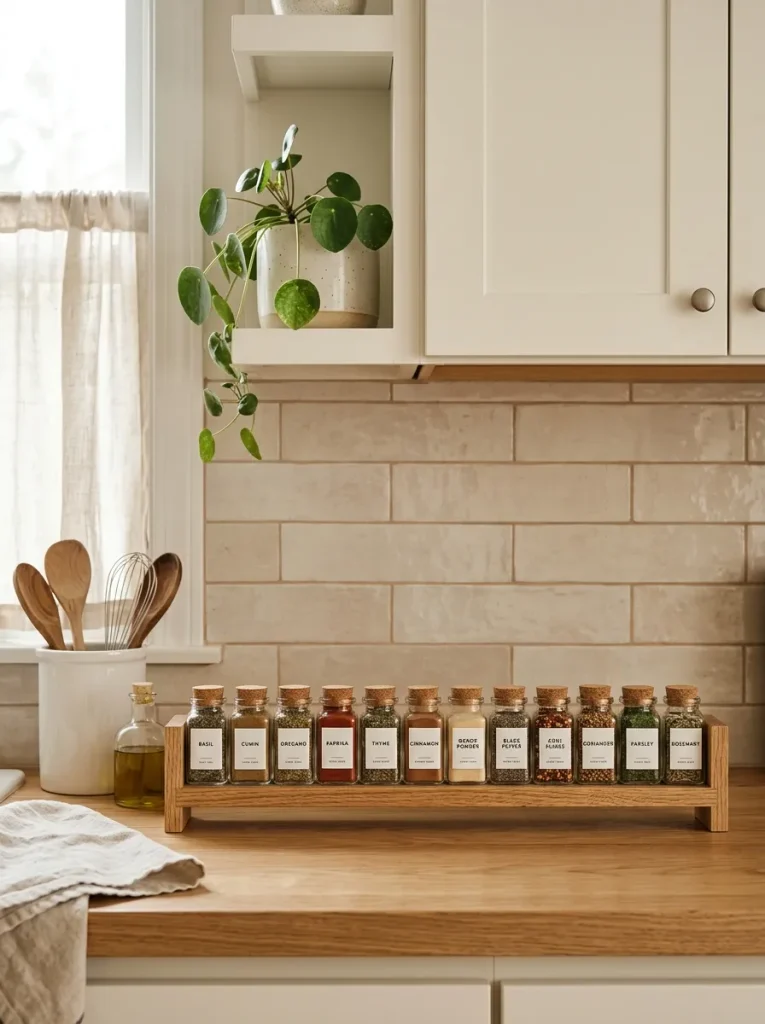
DO
- Keep only the spices you use regularly on display.
- Arrange jars from tallest to shortest for a tidy profile.
- Use matching labels for a consistent appearance.
- Place the rack near your main cooking area.
DON’T
- Leave loose spice packets scattered around the counter.
- Mix too many jar shapes and sizes.
- Place spices directly beside a hot stove.
- Fill the counter with decorative containers you rarely use.
A compact spice station keeps everyday ingredients within reach while giving the counter a purposeful arrangement. Choose a slim rack that fits your available space, then group similar containers together. This setup works particularly well for frequent cooks who want practical storage without covering the entire work surface.
Single Statement Vase

Cost: Low to moderate
Time: 10 minutes
Skill Level: Beginner
Best For: Empty or spacious counters
Result: Simple height and texture
An oversized vase can fill an awkward empty spot without creating visual clutter. Choose a shape with a narrow opening and add a few branches rather than a dense bouquet. I’ve noticed that one strong vertical piece often gives a counter more structure than several small decorations scattered across the surface.
Open Cookbook Stand
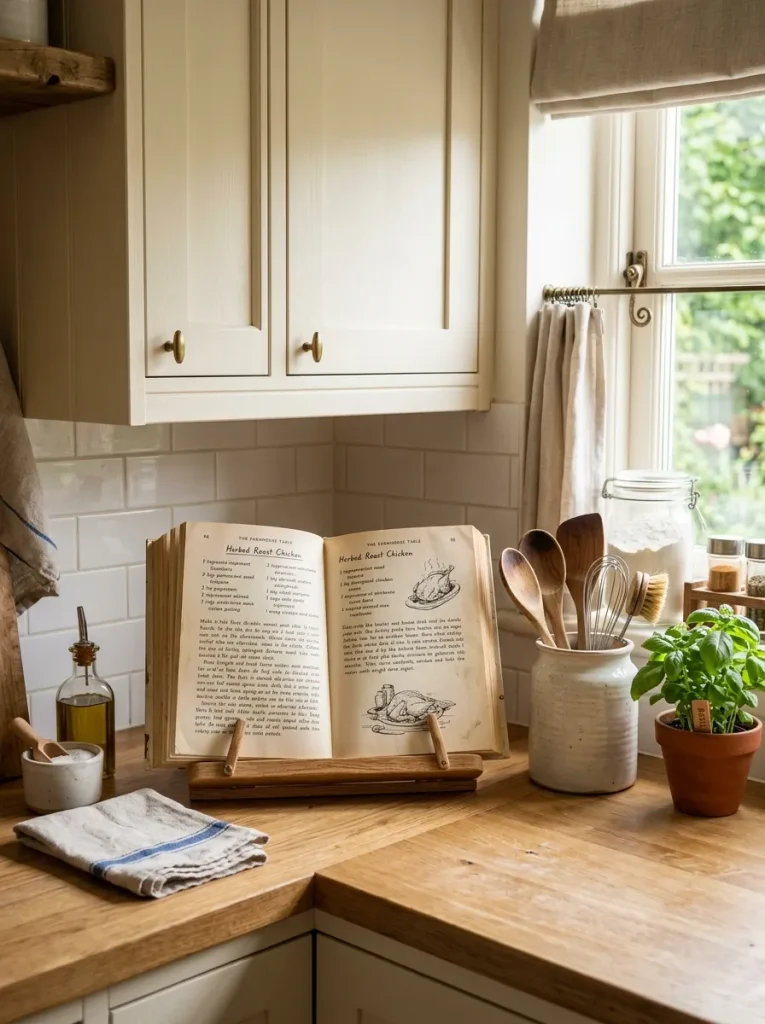
An open cookbook adds personality while keeping the counter connected to everyday kitchen life. Choose a recipe page with clean photography or attractive typography, then place the stand against the backsplash. Keep nearby accessories simple so the book remains the main focal point. This works especially nicely beside a coffee or baking station.
Coordinated Canisters
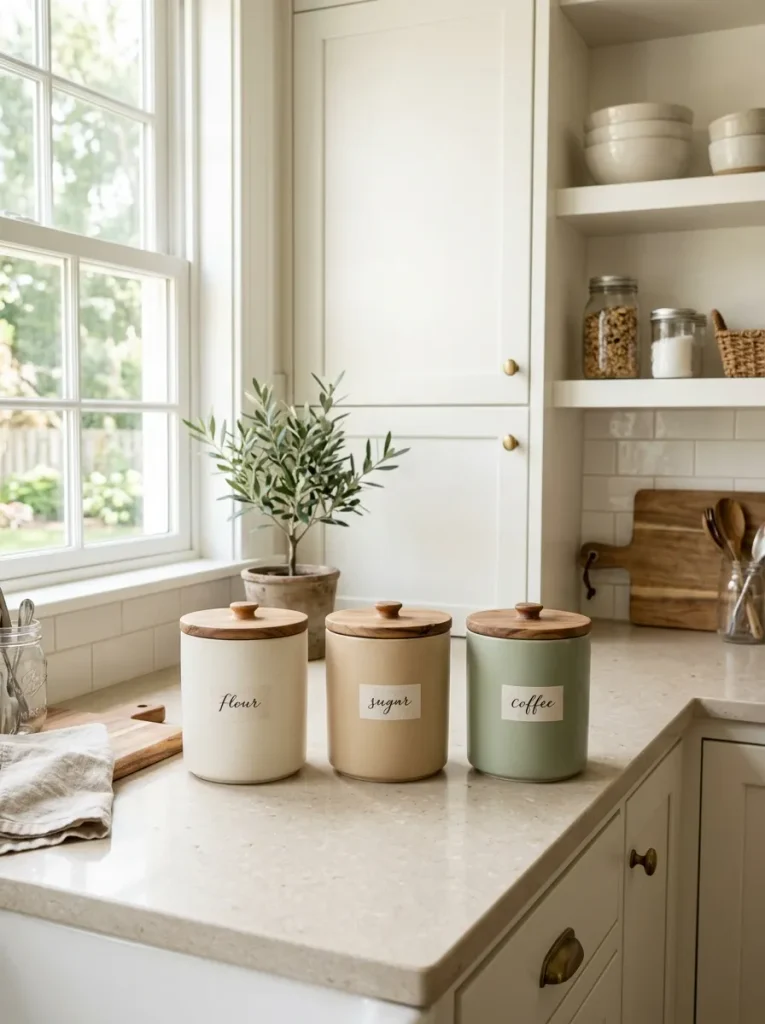
DO
- Choose three matching canisters for a cohesive display.
- Store frequently used items such as coffee, sugar or flour.
- Keep the canisters similar in height and shape.
- Position them together near the main preparation area.
DON’T
- Use too many containers on one counter.
- Mix several unrelated colors.
- Place rarely used ingredients in the display.
- Let labels become difficult to read.
Coordinated canisters make everyday ingredients look organized instead of scattered. A small group is usually enough to create structure without taking over the workspace. For a softer kitchen palette, cream or warm beige containers blend nicely with wood accents while still giving the counter a finished, intentional appearance.
Layered Serving Boards
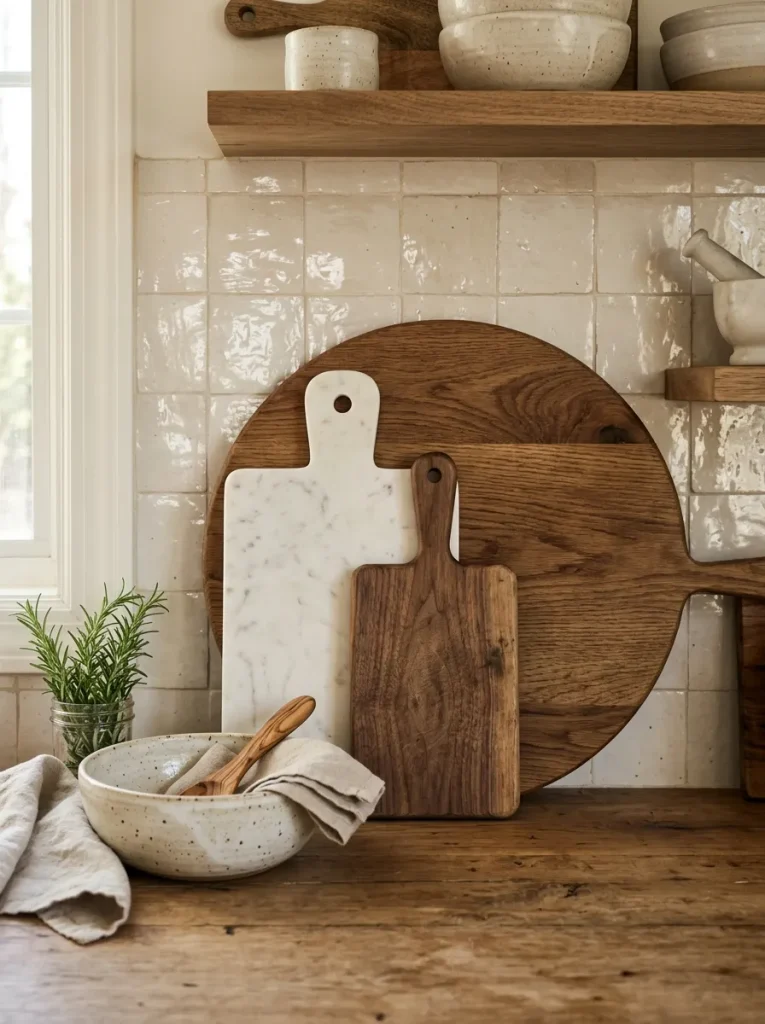
- Start with the largest board: Lean it directly against the backsplash as the foundation.
- Add a different shape: Place a smaller round or oval board in front.
- Create texture: Add one marble or darker wood board for contrast.
- Balance the arrangement: Keep the boards slightly offset so each shape remains visible.
Layering serving boards adds height without requiring permanent shelves or bulky decor. Mix shapes rather than using three identical pieces, but keep the colors within the same neutral family. This arrangement is especially useful for renters because it creates a styled backdrop without drilling, mounting or changing the kitchen itself.
Neutral Bowl Display
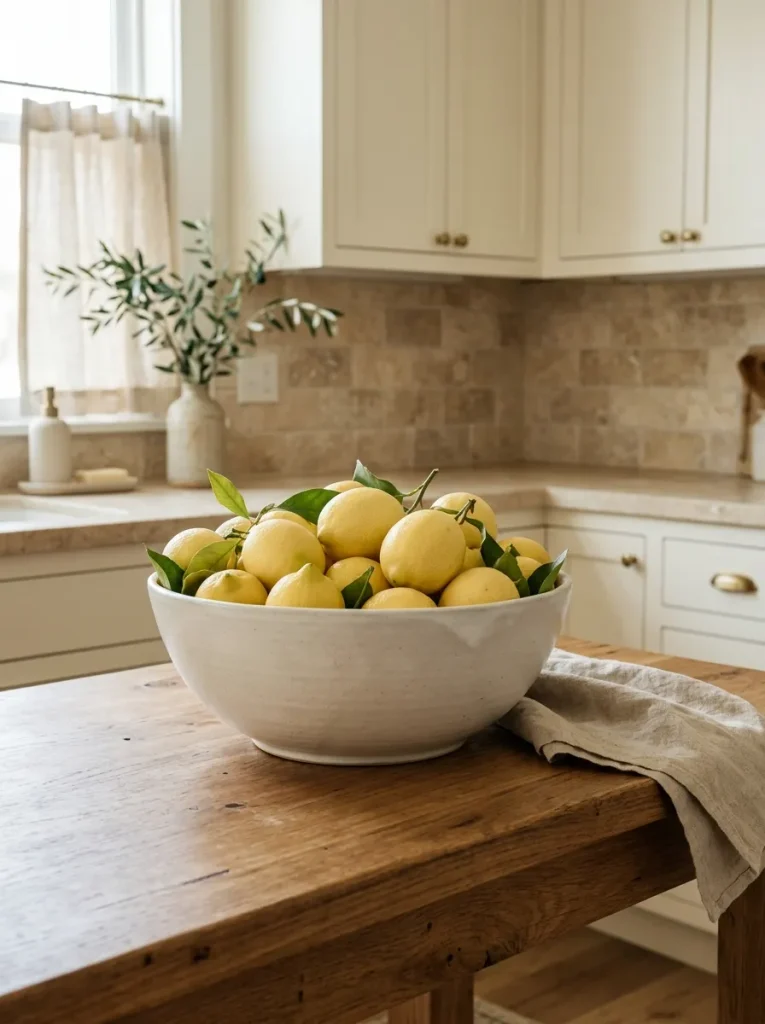
| Comparison Point | Option A | Option B |
| Bowl Material | Ceramic | Wood |
| Overall Look | Refined and clean | Warm and rustic |
| Best Produce | Lemons or apples | Bread or seasonal fruit |
| Maintenance | Easy to wipe | Needs gentle care |
A large bowl gives loose items one clear home and creates an easy focal point on the counter. Keep the bowl around two-thirds full so the contents remain visible. For a calm neutral kitchen, choose cream pottery with yellow lemons or green apples for a small touch of natural color.
Ceramic Utensil Crock
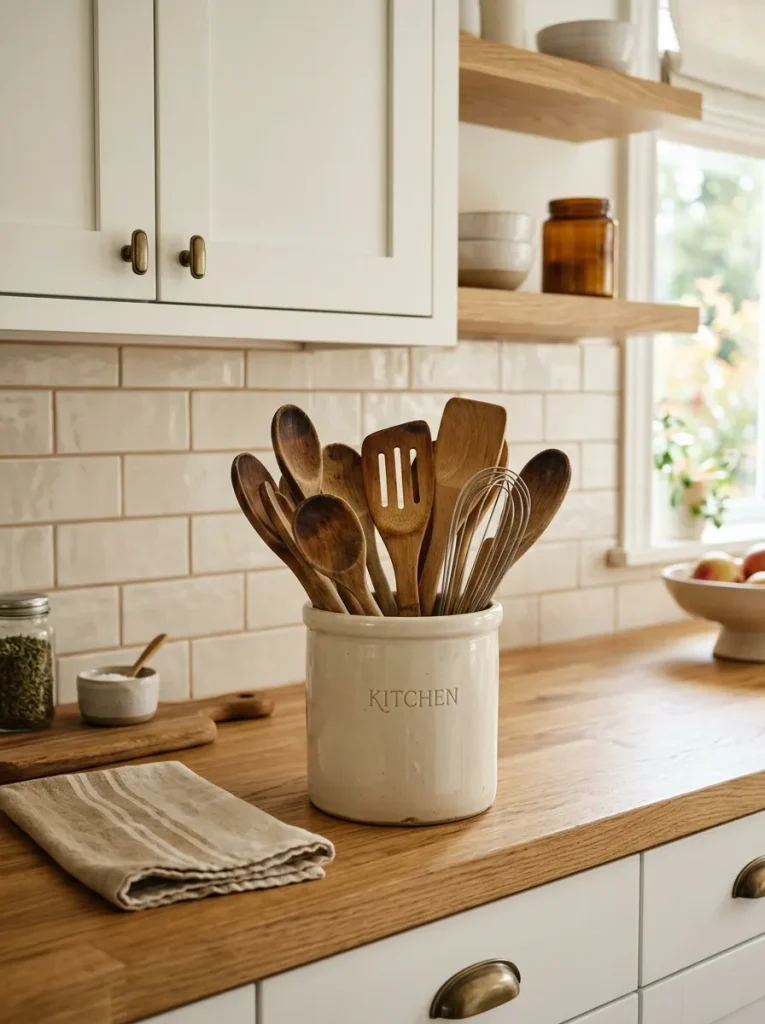
- Keep everyday cooking tools together in one sturdy crock.
- Choose wooden or neutral-colored utensils for a softer visual effect.
- Place the crock close to the stove or main preparation area.
- Leave enough space around it for easy access.
A ceramic utensil crock combines storage with simple countertop styling. Instead of hiding frequently used tools in a drawer, keep them grouped in one attractive container. Choose a wider base if you have several utensils and remove anything you rarely use. This keeps the arrangement useful rather than purely decorative.
Soft Linen Accent
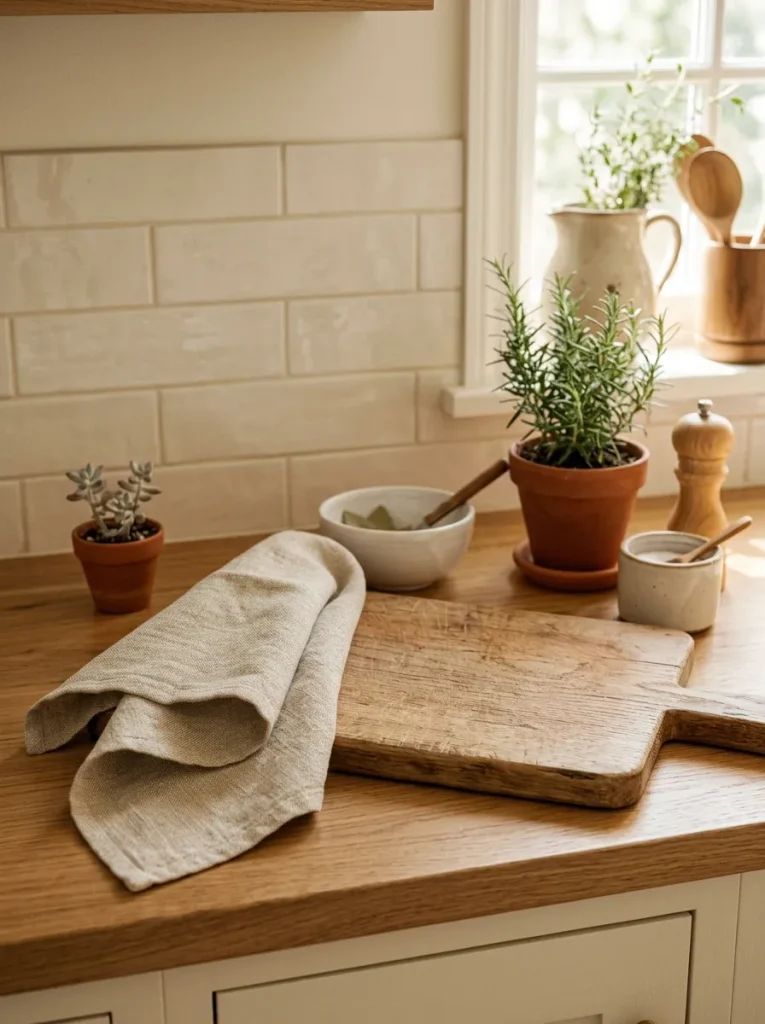
Quick Tip: Choose a linen or cotton towel with a simple stripe, check or solid neutral color. Fold it neatly or drape one corner over the counter edge for a relaxed but intentional finish.
Textiles bring softness to hard surfaces such as stone, wood and ceramic. A single towel can introduce gentle texture without taking up much room. I’ve noticed that neutral linens work especially well when the kitchen already has several natural materials, because they connect the different finishes without adding visual noise.
Everyday Baking Setup
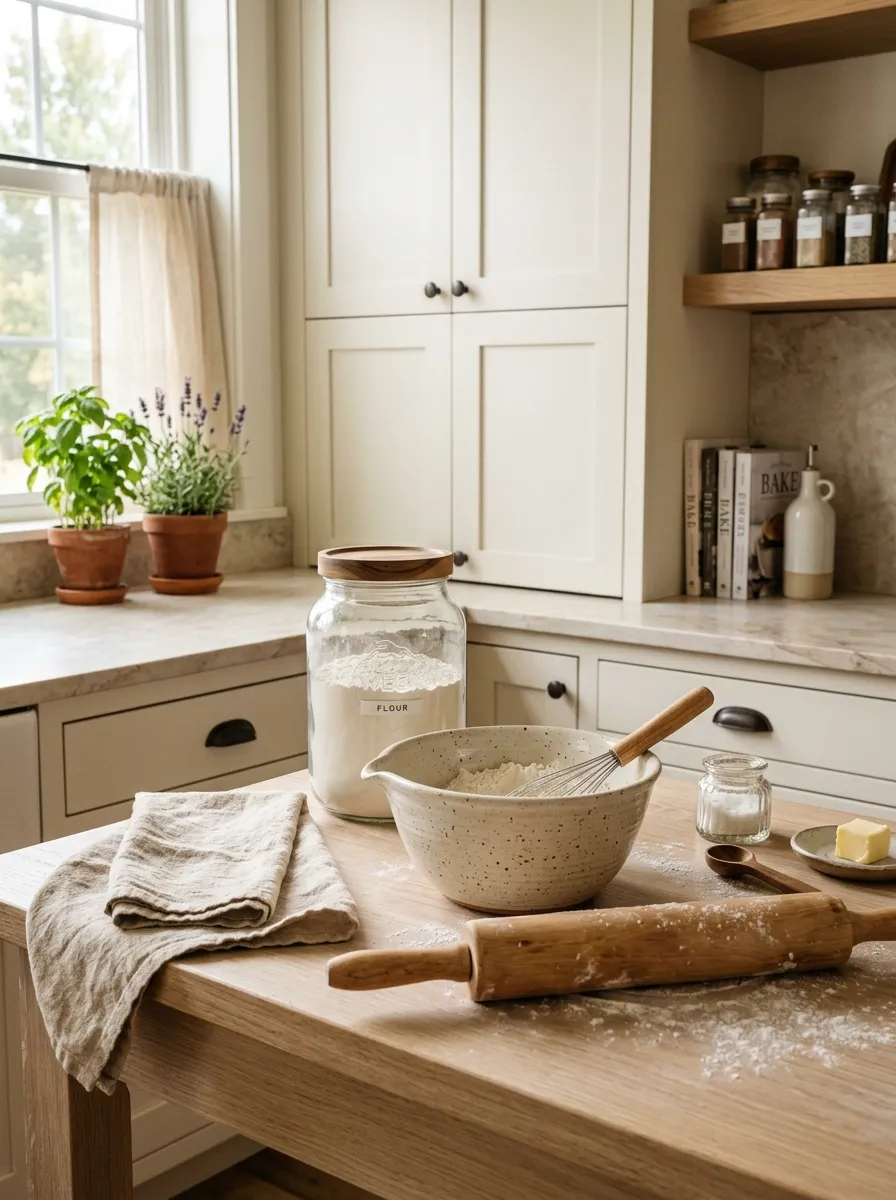
BEFORE: Baking tools and ingredients are stored separately, leaving the counter either empty or filled with random items during preparation. The space has little visual connection between the pieces.
AFTER: A small baking setup groups useful tools in one defined area. A bowl, rolling pin and labeled jar create a practical display while keeping the rest of the counter open.
A baking station works best when it reflects what you actually use. Keep the display limited to a few attractive essentials, then store specialty tools elsewhere. For frequent bakers, placing flour or sugar in matching jars can make the arrangement even more functional while giving the counter a warm, lived-in character.
Marble Accent Board
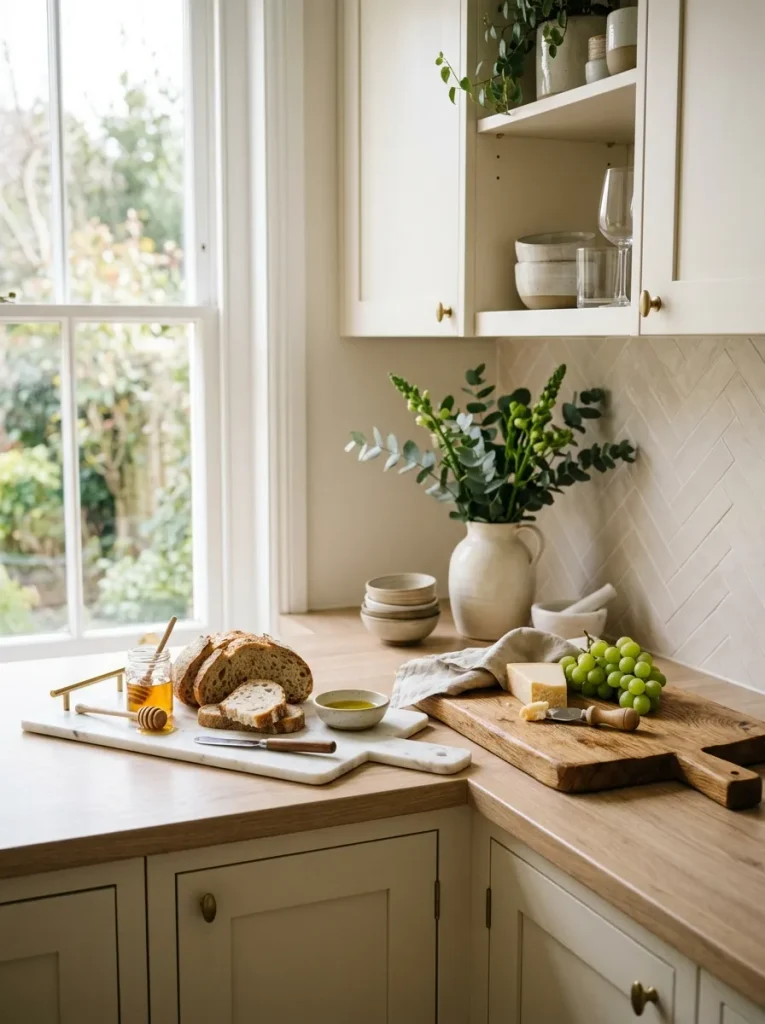
- Choose the board: Select a marble board with subtle veining rather than a heavily patterned design.
- Add warm contrast: Place a wooden board slightly behind or beside it.
- Add one accessory: Use a small ceramic bowl or vase to soften the arrangement.
- Keep the surface open: Leave enough room nearby for regular food preparation.
Marble adds a cool, polished texture that pairs beautifully with warm wood. The contrast keeps neutral counters from looking too plain while maintaining a simple color palette. For everyday kitchens, choose a smaller board that can be moved easily when you need more preparation space.
Glass Jar Collection
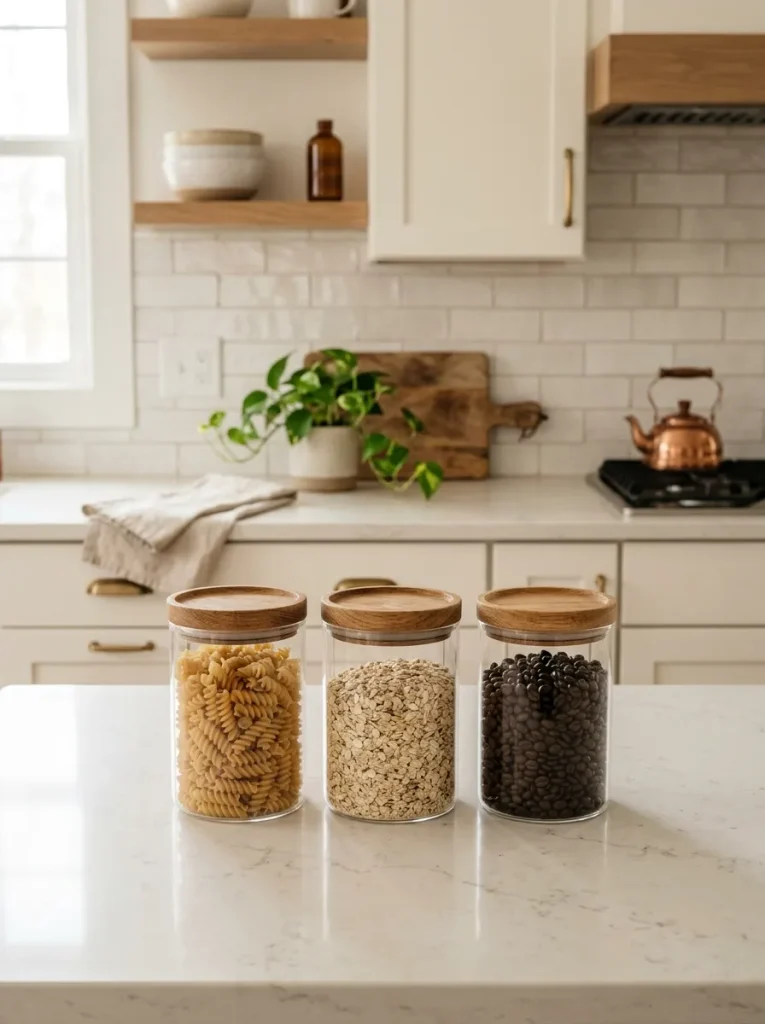
| Comparison Point | Option A | Option B |
| Container | Clear glass | Ceramic |
| Visual Effect | Light and open | Solid and cozy |
| Best For | Pasta, grains, coffee | Flour, sugar, spices |
| Main Benefit | Contents stay visible | Hides contents |
Glass jars are useful when you want storage to double as simple decor. Choose matching shapes and fill them with ingredients that have attractive textures or colors. Keeping the collection to three or four jars prevents the counter from looking crowded and makes refilling much easier.
Small Breakfast Nook
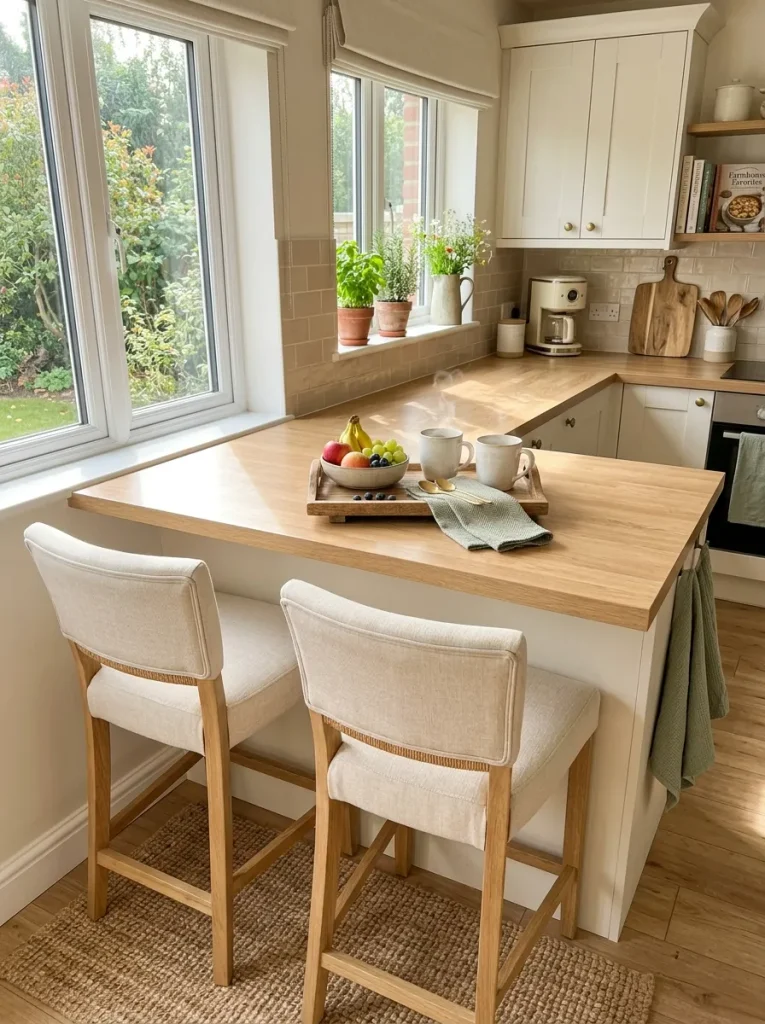
DO
- Keep the seating area visually open.
- Use a small tray for breakfast essentials.
- Choose stools that complement the kitchen finishes.
- Add one simple decorative accent.
DON’T
- Place bulky appliances near the seating area.
- Overfill the counter with accessories.
- Use too many competing colors.
- Block the main walkway with stools.
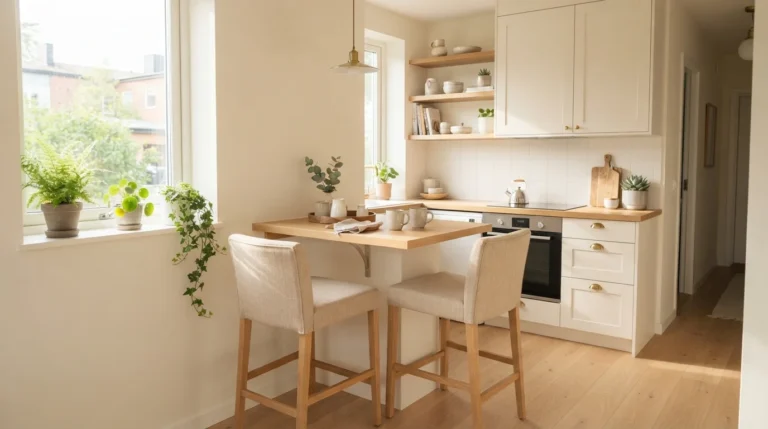
A small breakfast area can make a kitchen counter feel more inviting and useful. Keep the styling simple because the seating itself already creates visual interest. A pair of coordinated stools, one tray and a small fruit bowl can establish a comfortable daily spot without making the kitchen feel overcrowded.
Layered Ceramic Bowls
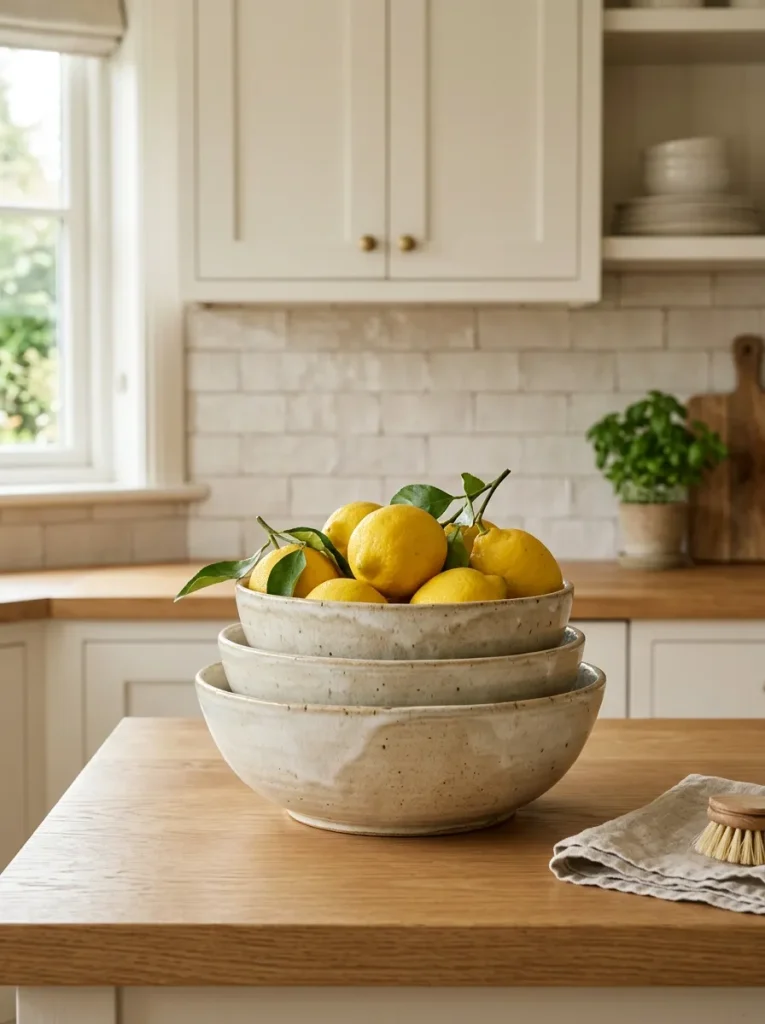
Cost: Low to moderate
Time: 10 minutes
Skill Level: Beginner
Best For: Open counter space
v Soft texture and visual depth
Layering bowls creates dimension without filling the counter with unnecessary decor. Place the largest bowl at the back and smaller pieces slightly forward. Use one bowl for fruit while leaving another empty for shape and texture. Neutral ceramics work especially well with wood, stone and white kitchen finishes.
Slim Oil Station
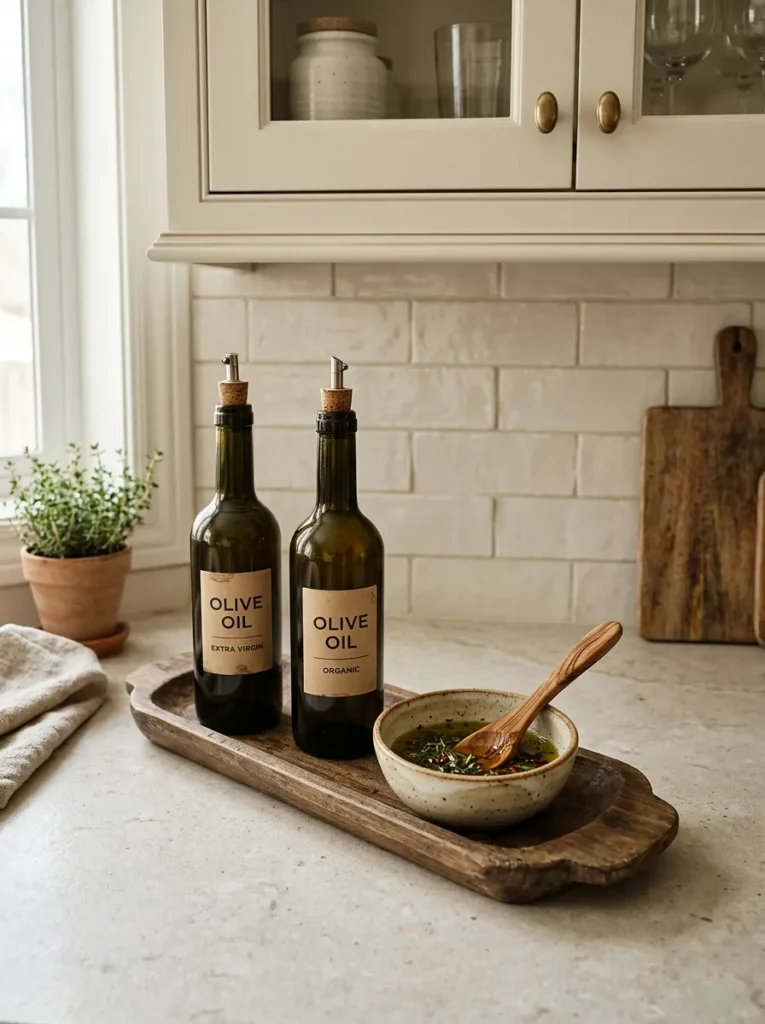
A tidy oil station keeps cooking essentials close while giving them a defined place. Choose matching bottles or decant oils into simple glass containers with clear labels. Position the tray near the stove but away from direct heat. A narrow design works best because it uses vertical space without taking over the preparation area.
Fresh Flower Pitcher

Quick Tip: Use a simple pitcher instead of a formal vase for a relaxed kitchen look. Choose seasonal flowers with sturdy stems and trim them so the arrangement stays compact rather than spreading across the workspace.
Fresh flowers add a small dose of color and life to an otherwise neutral counter. Keep the arrangement low enough that it does not block sightlines across the kitchen. I’ve noticed that simple white flowers are especially versatile because they work with both warm wood finishes and cooler stone surfaces without creating visual clutter.
Wooden Bread Box
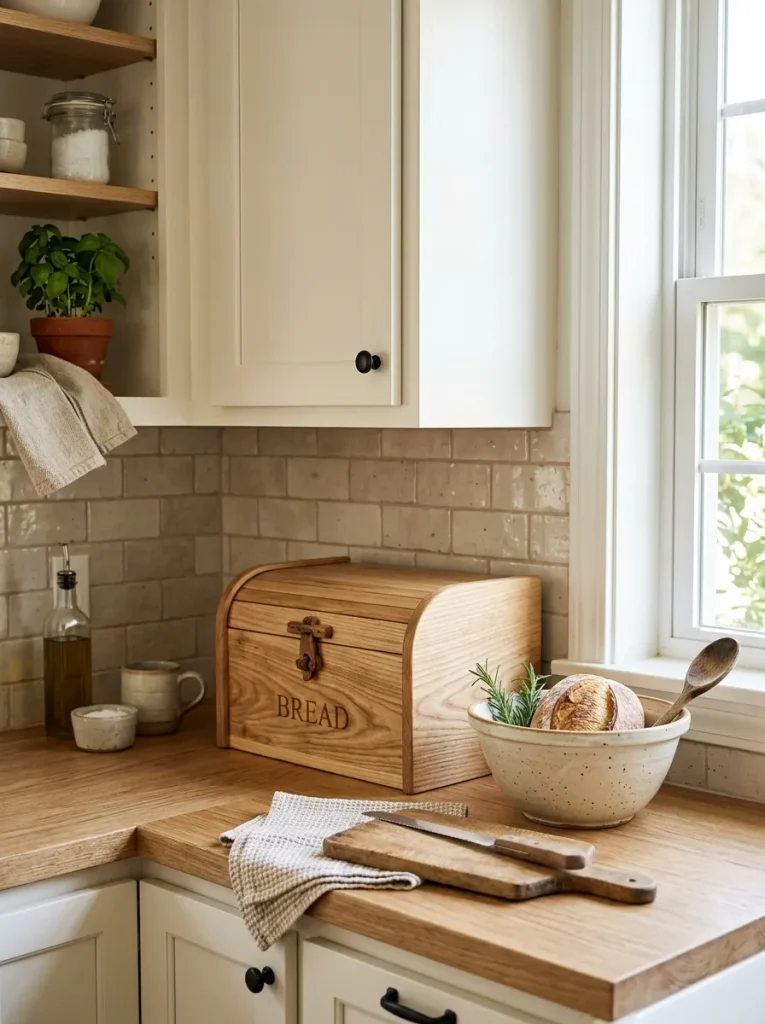
Cost: Moderate | Time: 15 minutes | Skill Level: Beginner
Best For: Daily bread storage | Works In: Small or large kitchens
Result: Less clutter and warmer texture
A bread box gives everyday storage a polished place on the counter. Choose a compact wooden style that matches your cutting boards or cabinets. Keep it near the breakfast or coffee area so it stays convenient. A simple design can also introduce warmth without adding several separate decorative pieces.
Black and Wood Contrast
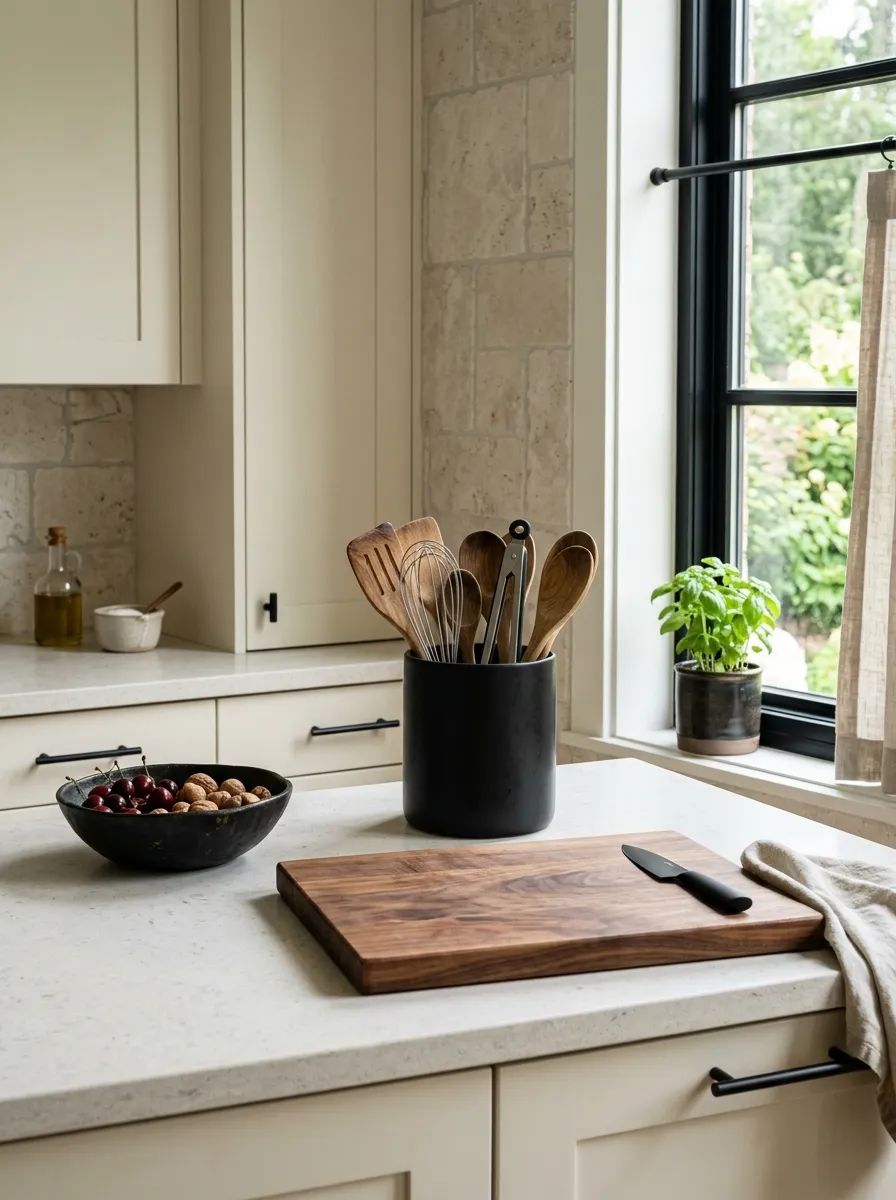
Dark accents can give a light kitchen more definition without requiring a major redesign. Pair one or two matte black pieces with warm wood to create contrast. Keep the darker elements grouped rather than scattered across the counter. This approach works particularly well with white or cream cabinets where small accents stand out clearly.
Tiered Counter Stand
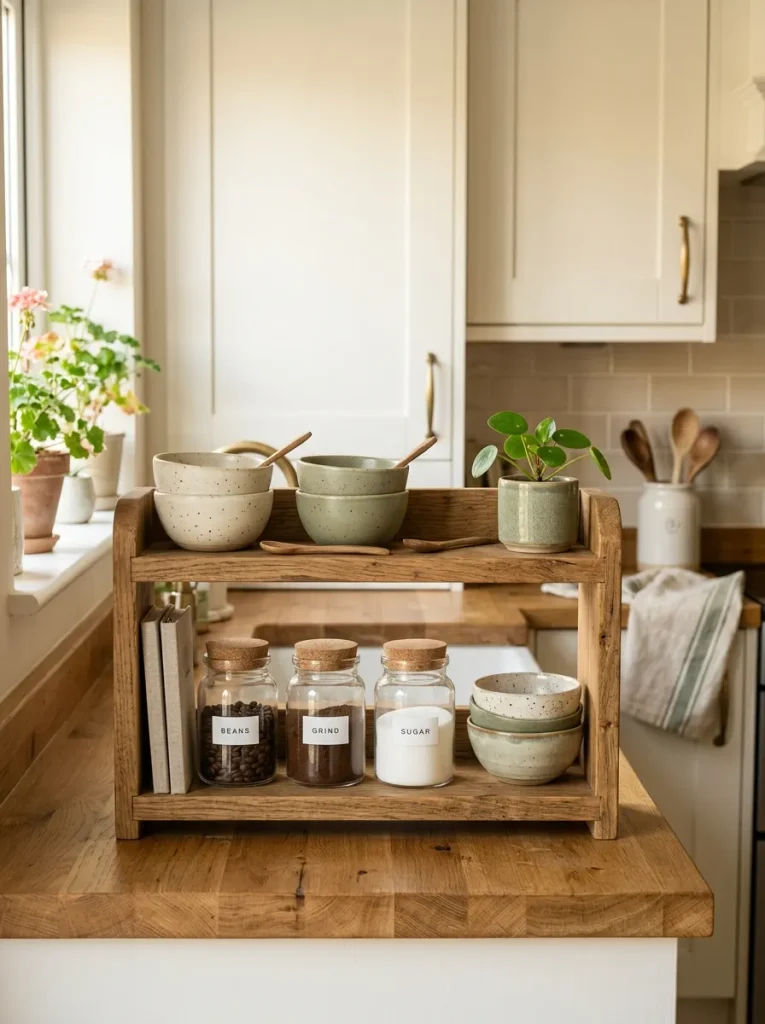
Cost: Low to moderate | Time: 15 minutes | Skill Level: Beginner
Best For: Small counters | Works In: Kitchens with limited storage
Result: More vertical storage and less countertop clutter
A tiered stand makes use of vertical space while keeping everyday items easy to reach. Place taller containers at the back and smaller bowls or jars on the lower level. I’ve noticed that this setup works especially well on narrow counters because it adds storage without spreading items across the entire surface.
Breakfast Essentials Tray
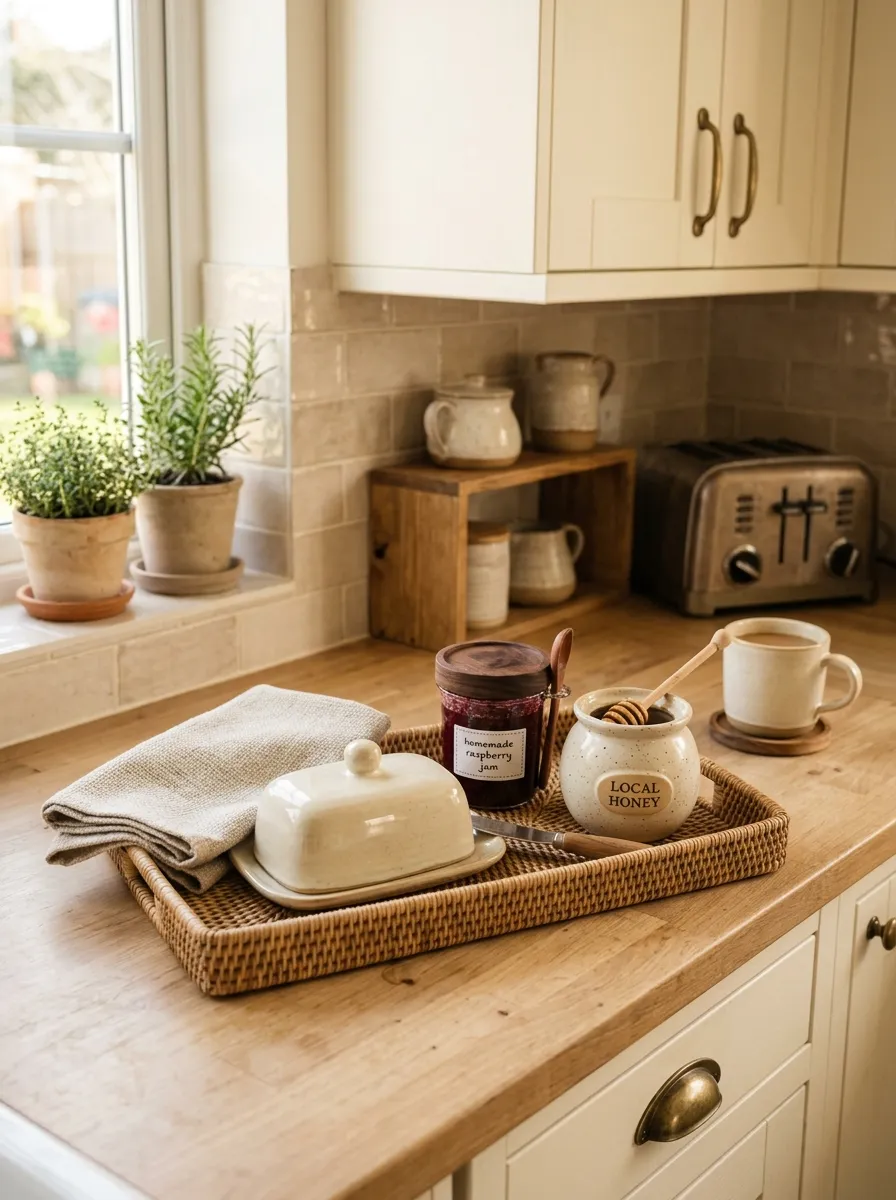
- Pick a shallow tray: Choose one that fits the daily breakfast items without crowding them.
- Group the essentials: Add only items used regularly, such as honey, jam or butter.
- Create height: Place taller jars toward the back and shorter pieces in front.
- Leave breathing room: Keep a little empty space between objects so the tray stays easy to use.
A breakfast tray keeps several small containers from spreading across the counter. It also makes the morning routine quicker because everything stays together. Choose materials that are easy to wipe clean, especially if the tray holds sticky items such as honey or jam.
Textured Stone Bowl

| Comparison Point | Option A | Option B |
| Texture | Rough stoneware | Smooth ceramic |
| Visual Effect | Earthy and natural | Clean and refined |
| Best Pairing | Wood accents | Marble or glass |
| Styling Role | Strong focal piece | Subtle supporting piece |
A textured bowl adds interest through its surface rather than bright color. Fill it with a small amount of fresh produce and place it where the bowl can be seen from different angles. Natural stoneware pairs especially well with wooden boards, linen towels and other warm kitchen materials.
Baking Ingredient Shelf

DO
- Label jars clearly so ingredients are easy to identify.
- Use matching containers for a cleaner appearance.
- Keep frequently used baking ingredients within reach.
- Leave enough counter space for mixing and preparation.
DON’T
- Store too many ingredients on the display.
- Use oversized jars on a narrow counter.
- Place containers where they block appliance controls.
- Let labels become stained or difficult to read.
A small ingredient display can make baking easier while adding organized visual texture. Keep the collection limited to staples you use often. Clear jars work well for showing attractive ingredients, while matching labels keep the arrangement neat. This setup suits home bakers who want useful storage that still feels intentional.
Natural Wood Trivet
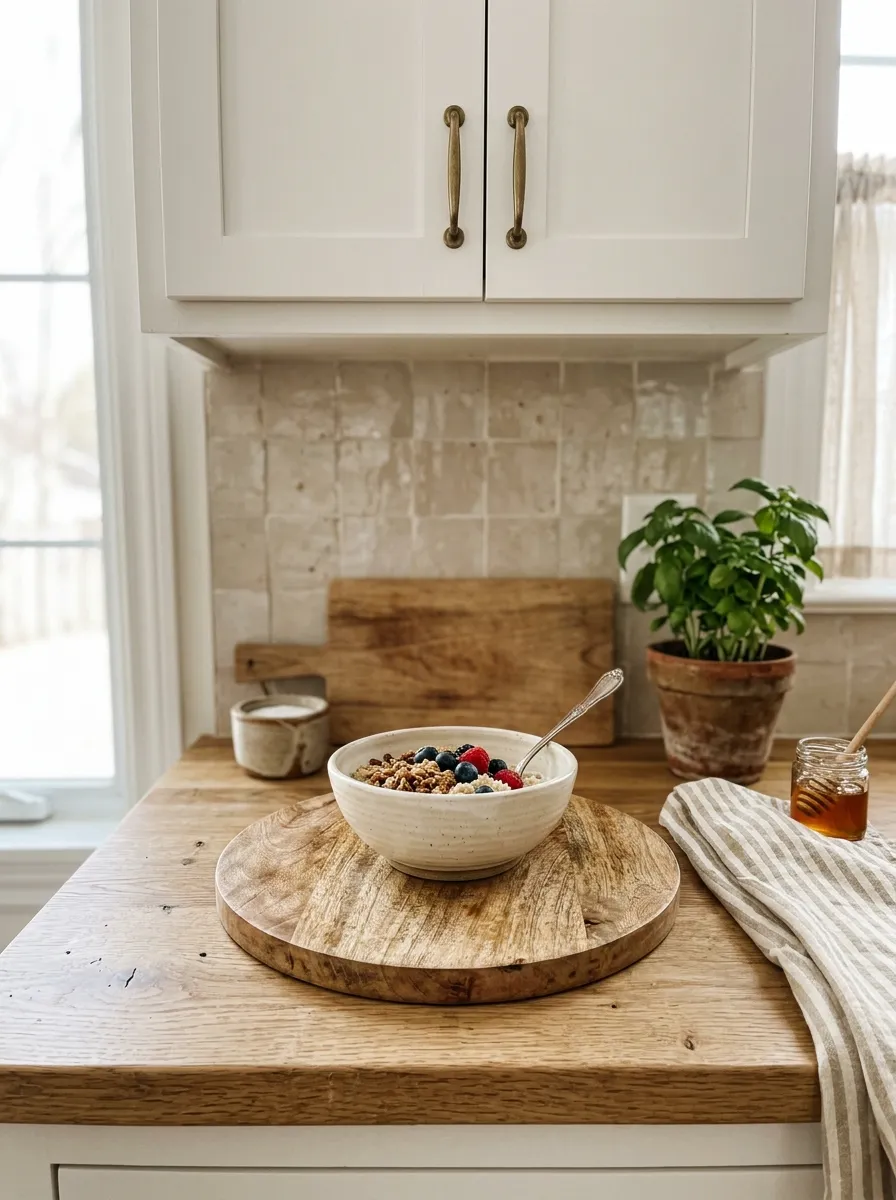
Cost: Low | Time: 5 minutes | Skill Level: Beginner
Best For: Warm, natural styling | Works In: Small kitchens
Result: Added texture and definition
A wooden trivet can become more than a heat-safe kitchen tool. Place it beneath a bowl, small pot or ceramic container to create a clear visual base. Choose a simple round or woven design that complements your existing boards. It is an easy detail that adds warmth without using much counter space.
Coffee Mug Hooks
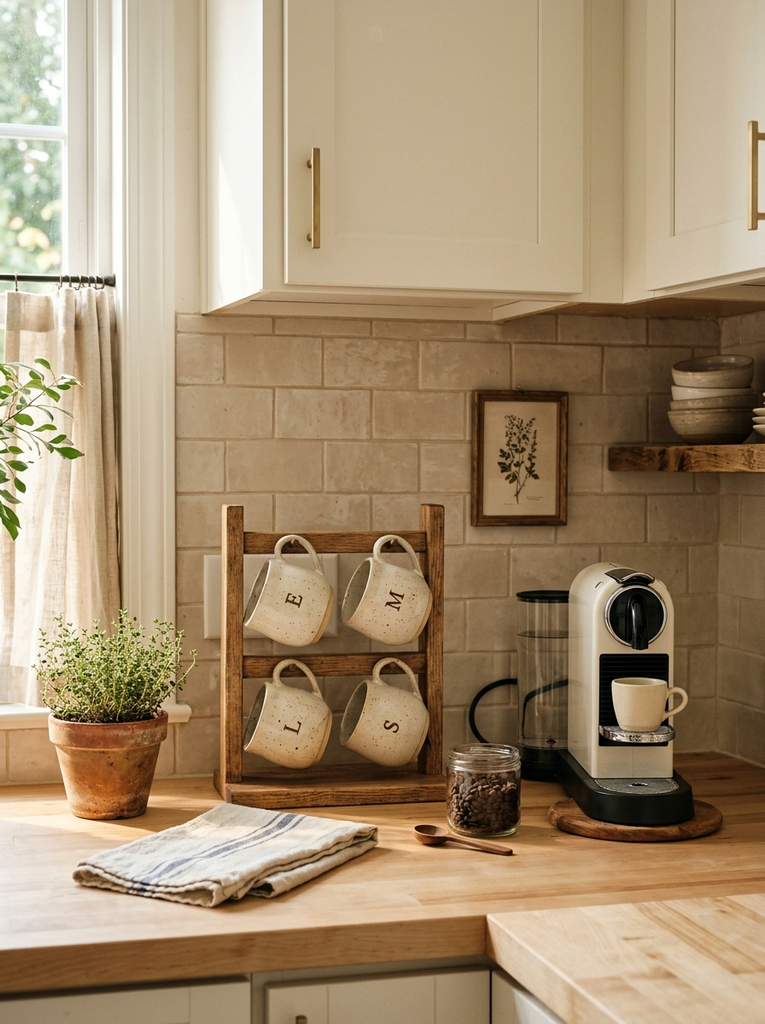
- Mount or position the mug rack beside the coffee station for easy access.
- Choose mugs in two or three complementary shades.
- Keep the rack small enough to avoid overwhelming the counter.
- Leave the countertop underneath mostly clear.
A mug rack adds vertical storage while keeping the counter visually lighter. Matching mugs create a stronger design connection, while one patterned mug can add a subtle personal touch. This setup is especially useful when cabinet space is limited and you want everyday cups to become part of the kitchen decor.
Seasonal Produce Display
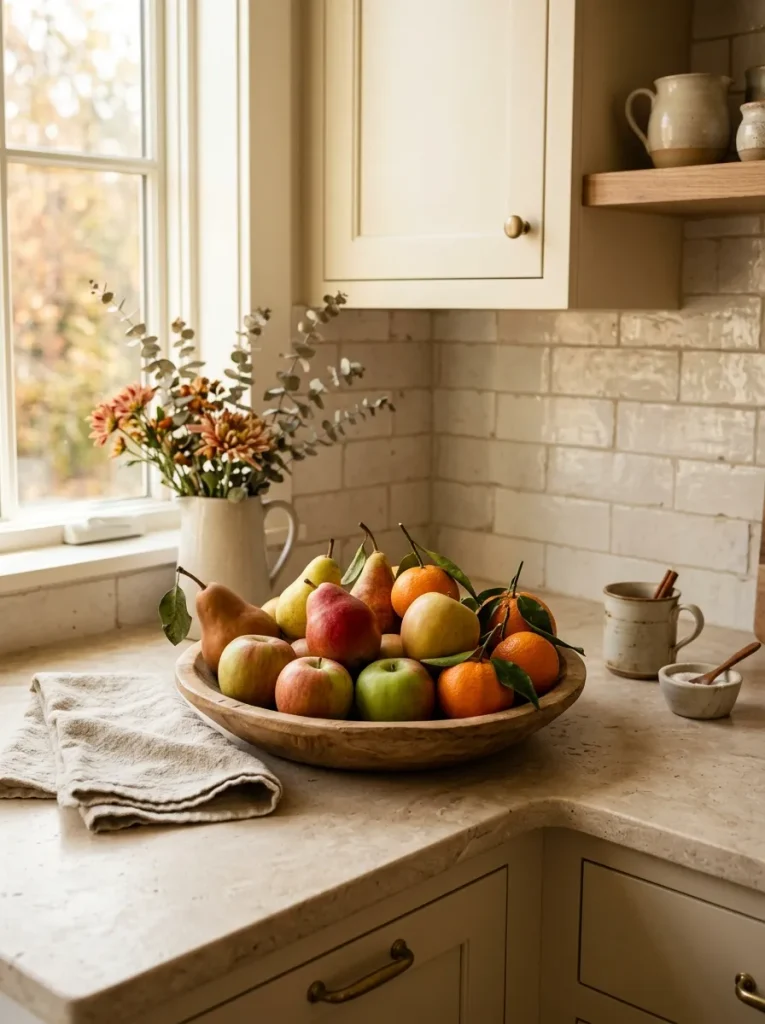
Quick Tip: Change the fruit display with the season rather than adding more decorations. Use apples and pears in cooler months, citrus for brighter color or fresh peaches when available.
Seasonal produce gives the counter natural color without relying on artificial decorations. Choose one bowl and keep the selection simple so the display remains practical. I’ve noticed that fruit looks most inviting when the bowl is not completely full, leaving enough space between pieces for their different colors and shapes to show.
Floating Counter Shelf
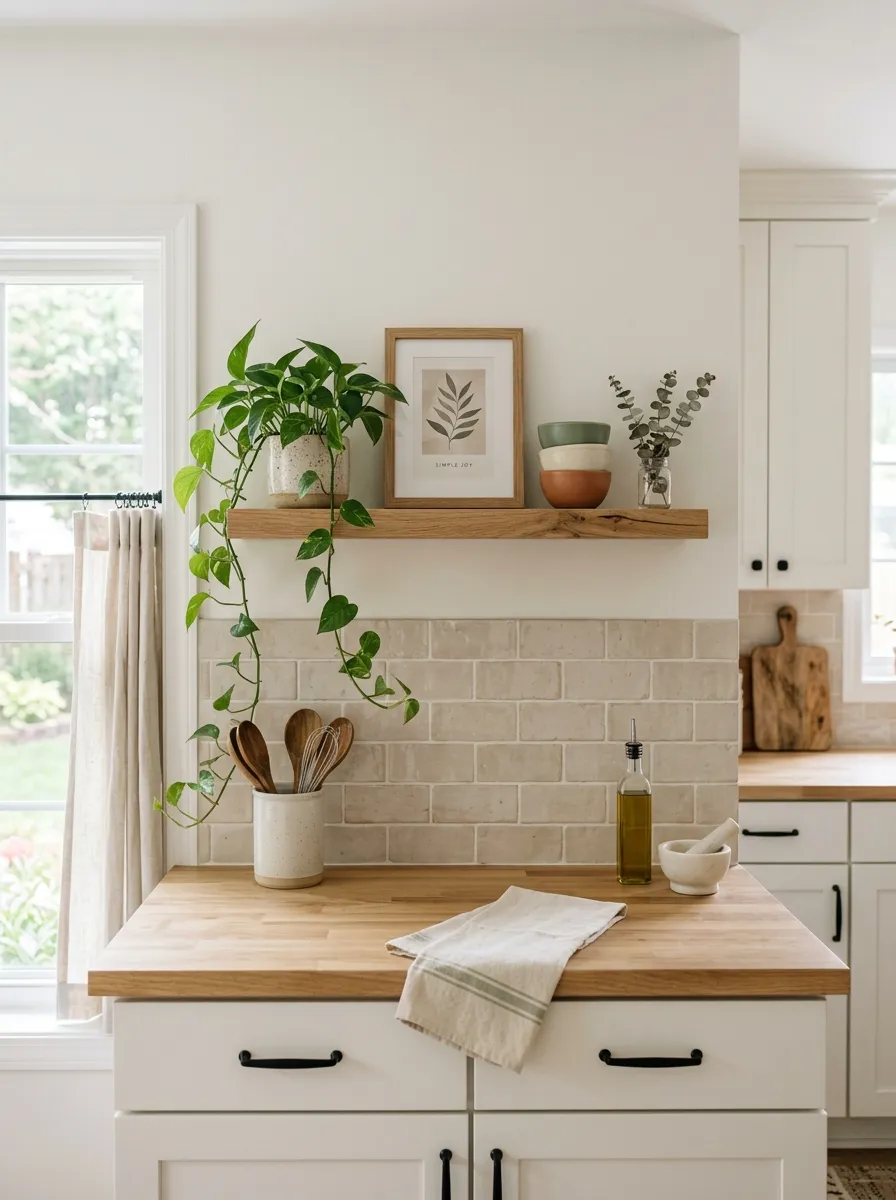
BEFORE: The counter has useful items scattered across the surface, leaving little room for food preparation. Small decorative pieces also compete for attention.
AFTER: A slim shelf moves selected items upward and keeps the countertop clearer. A few ceramics and one plant create a styled display while preserving valuable workspace.
A floating shelf works best when the counter underneath is already fairly busy. Keep the shelf lightly styled with only a few pieces and choose objects that complement the kitchen rather than adding random colors. Before installing one, check the wall structure and mounting requirements so the shelf remains secure.
Candle and Bowl Pair
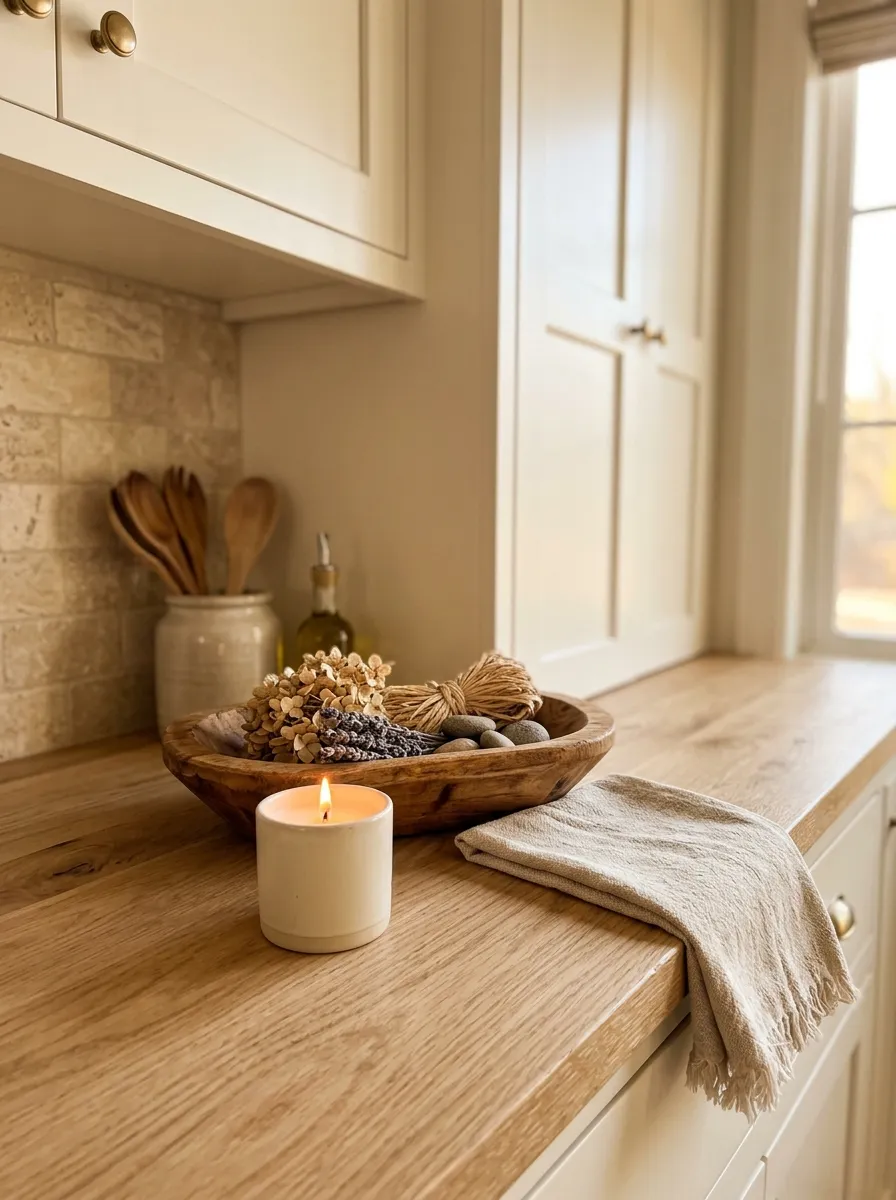
- Choose a small bowl: Select a shallow wooden or ceramic bowl as the main piece.
- Add a candle: Place a neutral candle beside it rather than inside the bowl.
- Create contrast: Pair different textures such as smooth ceramic with natural wood.
- Keep the grouping compact: Leave clear counter space around the arrangement.
A bowl and candle pairing adds a little warmth without making the counter feel overly decorated. Keep the colors close to your existing kitchen palette for a cohesive result. If you regularly cook nearby, use the candle as occasional decor and move it away from heat sources whenever the stove is active.
Clean Counter Trio
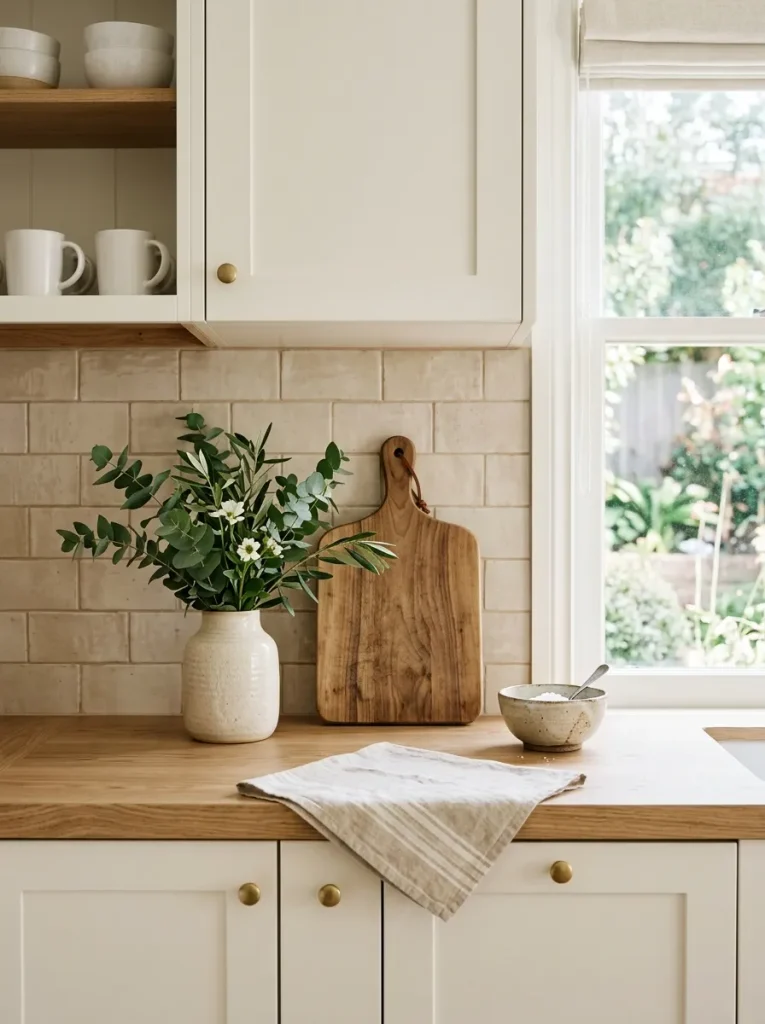
| Comparison Point | Option A | Option B |
| Number of Pieces | Three | Five or more |
| Visual Effect | Clean and balanced | Fuller and busier |
| Maintenance | Quick and simple | More frequent cleaning |
| Best For | Minimal kitchens | Large open counters |
A three-piece arrangement can give the counter structure without filling every open area. Choose one tall item, one medium piece and one low object to create visual variation. This simple formula works well when you want your kitchen to feel decorated but still need plenty of clear space for everyday cooking.
CONCLUSION
Styling your kitchen does not require a complete makeover. Small changes, such as adding a wooden board, grouping everyday items on a tray or bringing in fresh greenery, can make the space feel more organized and welcoming. These 33 Kitchen Counter Styling Ideas give you plenty of inspiration to find a look that fits your home and lifestyle.
I’ve seen how small styling changes can completely shift the way a kitchen feels. Start with one idea, then build from there. Save this post on Pinterest for later, try your favorite ideas and share it with someone who would love fresh kitchen inspiration.