27 DIY Bar Shelf Ideas to Create Wow-Worthy Styles
A small wall can become a stylish drink station with the right shelf. Even a simple wood board, cabinet or narrow ledge can give bottles and glassware a clear place to live.
These DIY Bar Shelf Ideas are designed for anyone who wants better drink storage without buying a large bar cabinet. Whether your space is compact, rustic, modern or somewhere in between, these ideas offer practical ways to use empty walls, corners, cabinets and shelves. You will find options for different styles, materials and storage needs, along with simple styling tips that help each setup feel finished. In my experience, keeping the display useful and uncluttered makes a home bar much easier to enjoy and maintain.
Floating Wood Shelf
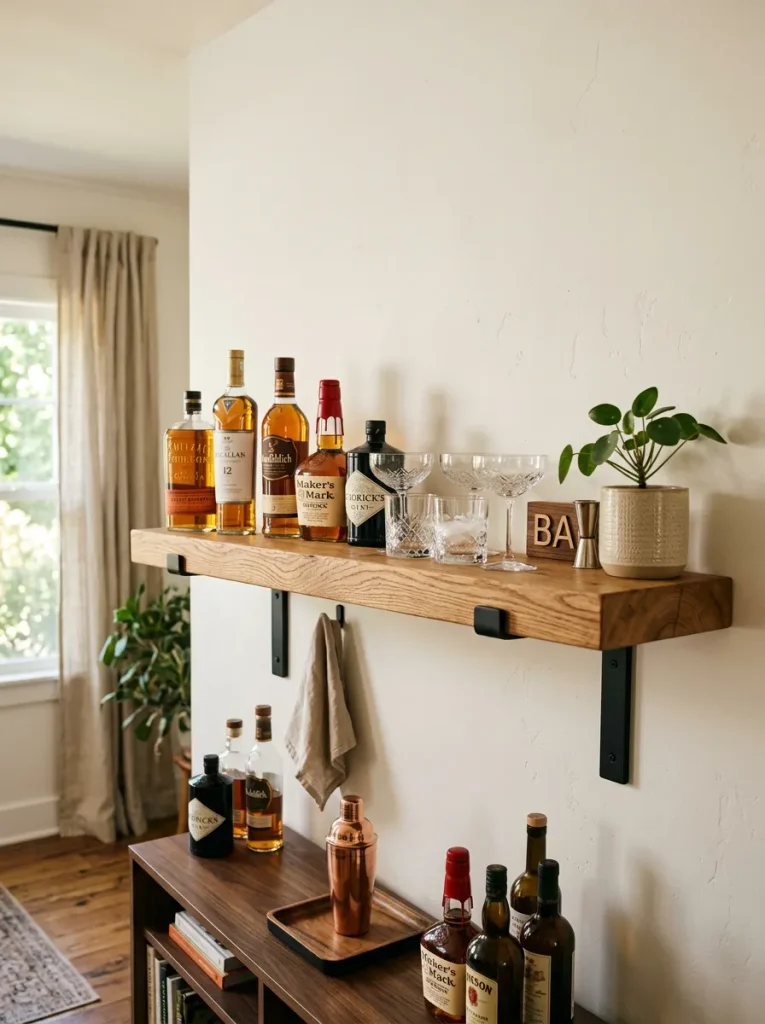
A bare wall can become a useful drink station with one sturdy wooden shelf. Choose a plank with visible grain and mount it at a comfortable height above a counter or cabinet. Keep bottles toward the back and glasses near the front so everything stays easy to reach.
In my experience, natural wood works especially well when the rest of the room has neutral colors. A few black brackets can add definition without making the shelf feel heavy. Leave some open space around the bottles instead of filling every inch with bar accessories.
Pipe Bracket Bar

- Choose a thick wood board that can handle the weight of bottles and glassware.
- Use black pipe brackets for a strong industrial detail without adding extra decoration.
- Sand the shelf edges smoothly before staining or sealing the wood.
- Keep heavier bottles close to the wall where the brackets provide stronger support.
- Add one small metal or wood accessory to connect the shelf with the room.
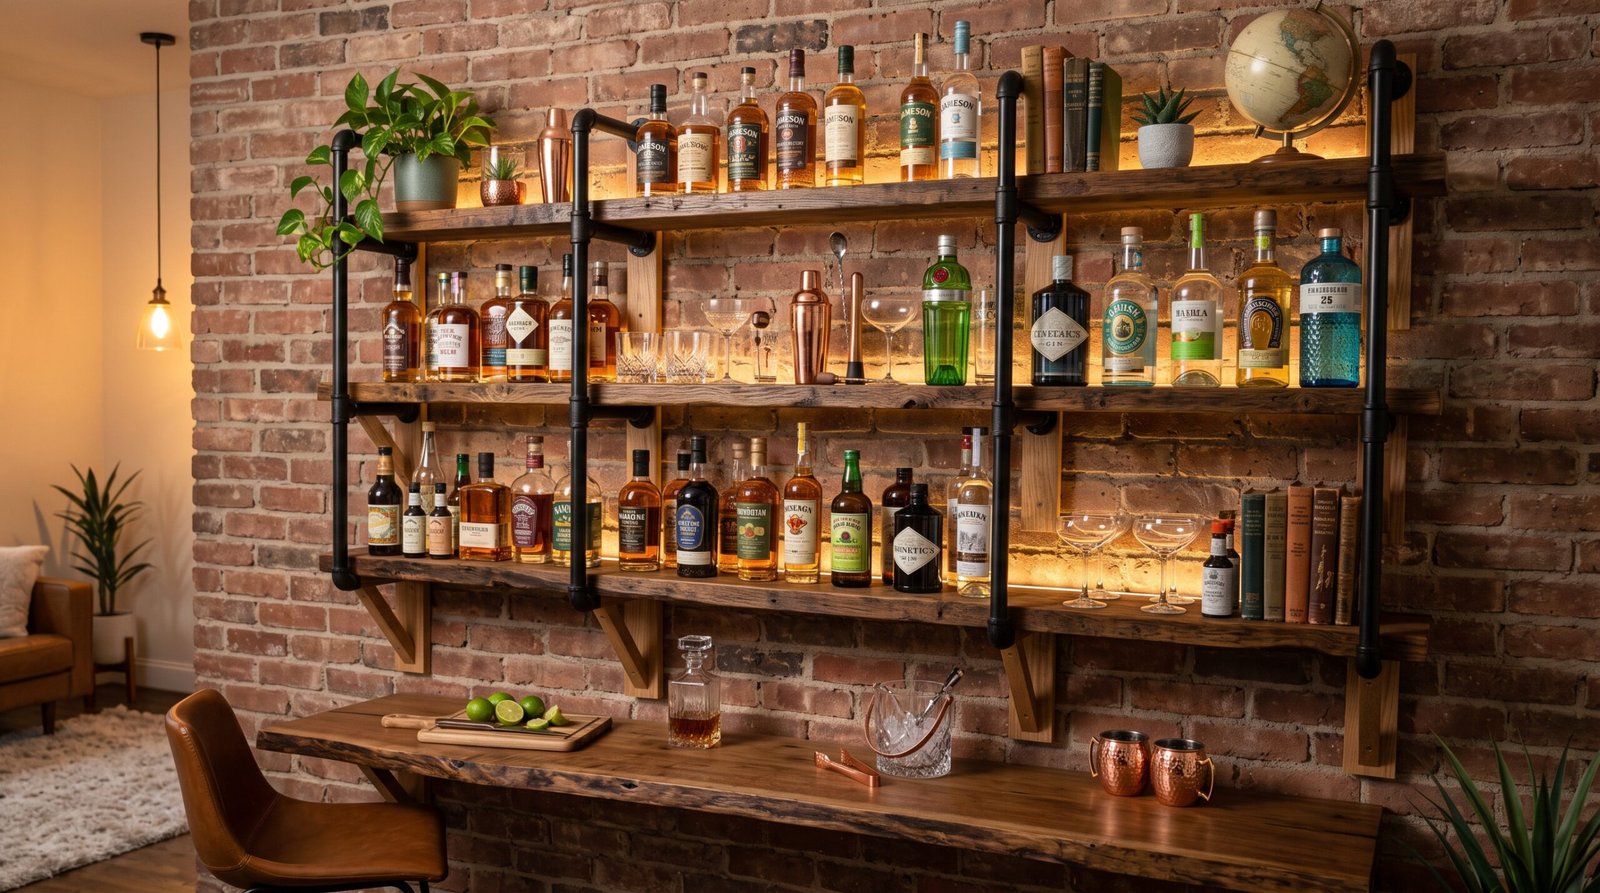
Pipe brackets give a simple wooden shelf a stronger visual identity. They work especially well with darker finishes, exposed brick, concrete walls or black hardware. For a softer look, pair the dark brackets with warm oak instead of deep walnut. The result feels practical while still giving the bar area a finished style.
Cabinet Top Bar
Quick Tip:
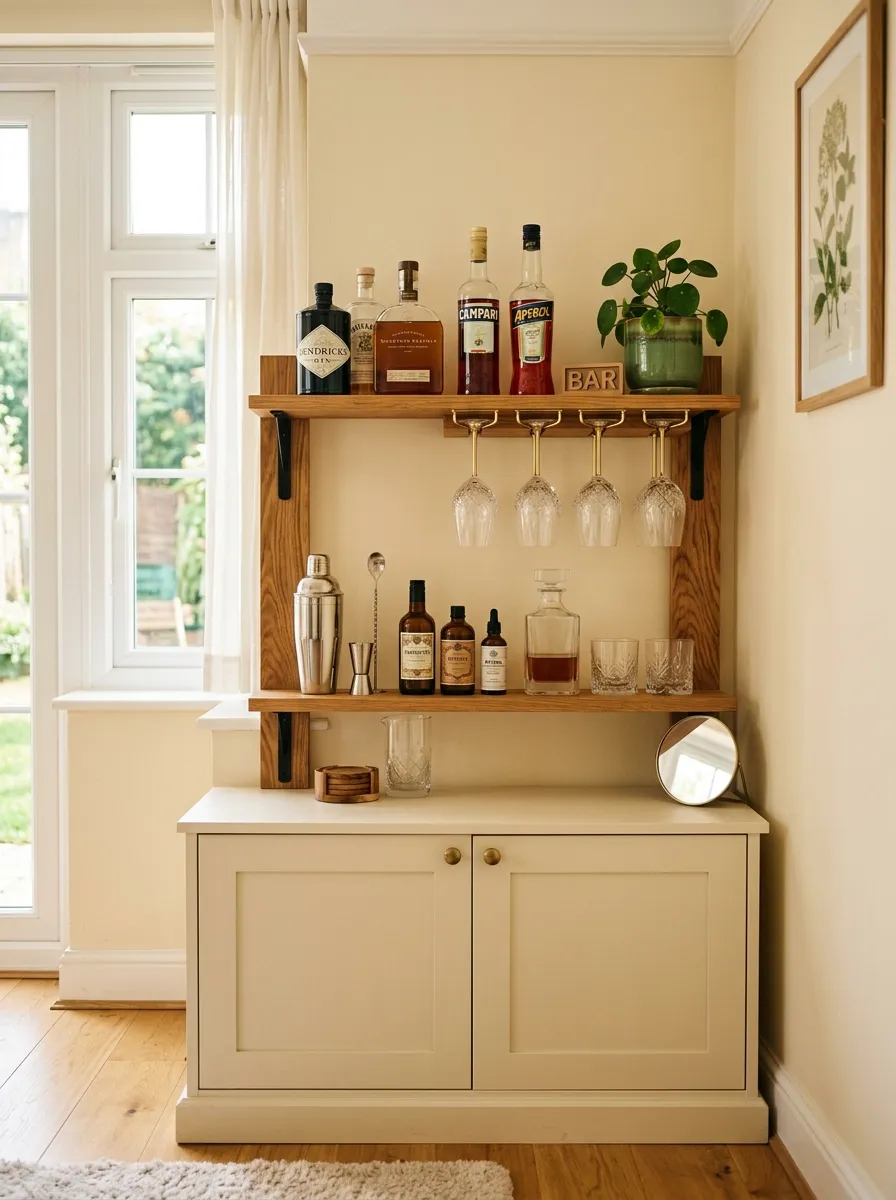
Use the top of a cabinet as the base for a compact home bar. Add a narrow shelf above it to create two storage levels without taking up extra floor space. Keep everyday bottles on the lower level and less-used glassware on the upper shelf.
A cabinet-top bar works well in dining rooms, living areas and small apartments where wall space is limited. Choose a cabinet with a stable surface, then match the shelf finish to its existing wood tone. A small tray can keep cocktail tools together and prevent the arrangement from feeling scattered.
Ladder Shelf Bar

BEFORE:
An empty wall can leave bottles and bar tools scattered across a counter or cabinet. Glassware may take up valuable storage space, making the area feel crowded and unfinished.
AFTER:
A slim ladder shelf gives each item a defined place while using vertical space. Bottles sit on the lower tiers, glasses occupy the middle level and a small decorative piece finishes the top.
A ladder shelf is useful when floor space is limited but vertical storage is available. Choose narrow tiers for a compact room and keep heavier bottles on the lower levels. Leave enough space between each shelf so bottles and glasses remain easy to remove without knocking nearby pieces.
Corner Bar Shelf
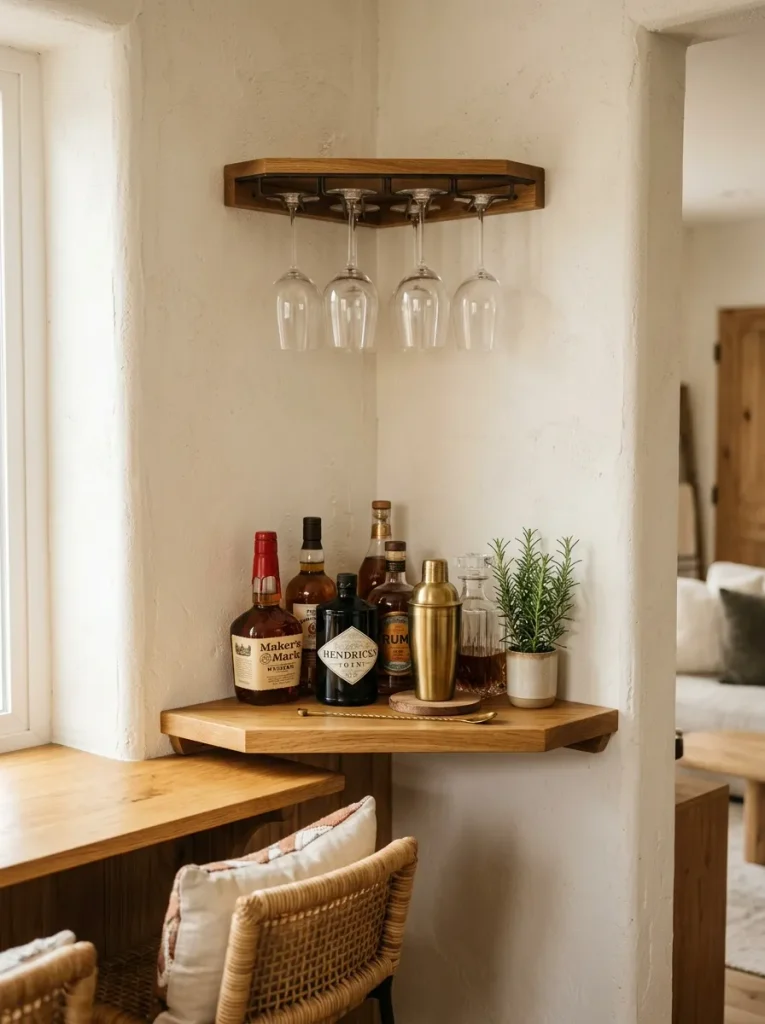
- Measure the corner: Check both walls before cutting the shelf so the finished piece fits securely without blocking nearby furniture.
- Choose the shelf shape: Use a triangular or rounded board that follows the corner and leaves enough room for bottles.
- Add secure brackets: Position brackets beneath the widest part of the shelf for better support.
- Style by height: Place taller bottles toward the back and shorter glasses near the front.
- Keep the edges clear: Leave a small border around the shelf so items are easier to pick up.
Corner shelving makes use of an area that often sits empty. A triangular wood board can hold a few bottles and glasses without demanding much wall space. I’ve noticed that keeping the arrangement small helps the corner feel intentional rather than crowded, especially in compact dining rooms.
Backlit Bottle Shelf
| Comparison Point | Option A: Front Lighting | Option B: Under-Shelf Lighting |
| Light direction | Highlights bottles directly | Creates a soft glow below |
| Visual effect | Brighter and more noticeable | Subtle and atmospheric |
| Best for | Open wall displays | Floating shelves and cabinets |
| Style | Modern and decorative | Warm and refined |
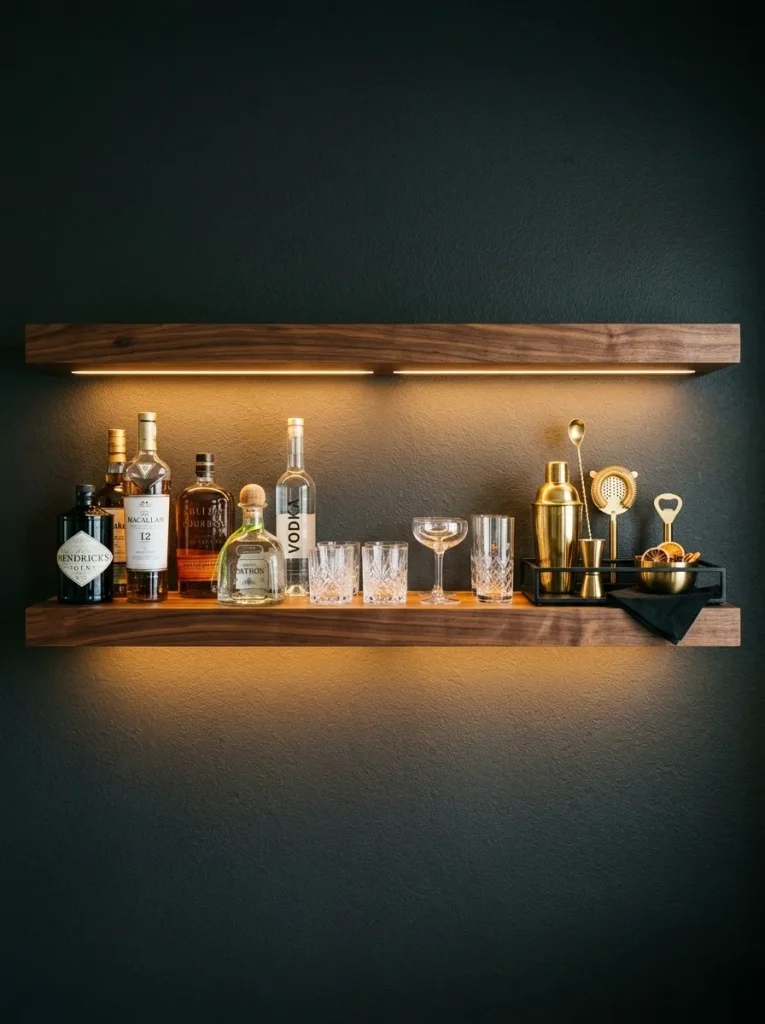
Under-shelf lighting can make bottles easier to see while giving the bar area a warmer evening mood. Choose a slim LED strip that stays hidden beneath the shelf edge. Warm white light usually works well with wood, amber glass, brass and darker wall finishes.
Pegboard Bottle Display
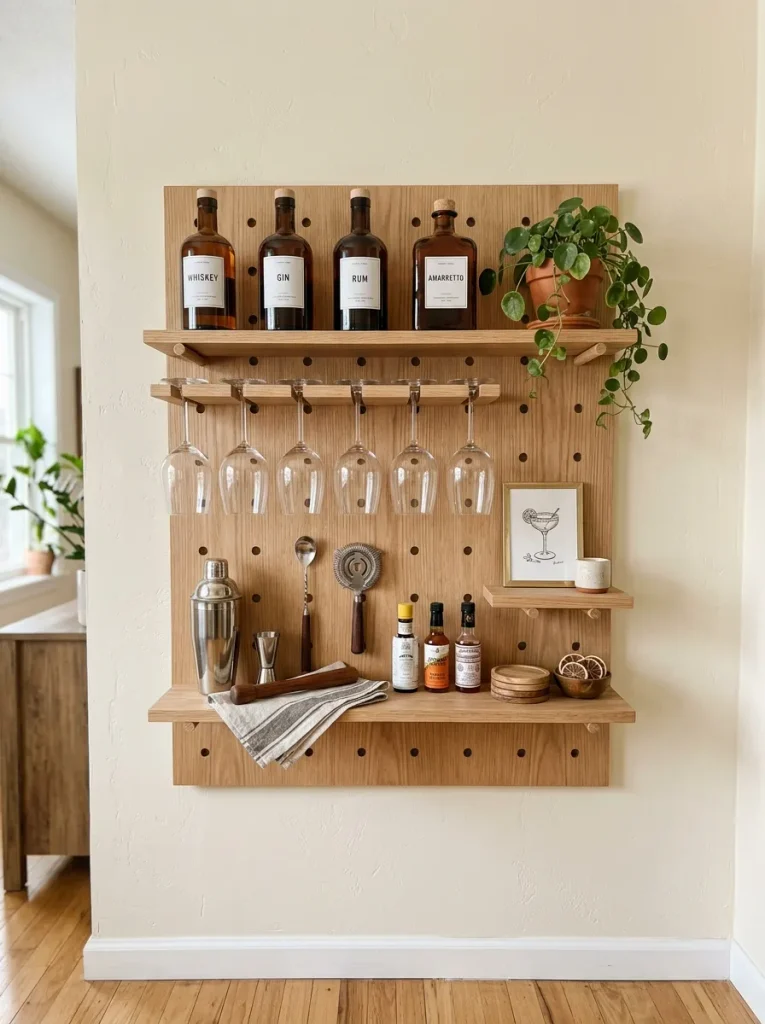
DO:
- Mount the pegboard securely into wall studs or suitable anchors.
- Keep the lower shelf for heavier bottles and tools.
- Use matching wood shelves for a cleaner visual flow.
- Leave a few peg spaces open so the display does not feel crowded.
DON’T:
- Hang heavy bottles from small decorative hooks.
- Pack every peg with bar accessories.
- Place fragile glassware where it can be easily bumped.
- Mix too many shelf finishes in one display.
A pegboard bar gives you flexible storage that can change as your collection grows. Move the pegs to create space for bottles, glasses or tools whenever needed. Natural wood keeps the setup warm, while black hooks add contrast. It is especially useful for renters who want an organized display without bulky furniture.
Reclaimed Wood Bar
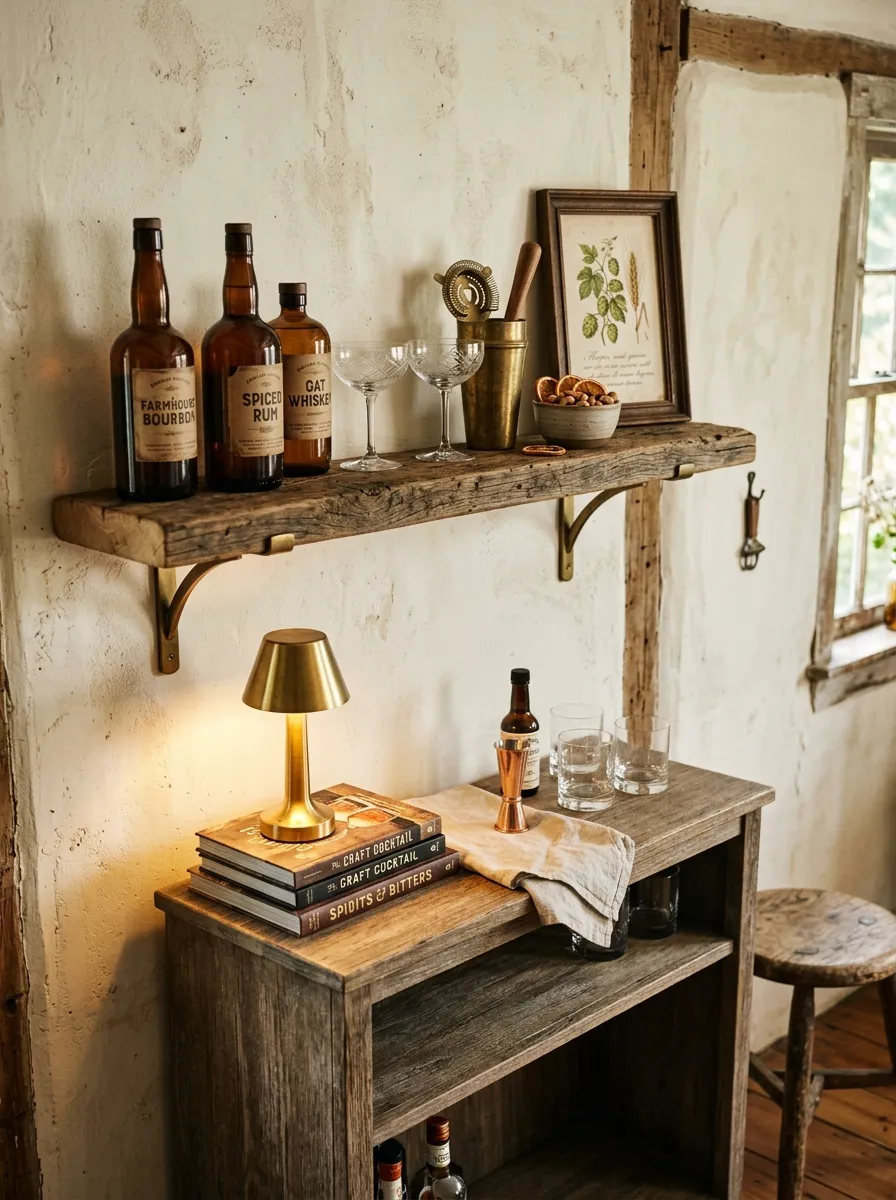
Cost: Low | Time: One afternoon | Skill Level: Beginner
Best For: Rustic interiors | Works In: Dining rooms and living spaces
Material: Reclaimed wood with visible grain
Result: Character-rich storage with a handmade feel
Reclaimed wood brings natural variation that makes a simple shelf feel more personal. Look for a board with a stable surface and interesting grain, then sand rough areas before sealing it. Pair the weathered finish with simple glassware and metal accents so the wood remains the main feature.
Hanging Glass Rail

A narrow shelf becomes much more useful when the underside stores glassware. Install a slim rail beneath the board and hang wine glasses upside down with enough spacing between each stem. Keep bottles on top and leave a little open shelf space for a shaker or small serving tray.
I’ve noticed that storing glasses underneath helps keep the main shelf visually lighter. It also creates a clear separation between bottles and stemware. Choose a rail that matches nearby hardware, such as black metal for an industrial room or brass for a warmer, more traditional look.
Floating Glass Shelf

- Choose tempered glass for a stronger and safer shelf surface.
- Use sturdy metal brackets that complement nearby fixtures.
- Keep heavier bottles spaced evenly across the shelf.
- Add a narrow tray to group smaller bar tools together.
- Leave open areas so the transparent shelf remains visually light.
Glass shelving works well when you want storage without making a room feel smaller. The transparent surface keeps the wall visible while bottles and glassware provide the main visual interest. Pairing glass with warm wood or brass details also keeps the display from feeling too cold or overly modern.
Crate Bar Shelves
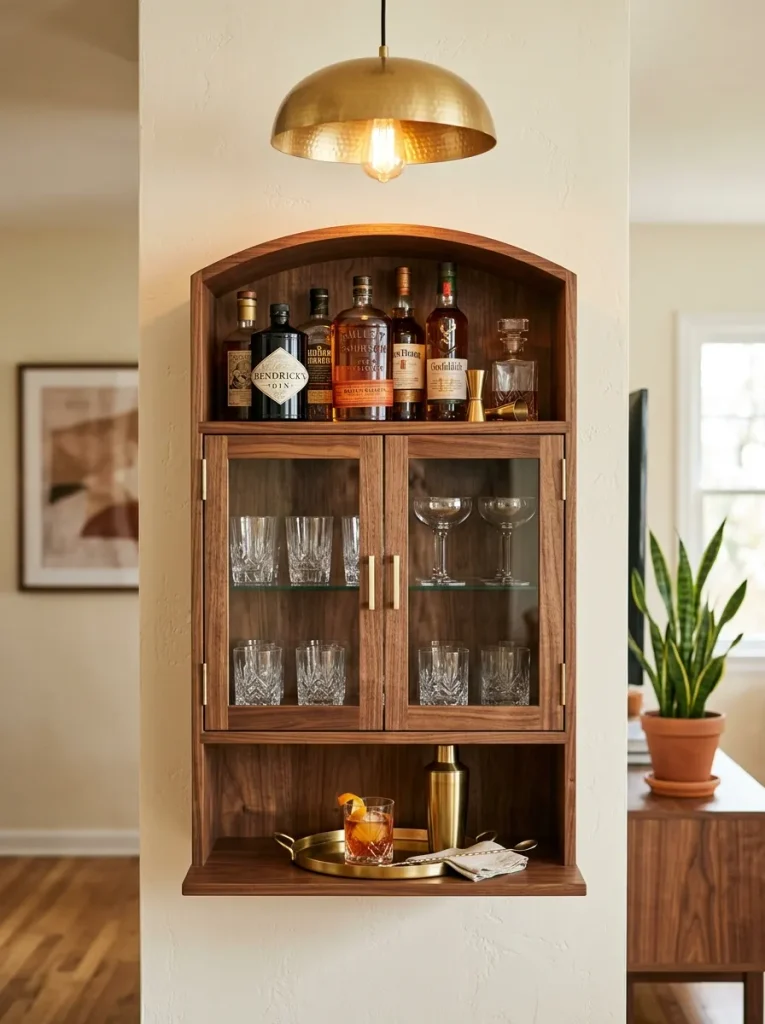
Quick Tip:
Sand wooden crates before using them and check every corner for loose nails or rough splinters. Mount each crate securely rather than relying only on stacking, especially when storing glass bottles.
Crates create built-in compartments without complicated woodworking. Use one section for bottles, another for glasses and a smaller space for cocktail tools. Staining all the crates in one finish keeps the arrangement cohesive. For a lighter look, leave the wood natural and pair it with cream walls.
Wall Mounted Cabinet
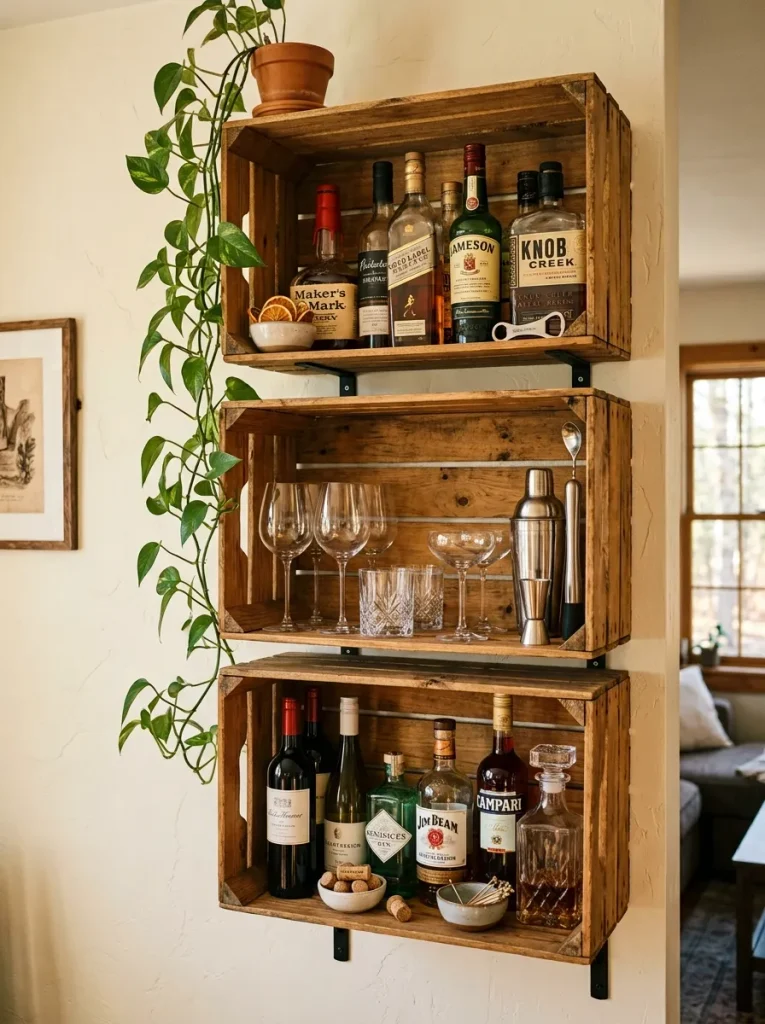
BEFORE:
Bottles and glasses sit openly on a counter, collecting visual clutter and taking up useful workspace. Small tools can also become scattered between everyday kitchen or dining items.
AFTER:
A wall-mounted cabinet gathers bottles, glassware and accessories into one defined storage area. Closed sections hide less attractive items, while open shelving keeps frequently used pieces easy to reach.
A compact cabinet is useful when you want the bar collection organized but do not want everything on display. Choose a finish that matches existing furniture, then use one open section for decorative bottles or glassware. Keep heavier items on lower shelves and avoid overloading the wall-mounted unit.
Rustic Beam Shelf
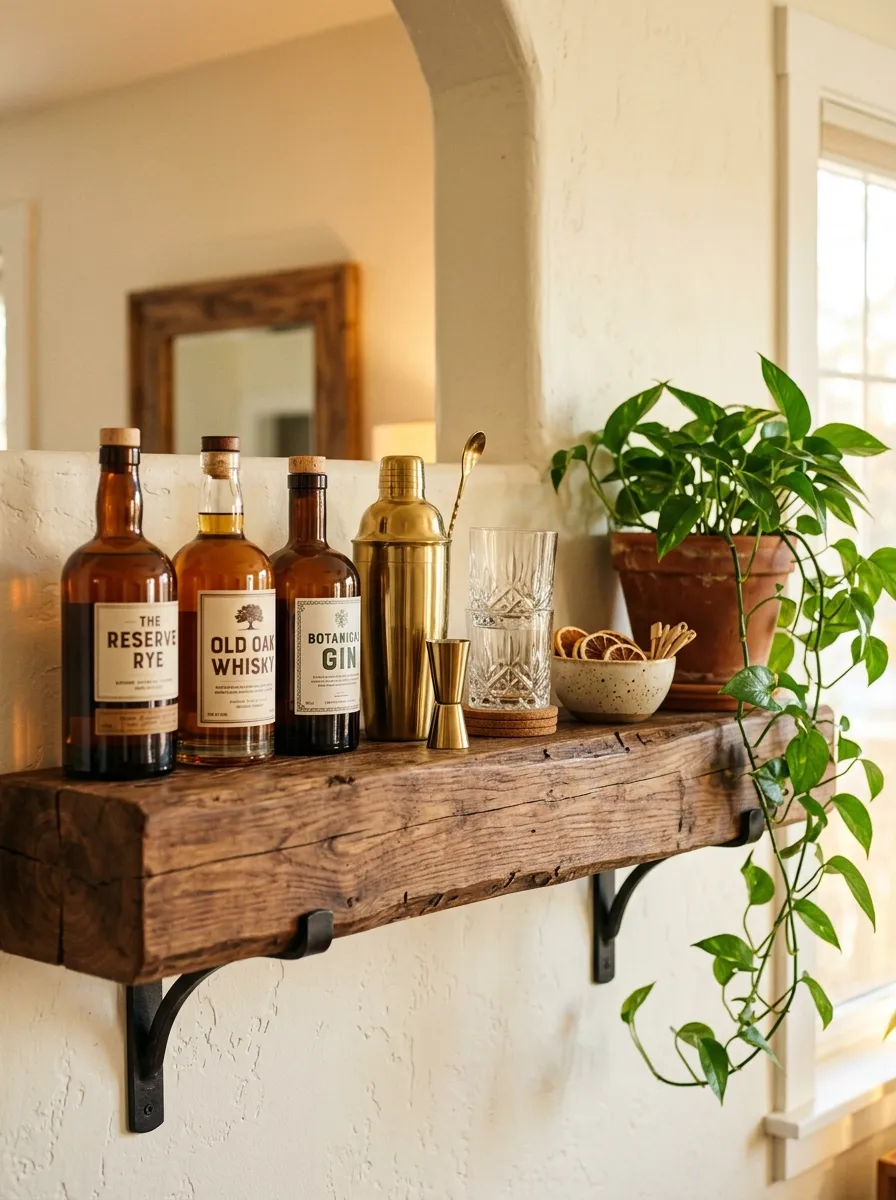
- Select the beam: Choose a sturdy reclaimed or solid wood beam with enough depth for bottles and glassware.
- Smooth the surface: Sand rough areas and remove loose splinters while keeping some natural grain visible.
- Add wall supports: Use heavy-duty brackets positioned evenly beneath the beam.
- Arrange the bottles: Place taller bottles toward the back and shorter glasses toward the front.
- Finish with one accent: Add a small plant, bowl or metal accessory without filling the entire shelf.
A thick wood beam gives a bar display a strong handcrafted character. It works especially well with exposed brick, plaster, stone or neutral walls. Keep the styling simple so the natural grain remains noticeable. A dark stain creates a dramatic look, while lighter wood keeps the setup relaxed and casual.
Window Bar Shelf
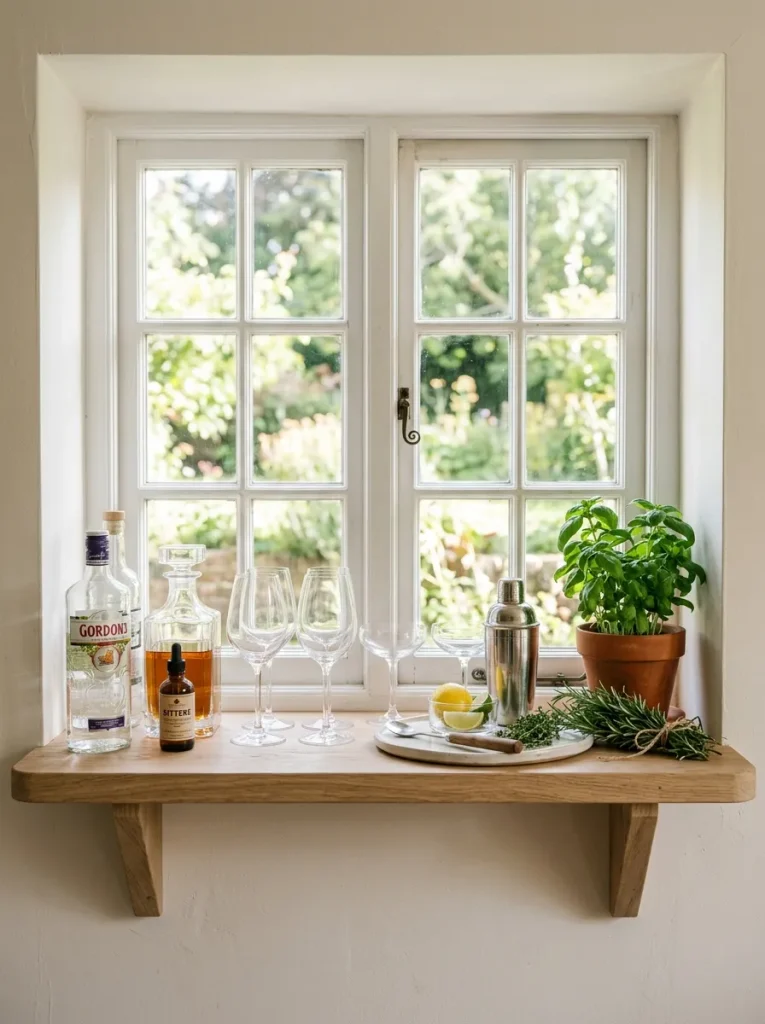
| Comparison Point | Option A: Full Shelf | Option B: Narrow Shelf |
| Storage | Holds more bottles and accessories | Keeps only daily essentials |
| Visual weight | More noticeable | Light and open |
| Best location | Large wall or dining area | Window areas and compact rooms |
| Styling | Decorative and layered | Simple and minimal |
A narrow shelf beneath a window can create a useful bar area without blocking natural light. Keep the shelf shallow and avoid placing tall bottles directly in front of the glass. I’ve found that clear bottles, small glasses and fresh greenery work especially well beside bright windows.
Copper Pipe Shelf
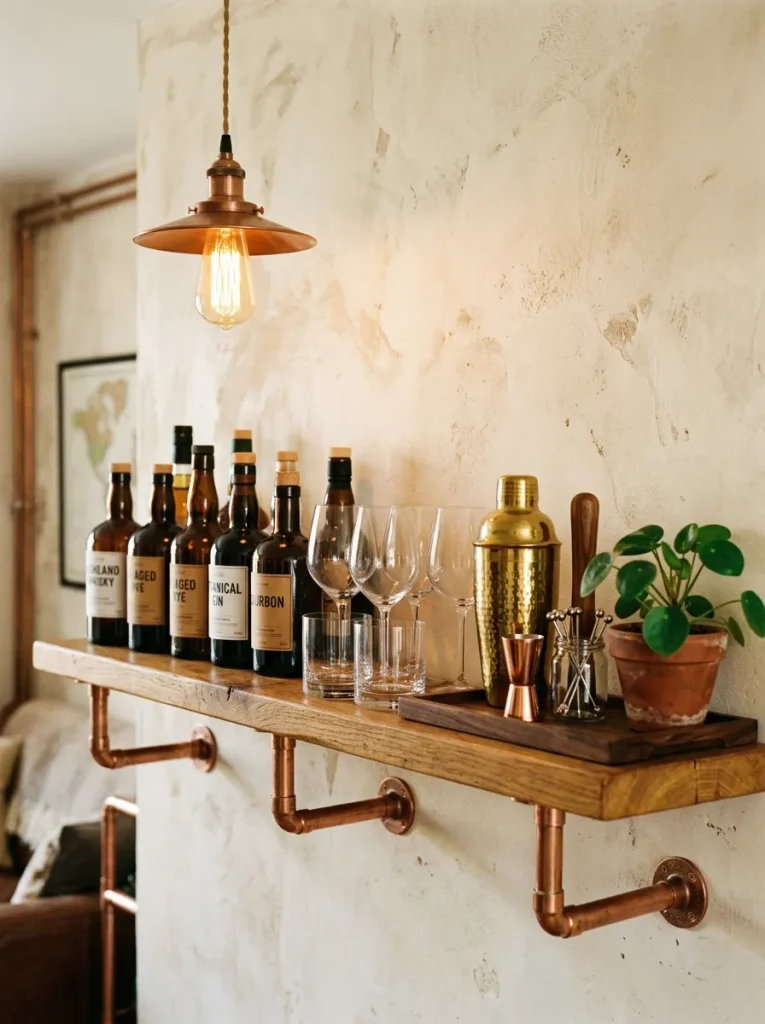
DO:
- Pair copper pipes with warm wood for a balanced finish.
- Polish the pipes lightly if you want a brighter metallic surface.
- Keep bottle colors within a simple amber, clear and green palette.
- Match other nearby metal details with the copper tone.
DON’T:
- Mix several competing metal finishes on one small shelf.
- Use thin boards that may flex under bottle weight.
- Place fragile glasses directly beside the shelf edge.
- Overdecorate the space with unrelated accessories.
Copper pipe supports bring warmth to a basic wooden shelf while keeping the structure visible. The combination suits kitchens, dining rooms and compact entertaining areas. For a softer appearance, use pale oak and cream walls. Darker wood creates more contrast and gives the metal a stronger visual presence.
Narrow Wall Ledge

A narrow wall ledge can turn unused wall space into a compact drink station. Keep the shelf depth just large enough for your bottles and glassware, then use the wall above it for a small framed print or simple art piece.
The key is restraint. I’ve noticed that narrow shelves look more polished when only a few useful pieces are displayed. Group bottles together, keep glasses nearby and leave visible wall space around the arrangement so the setup feels open rather than crowded.
Built-In Nook Bar
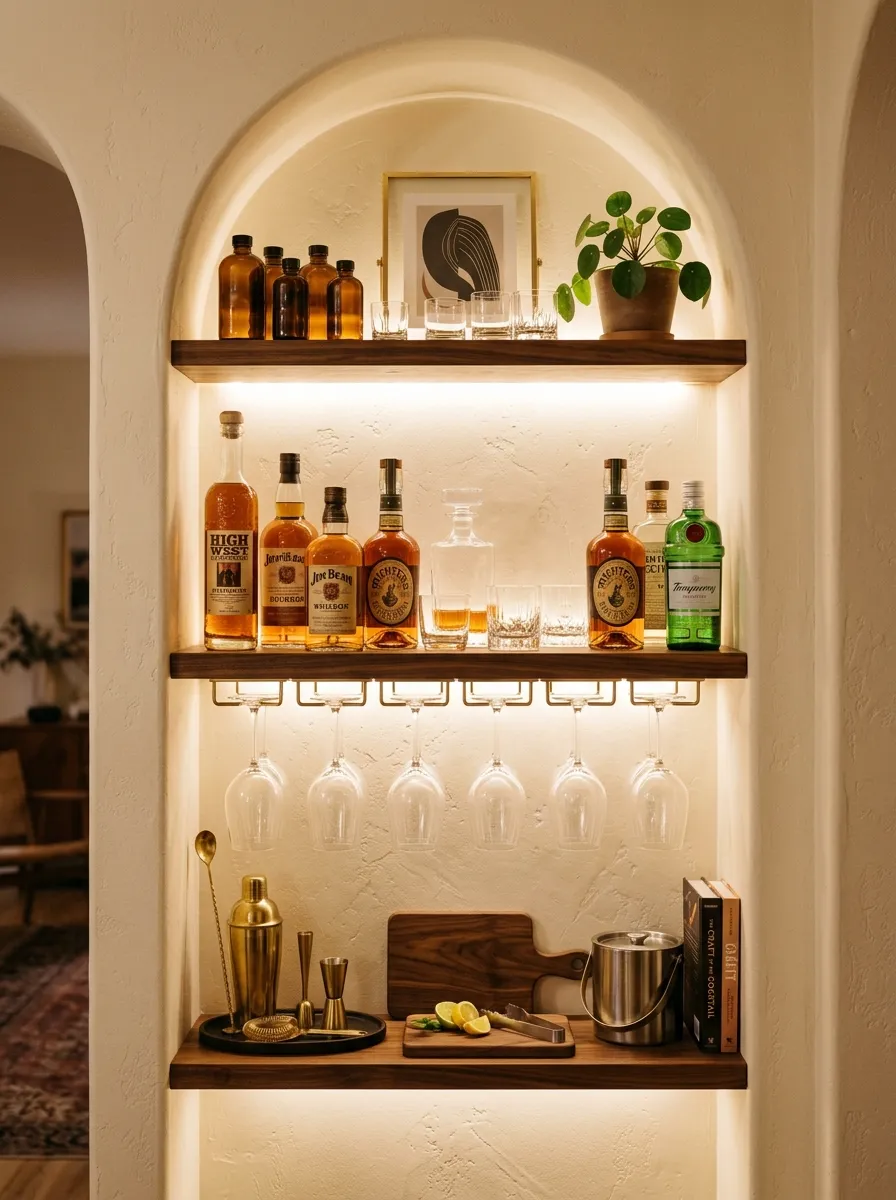
Quick Tip:
Measure the nook before choosing shelves, especially if the walls are uneven. Use the lower area for bottles and tools, then reserve the upper section for glasses or decorative pieces.
A built-in nook keeps the bar collection contained within an existing architectural space. Walnut shelves add warmth, while subtle lighting helps the bottles stand out after dark. This setup works especially well beside dining areas where the drinks are close to the table but separate from everyday kitchen storage.
Open Cube Shelves
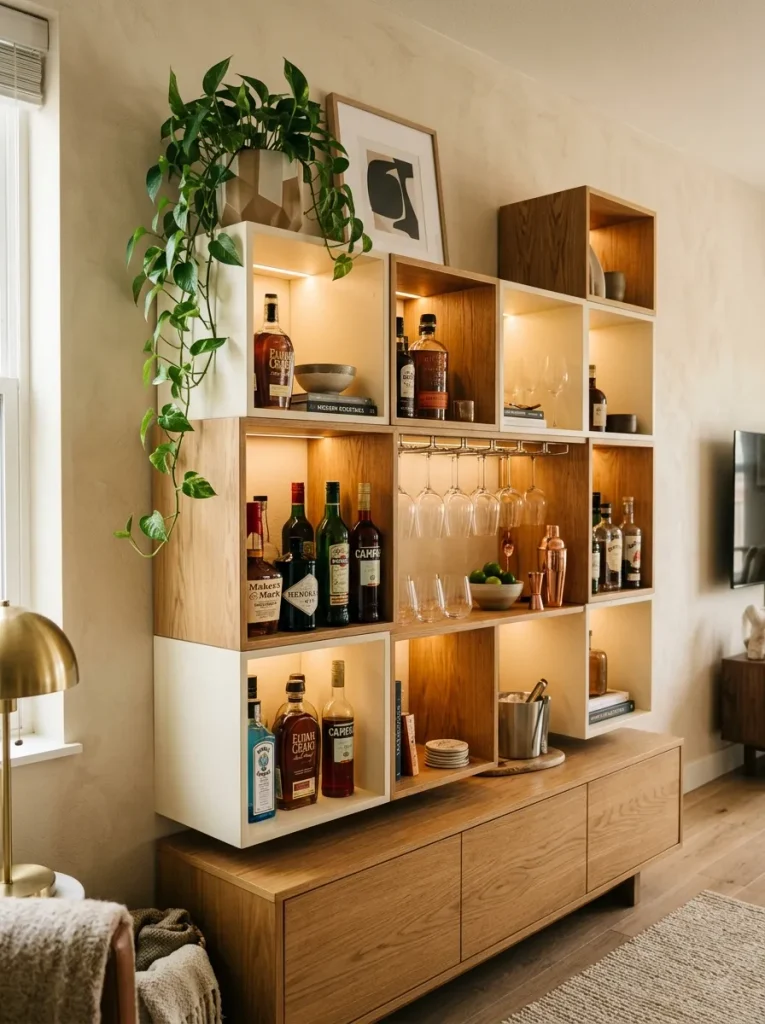
- Use one cube for bottles: Keep your most-used drinks together for quick access.
- Reserve another cube for glassware: Store matching glasses in one visible section.
- Add one decorative element: A small plant, bowl or framed print can soften the geometric lines.
- Leave some cubes open: Empty sections create breathing room and prevent visual clutter.
- Keep heavy items low: Place larger bottles in the lower compartments for better balance.
Open cube shelves give you separate storage zones without needing a traditional bar cabinet. Their square shape also makes arranging items easier because each compartment has a clear boundary. Choose matching containers and a limited color palette so the display feels organized rather than busy.
Wine Rack Shelf
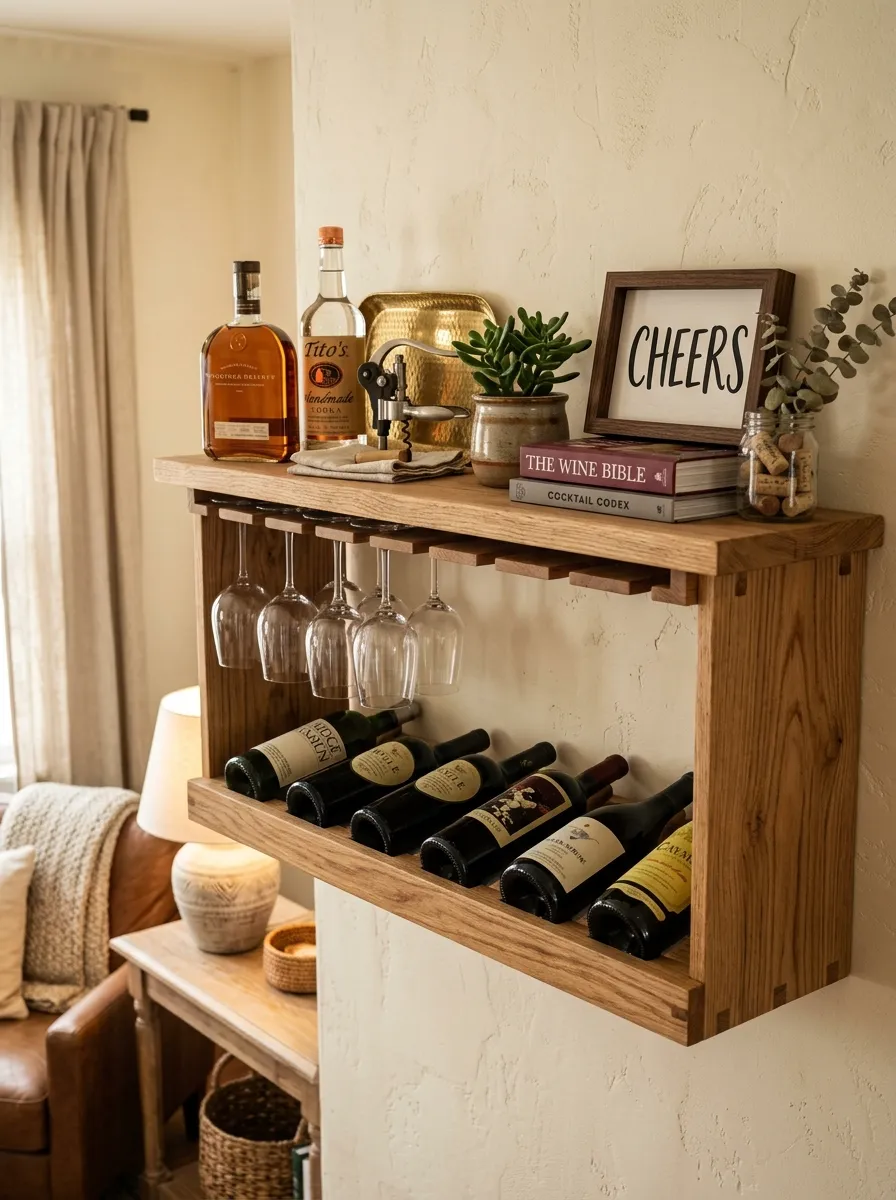
Cost: Moderate | Time: One afternoon | Skill Level: Intermediate
Best For: Wine lovers | Works In: Dining rooms and kitchens
Storage: Bottles and stemware | Result: Organized drink storage in one compact display
A wine rack shelf combines bottle storage with a small display area, making every part of the unit useful. Store wine horizontally in the lower rack and keep glasses or serving pieces on the upper ledge.
Choose a wood finish that matches nearby cabinets or furniture. I’ve noticed that a simple rack looks more polished when the bottle labels face outward and the upper shelf holds only a few carefully chosen pieces.
Black Metal Shelf

A dark metal frame can give a simple shelf a crisp architectural look. Pair it with a warm wood board to soften the strong black finish and create contrast against a light wall.
Keep the accessories simple so the frame remains part of the design. Clear glassware, amber bottles and one natural element such as a small plant can add enough color without making the shelf feel overly styled.
Floating Double Shelf
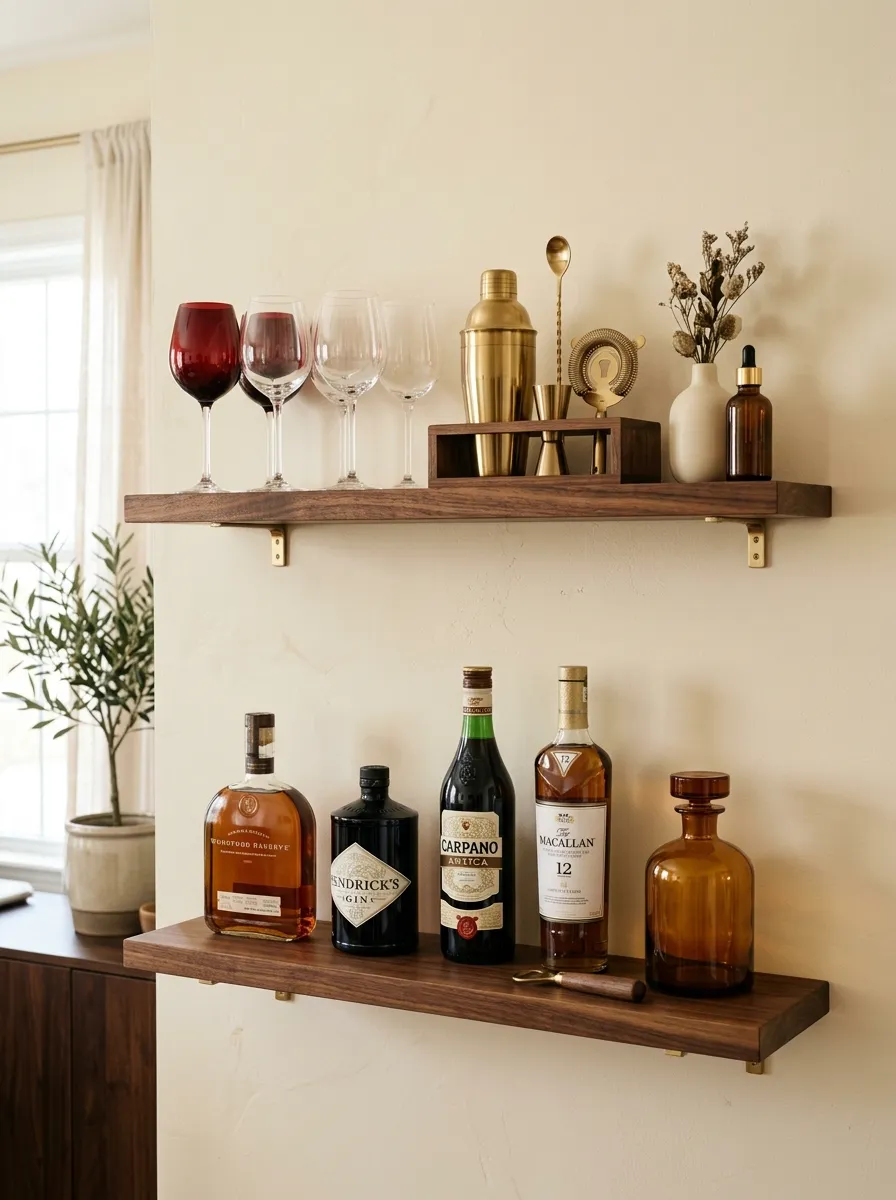
- Separate by function: Use the lower shelf for bottles and the upper shelf for glassware or decorative pieces.
- Leave vertical space: Keep enough room between shelves for taller bottles and easy access.
- Match both finishes: Use the same wood tone on both shelves for a connected appearance.
- Add one accent: A small plant, bowl or framed print can break up the rows.
- Keep the lower shelf lighter: Avoid placing too many heavy bottles in one area.
Two floating shelves provide more storage while keeping the wall visually open. Separating bottles from glassware makes the setup easier to use and maintain. This arrangement works especially well above a narrow cabinet or console, giving you a compact bar station without needing a large piece of furniture.
Recessed Bar Shelf

Cost: Moderate | Time: One to two days | Skill Level: Intermediate
Best For: Renovated spaces | Works In: Dining rooms and living areas
Storage: Bottles, glasses and tools | Result: Built-in bar storage with a clean profile
A recessed shelf makes use of wall depth instead of taking over valuable floor or counter space. Keep the interior finish slightly darker than the surrounding wall to give the display more definition.
Add small lights near the top if the area needs evening illumination. In my experience, keeping the recess limited to a few useful items makes the finished bar feel intentional and easier to maintain.
Peg Rail Bar
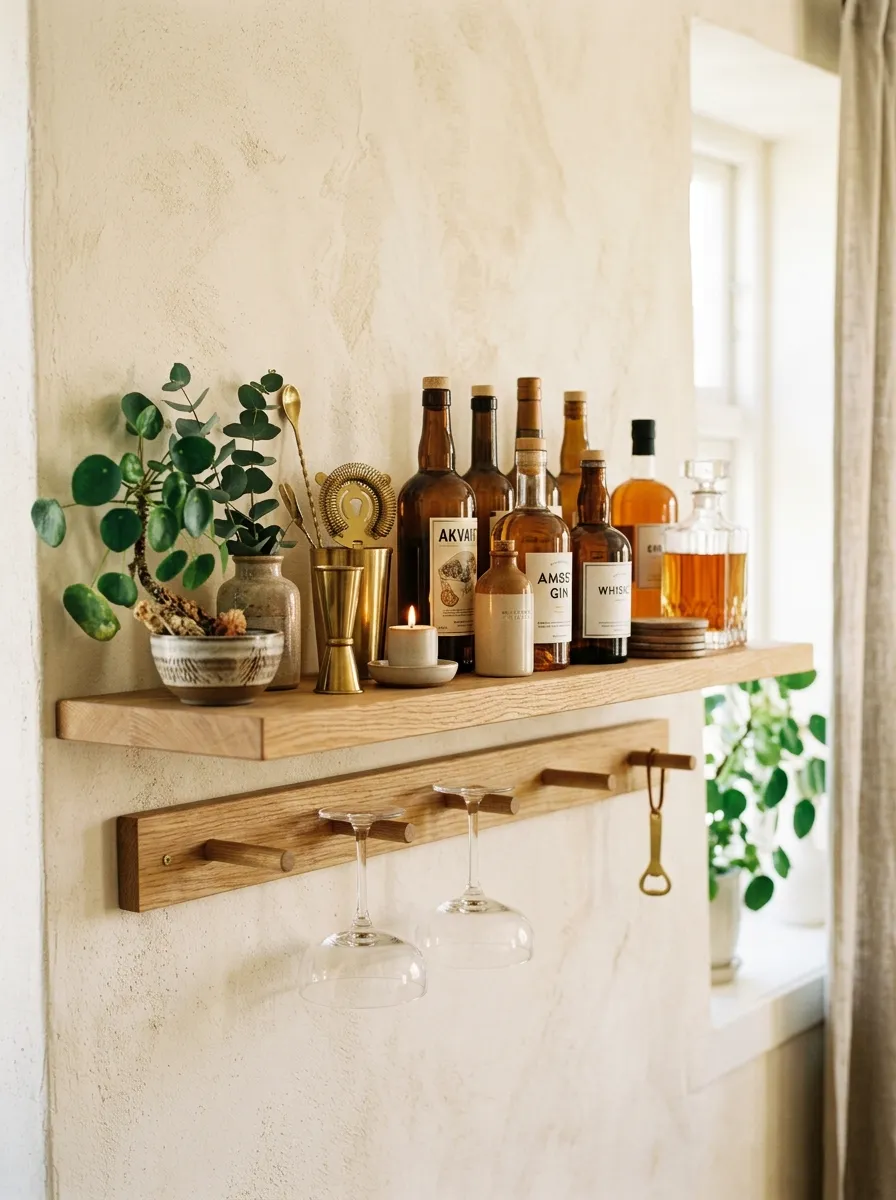
A simple peg rail can give a wooden shelf extra storage without making it look bulky. Hang stemmed glasses from sturdy pegs underneath while keeping bottles and cocktail tools on the shelf above.
Choose peg spacing based on the glass sizes you plan to store. Leave a little room between each hanging piece so the glassware is easy to remove. A pale wood finish keeps the arrangement light, while a darker stain creates a richer focal point.
Marble Bar Ledge
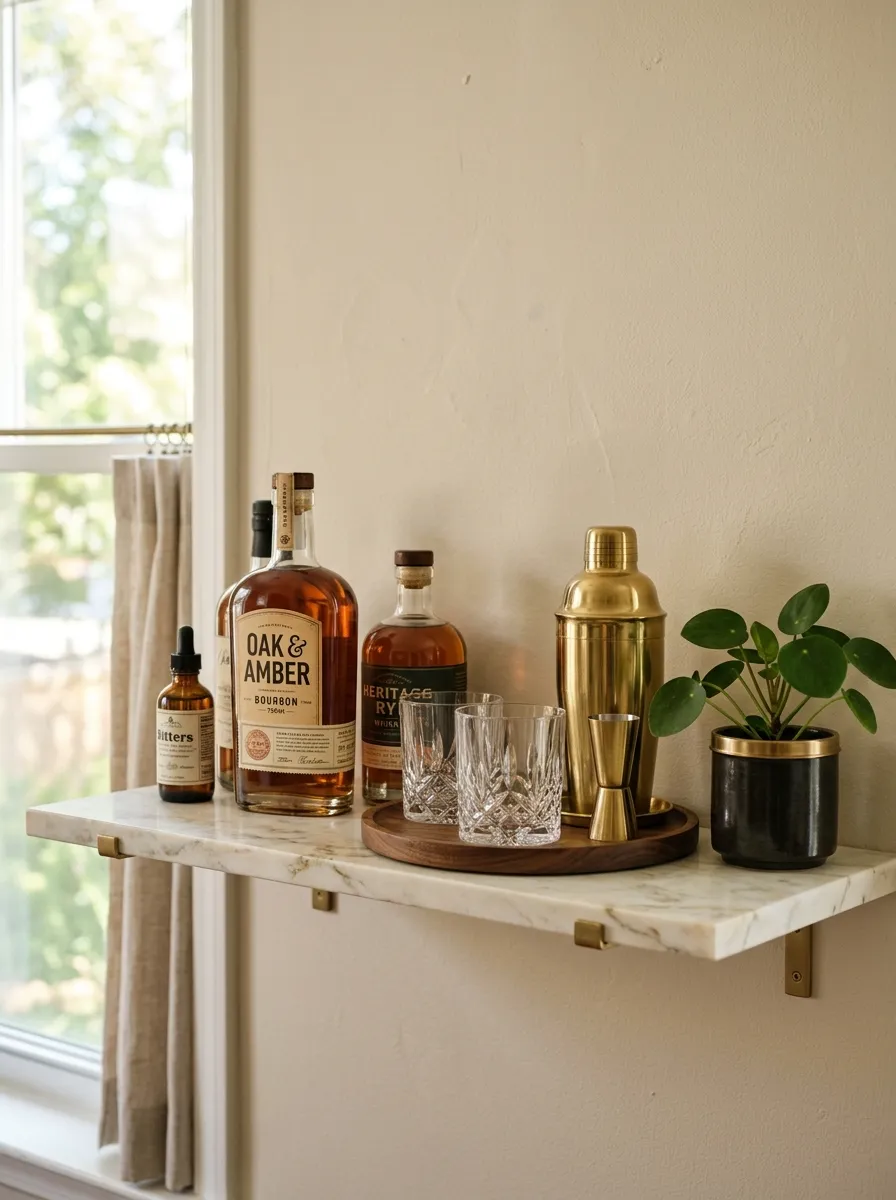
- Choose a marble ledge with enough depth for stable bottle placement.
- Use a small wooden tray to protect the surface from scratches and spills.
- Keep heavy bottles spaced apart instead of grouping them in one spot.
- Pair the stone with warm wood or brass for visual balance.
- Wipe spills quickly to keep the surface looking clean.
Marble adds a polished surface to a compact bar display while the natural veining provides subtle visual detail. Pairing it with warm wood keeps the setup from feeling too formal. This style works especially well in dining areas where the bar shelf needs to look connected to the surrounding decor.
Hanging Bar Cabinet
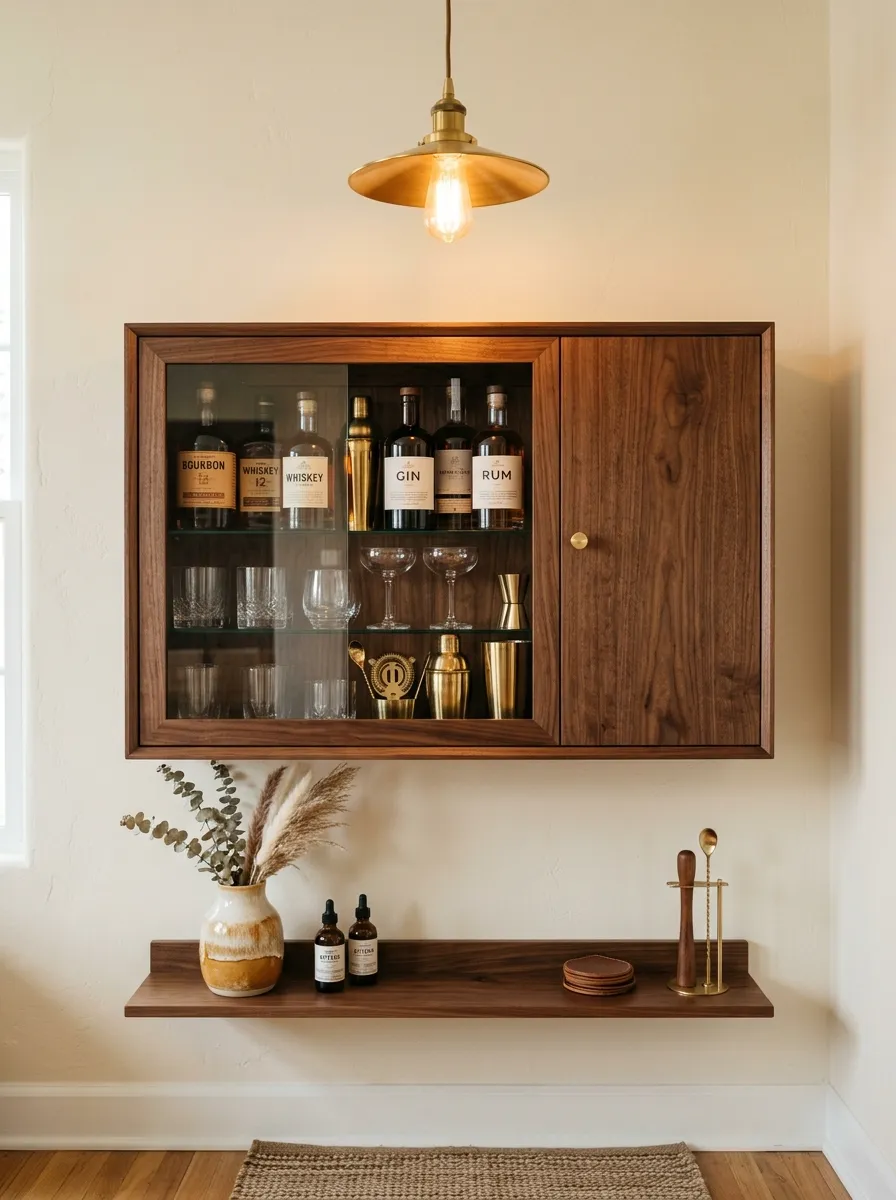
- Choose the cabinet: Select a shallow wall cabinet that provides enough room for bottles without extending too far into the room.
- Add an open shelf: Install a narrow shelf underneath for frequently used glasses or serving pieces.
- Secure the unit: Use appropriate wall anchors and brackets based on the cabinet weight and wall type.
- Organize by use: Keep everyday bottles and glasses within easy reach while storing less-used items inside.
- Finish with one accent: Add a small tray or plant to soften the cabinet’s clean lines.
A hanging cabinet keeps the bar collection organized while using vertical wall space. The closed storage hides extra supplies, while the open shelf keeps favorite pieces visible. Choose warm wood for a relaxed look or a painted finish that matches nearby cabinetry for a more connected appearance.
Pallet Wood Shelf

| Comparison Point | Option A: Raw Pallet Wood | Option B: Finished Pallet Wood |
| Appearance | Rough and rustic | Smooth and refined |
| Surface | Strong natural texture | Easier to clean |
| Style | Farmhouse and industrial | Modern rustic |
| Maintenance | Needs more cleaning care | Simpler daily upkeep |
Pallet wood can create a distinctive handmade shelf with plenty of character. Sand the boards thoroughly and seal the finished surface before placing bottles or glassware on it. A simple black bracket adds structure, while keeping the wood finish visible preserves the relaxed, workshop-inspired feel.
Bar Cart Shelf
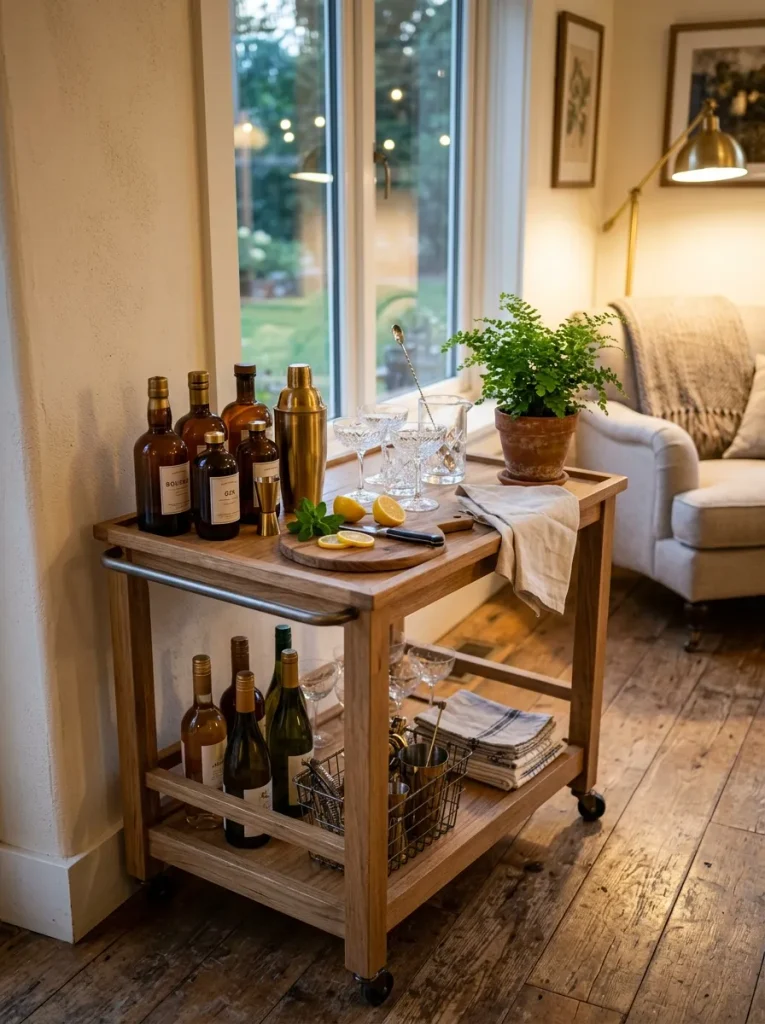
DO:
- Keep frequently used bottles on the easiest-to-reach shelf.
- Use a tray to group cocktail tools and small accessories.
- Leave enough open space to move the cart safely.
- Match the cart finish with nearby furniture or shelving.
DON’T:
- Overload the shelves with heavy bottles.
- Place fragile glasses near the outer edges.
- Block wheels with baskets or loose accessories.
- Mix too many decorative colors in one small display.
A bar cart adds flexible storage that can move wherever guests gather. Use the top level for bottles and tools, then keep extra glasses or serving pieces below. I’ve noticed that a limited collection looks more organized and makes the cart easier to roll, clean and restyle when needed.
CONCLUSION
Creating a home bar does not require a large room or expensive furniture. A floating shelf, reclaimed wood board, cabinet or compact cart can give bottles and glassware a defined place while adding personality to your space.
These DIY Bar Shelf Ideas offer plenty of ways to work with the space, materials and style you already have. I’ve noticed that even one well-planned shelf can make an unused wall feel useful and inviting. Pick an idea that fits your needs, make it your own and save this post on Pinterest for your next project. Share it with anyone looking for simple home bar inspiration.