27 Breakfast Bar Ideas for Small Kitchens to Try Now
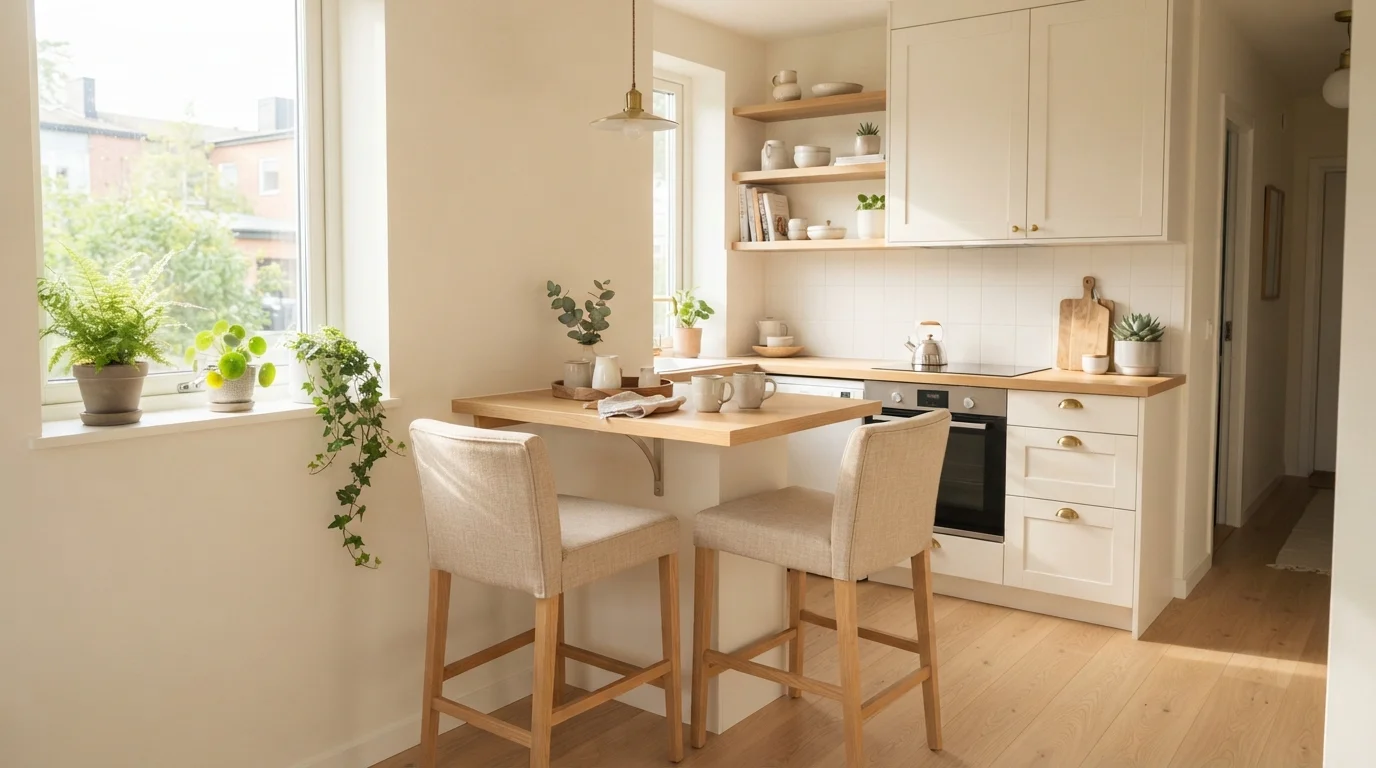
A small kitchen does not mean giving up on a stylish spot for breakfast, coffee or quick meals. Breakfast Bar Ideas for Small Kitchens can help you turn an unused wall, narrow corner or slim stretch of counter into a practical dining area.
This collection brings together smart layouts, compact seating solutions, built-in counters, floating surfaces, storage-friendly designs and cozy styling ideas that work with limited space. Whether you live in a small apartment, have a narrow kitchen or simply want to make better use of every inch, there are plenty of approachable options to explore.
I’ve noticed that the most useful small-kitchen setups are often the simplest ones. A well-sized counter, comfortable stool and thoughtful placement can create a space that feels intentional without crowding the room. Use these ideas to find a setup that fits your kitchen, routine and personal style.
Wall-Mounted Breakfast Bar
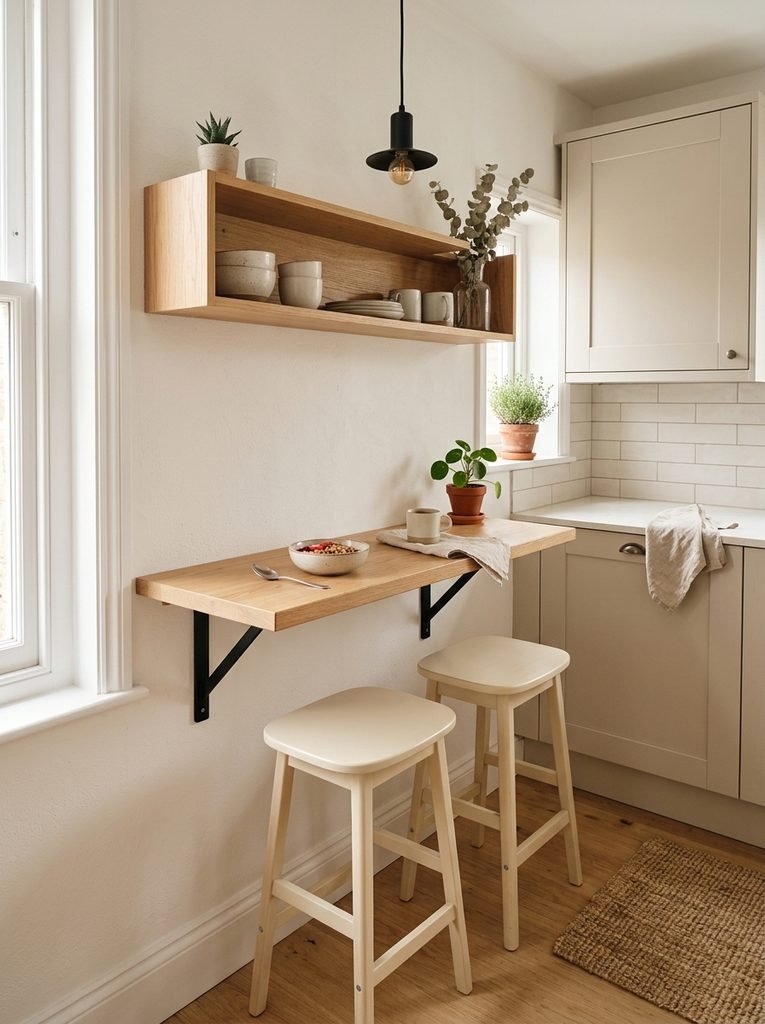
A wall-mounted counter gives an unused section of wall a practical purpose without taking up valuable floor space. The slim profile works especially well beside a window, beneath open shelving or along a narrow kitchen wall where a full island would feel crowded.
For everyday meals, choose a countertop deep enough for plates and mugs but keep the overall projection modest. I’ve noticed that pairing the surface with folding or backless stools makes the area feel much less bulky when nobody is eating. Add one small pendant or wall light to define the spot.
Fold-Down Breakfast Counter
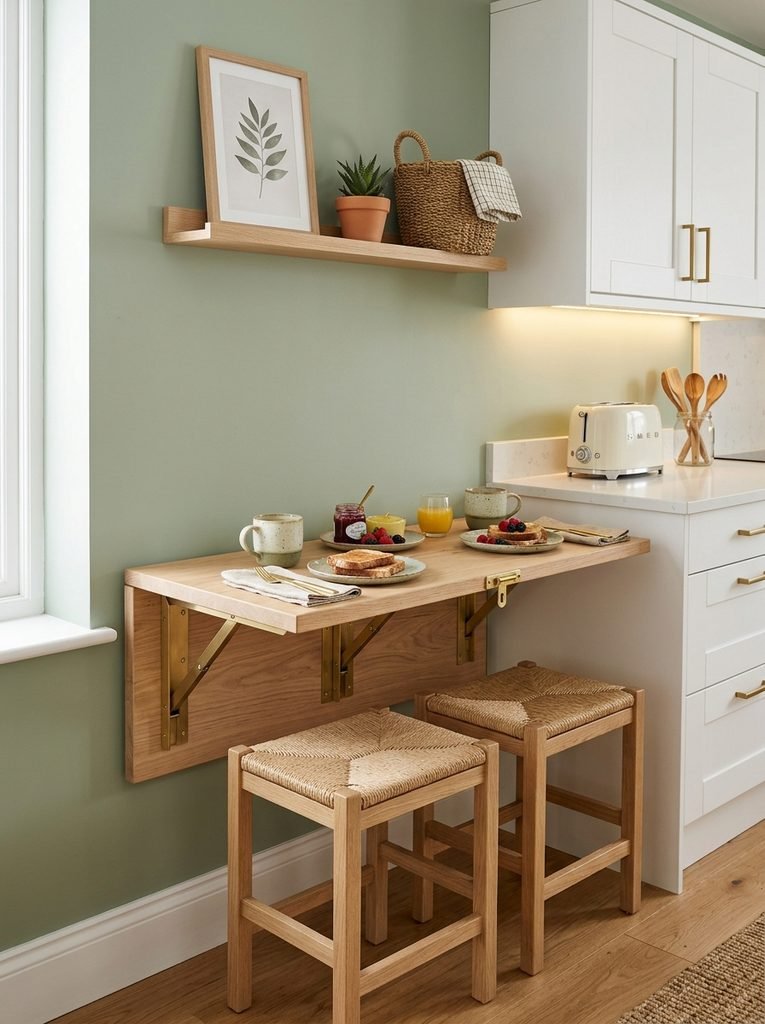
- Choose a sturdy hinged countertop that locks securely when raised.
- Keep the surface wide enough for two plates, cups and basic breakfast items.
- Install the counter at a comfortable seated height.
- Add compact stools that can slide underneath when the surface is folded.
- Use the wall area above it for a narrow shelf or framed print.
A fold-down counter earns its place by disappearing when you need more room. For especially tight kitchens, this setup can serve as a breakfast spot in the morning and a clear walkway later. Keep the hardware simple and the surrounding wall visually calm so the folded surface does not become a clutter point.
Window-Side Breakfast Nook

Quick Tip:
Measure the window opening, wall clearance and stool footprint before choosing the counter size. Leave enough legroom beneath the surface so seating feels comfortable rather than squeezed against the wall.
Morning light can make a compact eating area feel more open without adding extra square footage. A narrow counter beneath or beside a window also creates a natural focal point for breakfast. Keep the decor restrained with one plant, a small tray or a few neutral ceramics. The view should remain the star.
Slim Peninsula Bar
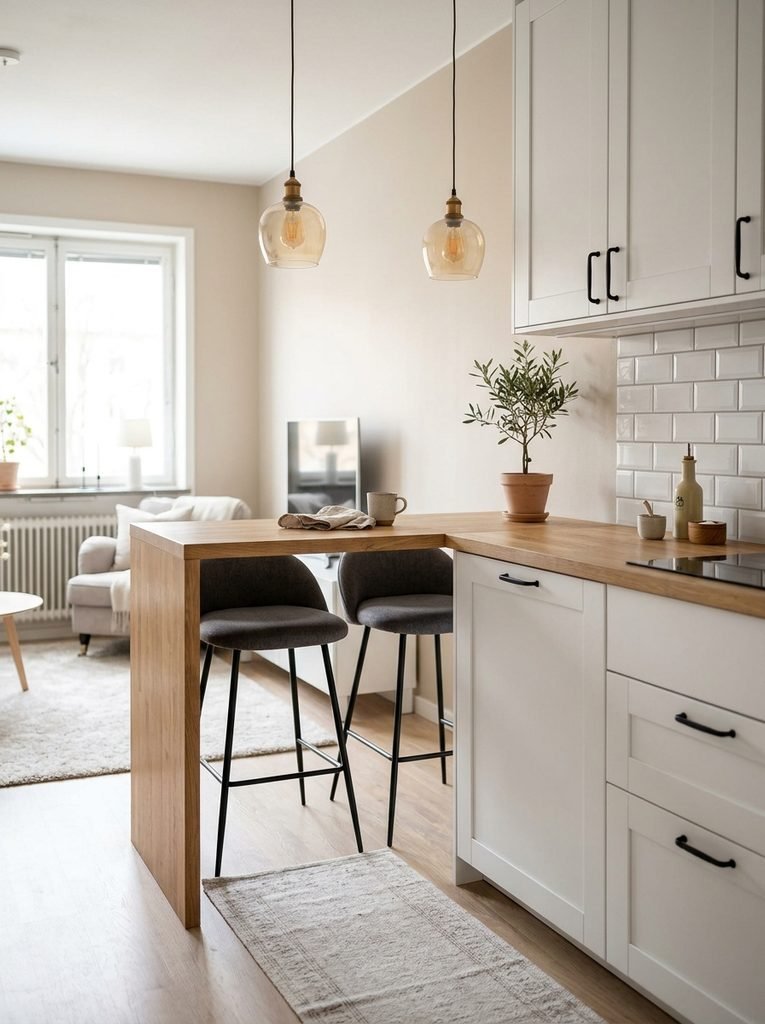
Before: The kitchen feels disconnected from the dining area, while a bulky table would block the walking path. Counter space is limited and there is no defined place for quick meals.
After: A slim peninsula creates a dedicated eating surface while keeping the central floor open. The attached design also adds useful prep space without requiring a separate island.
A peninsula works especially well when one side of the kitchen already has cabinetry that can support the extension. Keep the counter narrow, choose stools with slim legs and avoid heavy decorative pieces underneath. The result is a practical breakfast station that supports meals, coffee breaks and quick food preparation.
Narrow Counter Extension
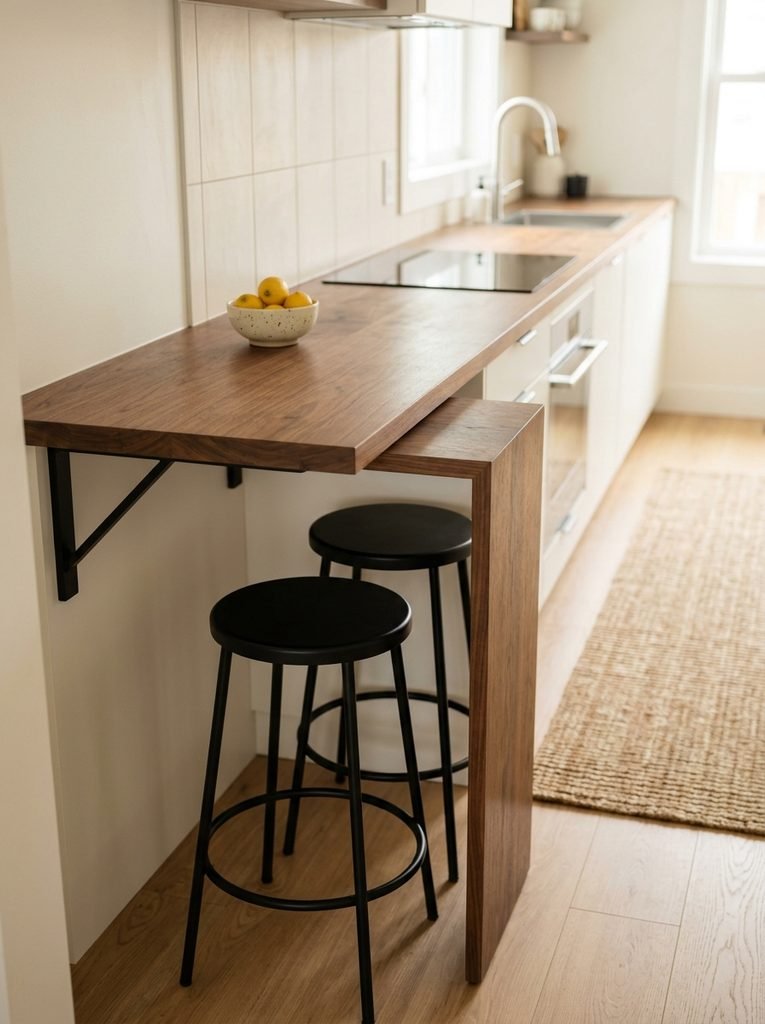
- Measure the available cabinet edge and walking clearance first.
- Extend the countertop only as far as needed for comfortable seating.
- Add concealed or slim supports beneath the overhang.
- Select stools that tuck completely under the counter.
- Keep the surface mostly clear for a more spacious appearance.
A narrow extension can turn leftover counter space into a useful eating zone with very little structural change. The key is maintaining a clear walkway around the seating. In my experience, a simple wood surface paired with lightweight stools feels warmer and less visually heavy than matching every kitchen element.
Countertop vs Wall Shelf

| Comparison | Option A: Countertop Bar | Option B: Wall Shelf |
| Seating | Comfortable for regular use | Better for occasional use |
| Depth | More room for plates and drinks | Limited surface space |
| Support | Requires sturdy brackets or cabinetry | Needs secure wall mounting |
| Storage | Can include cabinets below | Usually minimal |
| Best Use | Daily breakfasts | Quick coffee or snacks |
Choosing between these two surfaces depends on how often the space will be used. A countertop bar provides better support for regular meals, while a shallow shelf works when floor space is extremely limited. Think about your daily routine first, then choose the smallest surface that comfortably handles it.
Floating Wood Bar
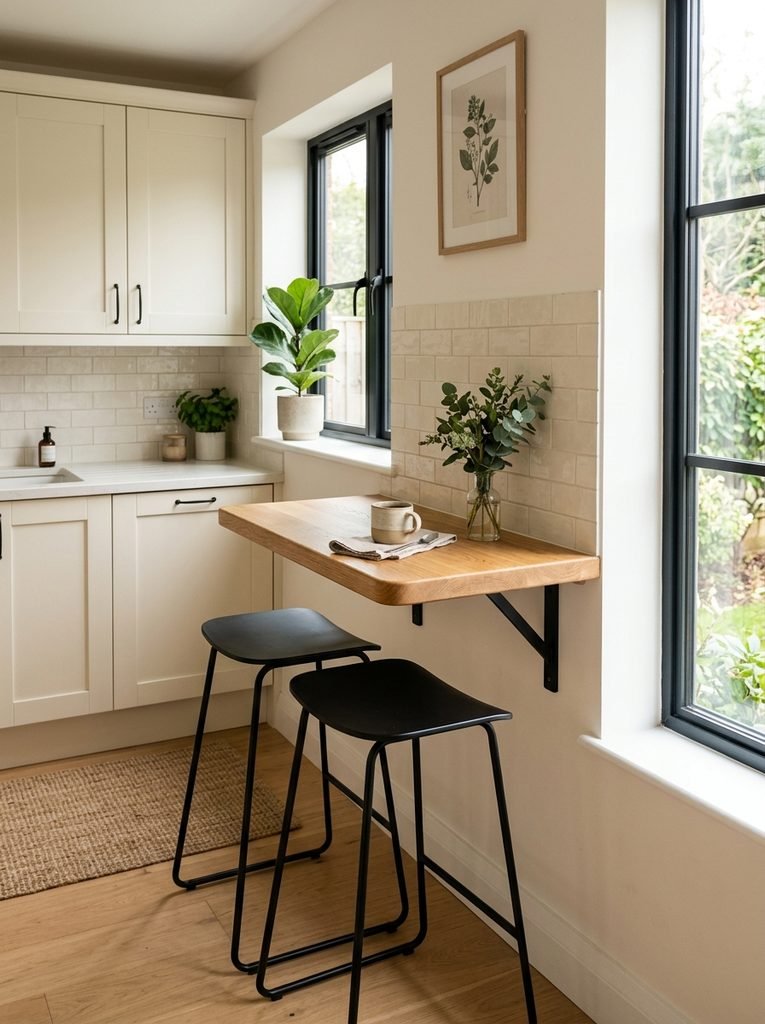
DO:
- Choose a solid wood surface with a sealed finish.
- Use heavy-duty brackets rated for the countertop weight.
- Keep the underside open for a lighter appearance.
- Pair the bar with stools that slide underneath.
DON’T:
- Mount the surface without checking wall strength.
- Choose a countertop deeper than the available walkway allows.
- Fill the wall with excessive shelves or decorations.
- Ignore comfortable legroom beneath the counter.
A floating bar keeps the floor visually open while creating a defined spot for breakfast and coffee. Natural wood adds warmth against white or neutral cabinetry, especially in compact kitchens that lack visual texture. Keep the styling simple and the open space underneath will help the whole kitchen feel less crowded.
Built-In Cabinet Bar
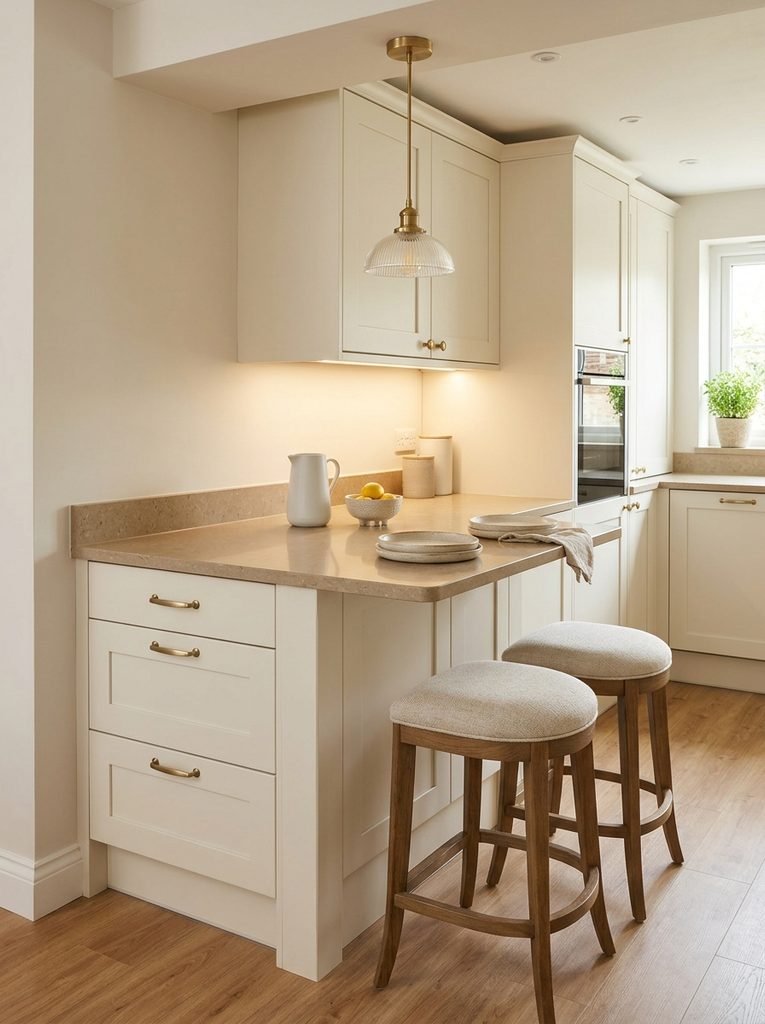
Cost: Medium to high | Time: Several days | Skill Level: Professional installation recommended
Best For: Renovated kitchens | Storage: Excellent | Result: Permanent dining zone
Built-in cabinetry makes a small eating area work harder by combining seating with concealed storage. Drawers or cabinets beneath the counter can hold placemats, breakfast dishes, appliances or pantry items. I’ve seen this layout work particularly well in narrow kitchens because the storage and seating share the same footprint.
Two-Stool Breakfast Bar
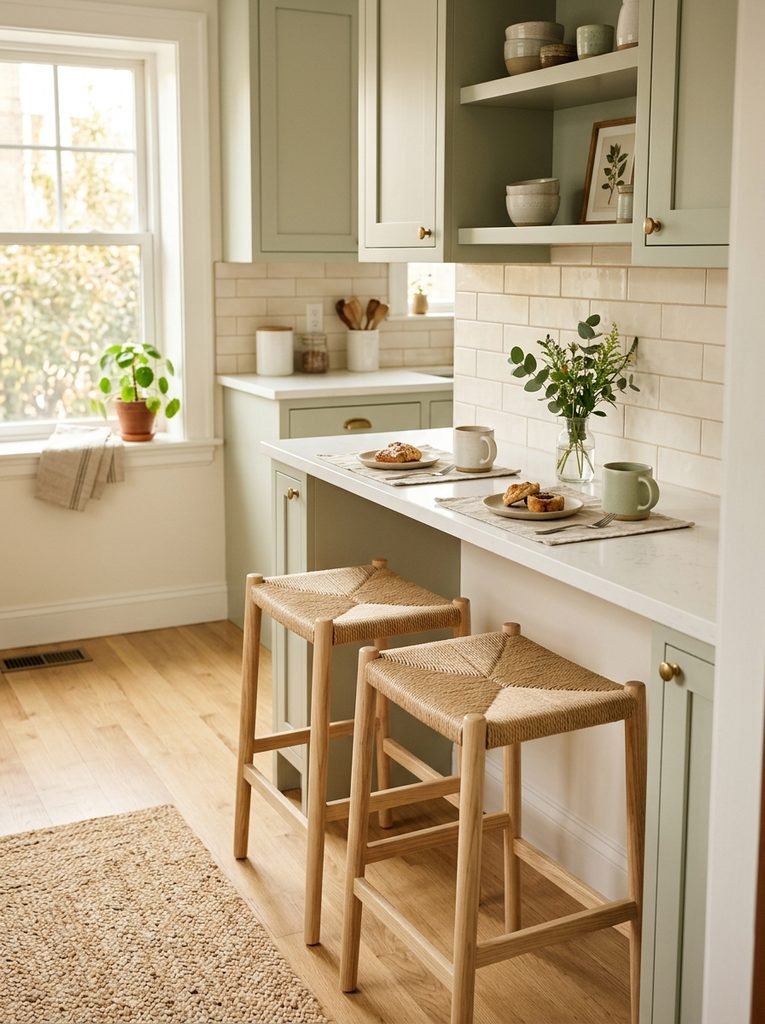
A two-seat setup keeps the footprint intentionally small while still giving the kitchen a dedicated dining area. Choose stools with narrow frames and enough knee clearance beneath the counter. For a family of one or two, this arrangement can handle breakfast, coffee, homework or casual conversations without competing with the main kitchen workspace.
Open Shelf Breakfast Bar

- Add one or two open shelves beneath the counter for everyday dishes.
- Use matching baskets to hide small breakfast items and reduce visual clutter.
- Keep frequently used mugs and bowls within easy reach.
- Choose shelf brackets that complement the kitchen hardware.
- Leave part of the shelving open so the area does not feel visually heavy.
Storage underneath makes a compact breakfast station much more useful without increasing its footprint. Open shelves are especially handy for items you reach for every morning, such as mugs, bowls, napkins or cereal containers. Keep the arrangement selective rather than crowded, because visible storage needs a little breathing room.
Corner Breakfast Ledge

Quick Tip:
Use the corner dimensions to create a custom-fit ledge instead of forcing a standard table into the space. Round the outer edge if the walkway is narrow, especially near a frequently used doorway or cabinet.
A corner ledge makes use of space that often becomes awkward or empty. The wraparound shape can provide enough room for breakfast without interrupting the main preparation area. Keep the seating lightweight and choose a countertop finish that connects with nearby cabinets, flooring or shelving for a cohesive look.
Backsplash Breakfast Bar
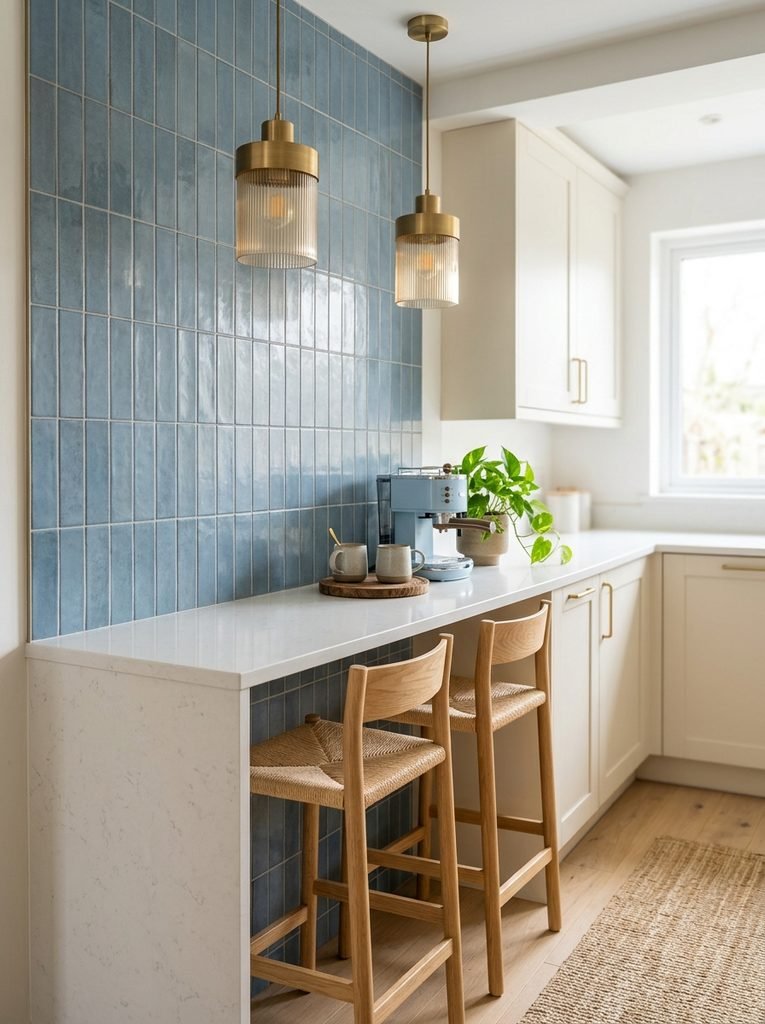
BEFORE:
The wall beside the kitchen workspace feels unused and visually plain. A separate dining table would take up too much floor area.
AFTER:
A narrow counter now creates a practical eating spot directly against the wall. The decorative backsplash adds visual interest while protecting the wall from everyday splashes and spills.
A breakfast bar placed against a finished backsplash can serve two purposes at once: dining space and a strong visual feature. Choose a wipeable backsplash material and keep the counter depth practical. This arrangement suits kitchens where every inch matters but the eating area still needs a distinct identity.
L-Shaped Breakfast Bar

- Extend the counter along two adjoining walls to use an awkward corner.
- Keep one side narrower if the kitchen walkway is tight.
- Position stools on the outer edge for easier access.
- Add drawers beneath one section for breakfast essentials.
- Keep the corner surface clear so it remains practical for daily use.
An L-shaped counter can create more seating and workspace without requiring a large central island. The corner layout also separates the eating area from the main preparation zone. Use consistent countertop material across both sections, then keep the stools visually lightweight so the compact kitchen retains an open feel.
Pull-Out Breakfast Surface
- Choose a cart narrow enough to move through the kitchen without blocking the walkway.
- Select locking wheels so the surface stays stable during meals.
- Keep breakfast dishes and serving pieces on the lower shelf.
- Position the cart beside the counter when serving food, then roll it away afterward.
A rolling cart gives a small kitchen a flexible eating surface without committing permanent floor space. It can hold breakfast, coffee, snacks or serving dishes and then move against a wall when the meal is finished. Look for a sturdy top and smooth wheels so daily movement stays simple.
Bar Counter vs Breakfast Table
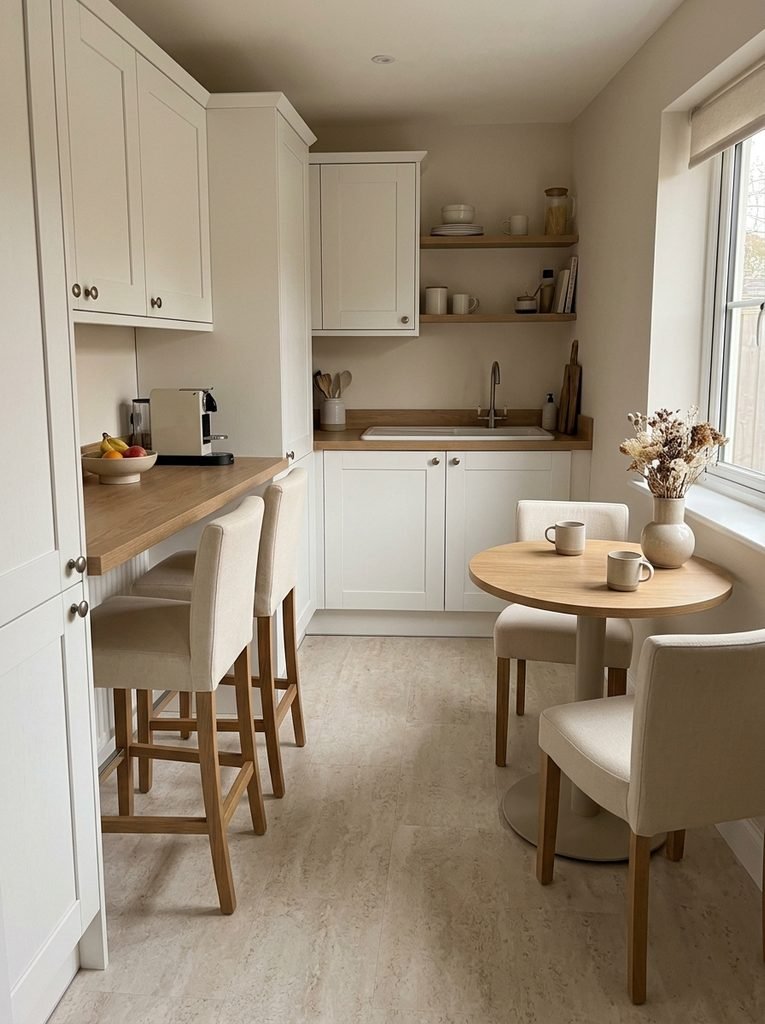
| Feature | Option A: Bar Counter | Option B: Breakfast Table |
| Floor Space | Uses a narrow footprint | Needs more surrounding clearance |
| Seating | Usually stools | Standard chairs |
| Storage | Can include cabinets below | Usually separate storage |
| Flexibility | Often fixed in place | Easier to reposition |
| Best Use | Tight kitchens | Slightly wider spaces |
Both layouts can provide a dedicated eating spot, but their footprints work differently. A counter is useful where wall or cabinet space is available, while a small table offers more flexibility for changing the room layout. Measure the walkway and seating clearance before deciding which arrangement fits your kitchen routine.
Bench Seating Bar
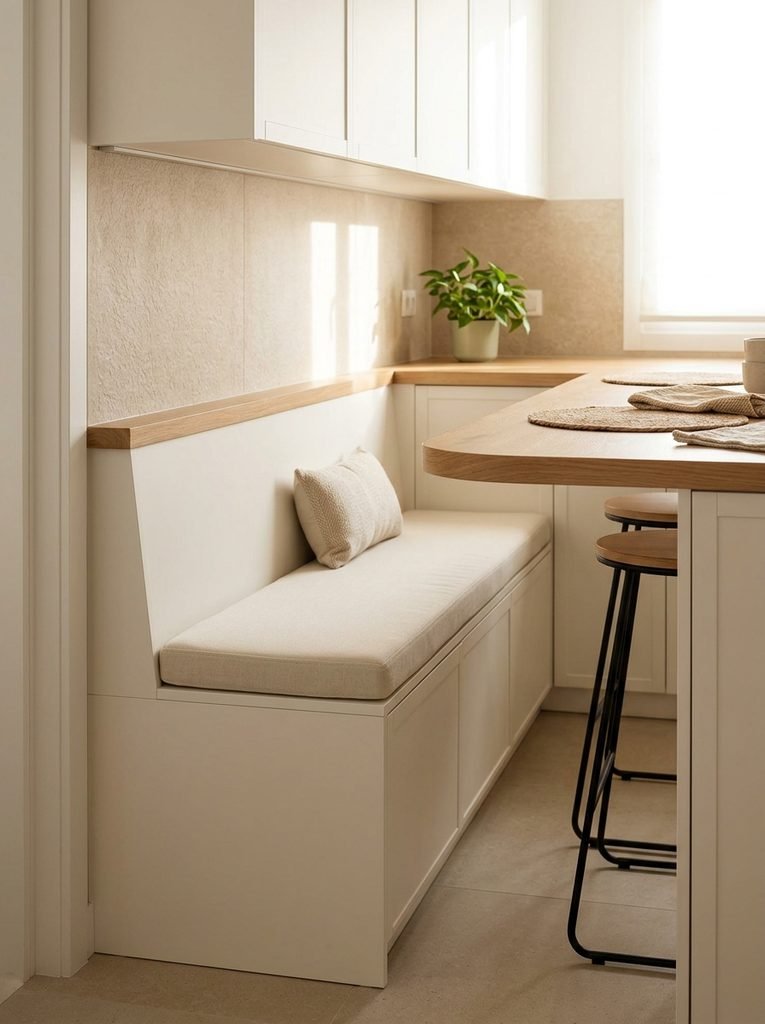
DO:
- Build the bench along an existing wall to save floor space.
- Use a washable cushion for everyday meals.
- Add hidden storage beneath the bench when possible.
- Keep the counter edge rounded near busy walkways.
DON’T:
- Make the bench so deep that it blocks circulation.
- Choose thick cushions that reduce comfortable seating space.
- Place storage where knees need clearance.
- Overfill the seating area with decorative pillows.
Bench seating can make a compact breakfast station feel more substantial without adding several individual chairs. The built-in structure keeps seating organized and can provide valuable storage underneath. A simple upholstered cushion adds comfort, while a slim counter above creates enough room for plates, drinks and a quick morning meal.
floor area must serve several purposes throughout the day.
Breakfast Bar With Pendant Light
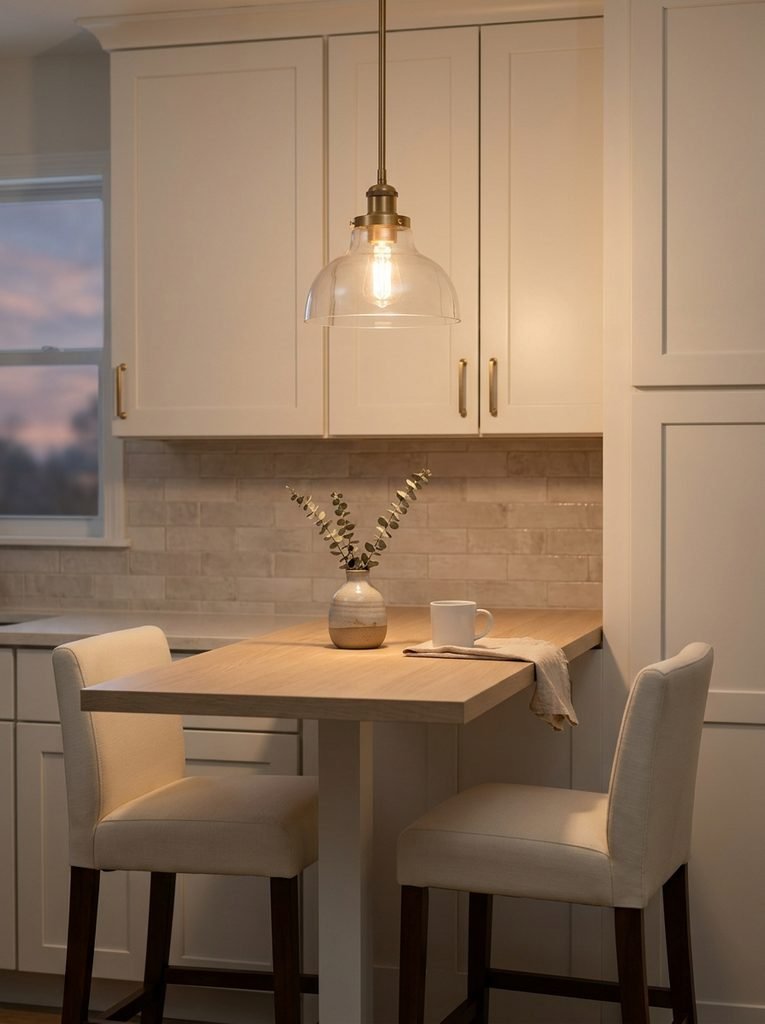
BEFORE:
The eating area blends into the rest of the kitchen and lacks a clear visual boundary. Overhead lighting is also too general for relaxed meals or morning coffee.
AFTER:
A pendant light visually anchors the counter and creates a defined dining zone. The warm glow adds focus without requiring additional furniture or decorative clutter.
Lighting can make a small breakfast area feel intentionally designed rather than simply attached to the kitchen. Hang the fixture high enough to protect sightlines while keeping the countertop well illuminated. A simple shade in glass, linen or metal can reinforce the kitchen style without overwhelming the limited space.
Narrow Island Breakfast Bar

Cost: Medium | Time: One to two days | Skill Level: Beginner to intermediate
Best For: Open-plan kitchens | Seating: Two people | Storage: Moderate
A narrow island can combine food preparation and casual dining in one compact footprint. Keep the island shallow enough to preserve a comfortable walkway on both sides. I’ve noticed that stools with open backs or slim frames help maintain visual space, especially when the kitchen already has several cabinets.
Round-Edge Breakfast Counter

Sharp corners can make a narrow walkway feel tighter, especially when the counter sits near a doorway or busy preparation zone. A rounded outer edge creates smoother circulation and reduces the chance of bumping into the countertop. Pair the curved profile with simple stools and minimal decor to keep the compact area visually clean.
Hidden Storage Bar

Mirrored Breakfast Bar
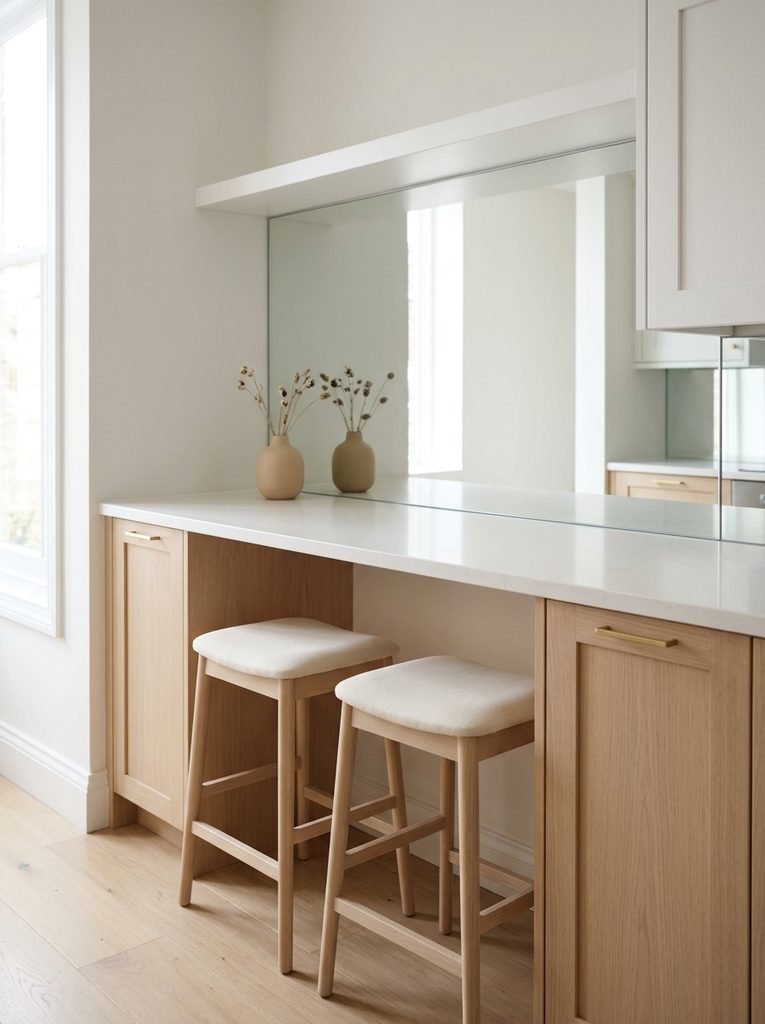
- Choose a lightly tinted or clear mirror rather than a heavily decorative design.
- Position it where natural or soft artificial light can reflect across the kitchen.
- Keep the countertop simple so reflections do not create visual clutter.
- Use slim stools to maintain an open sightline.
- Clean the mirror regularly because fingerprints are more noticeable on reflective surfaces.
Reflective surfaces can make a compact eating zone feel brighter and visually deeper. A mirrored backsplash works particularly well across from a window or light-colored wall. Keep surrounding finishes soft and simple so the reflection adds openness without becoming the main feature of the kitchen.
Coffee Station Bar
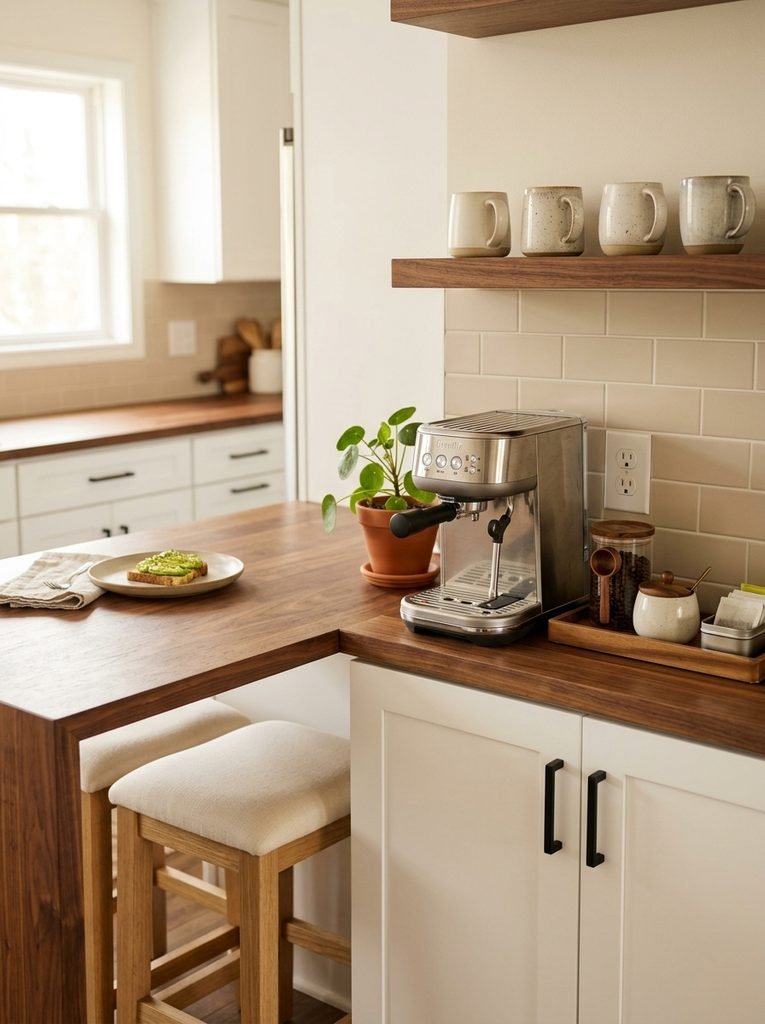
- Reserve one section of the counter for the coffee setup.
- Place the machine near an accessible electrical outlet.
- Store mugs on a nearby shelf or under-counter cabinet.
- Add a narrow tray for coffee, tea, sugar or everyday supplies.
- Keep the seating area clear so the counter still works for breakfast.
A coffee station can give a compact breakfast counter a clear daily purpose. Keeping the machine, mugs and essentials together reduces countertop clutter elsewhere in the kitchen. Add two comfortable stools and the same surface becomes a convenient place for morning coffee, toast, quick snacks or casual conversation.
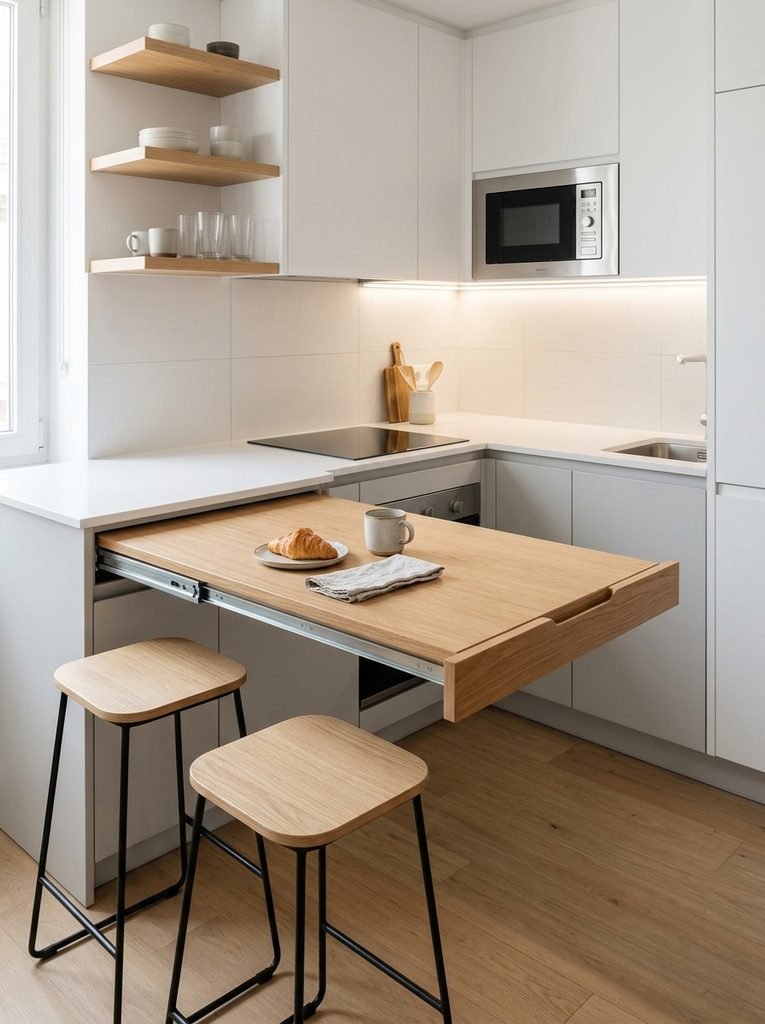
Extendable Breakfast Counter
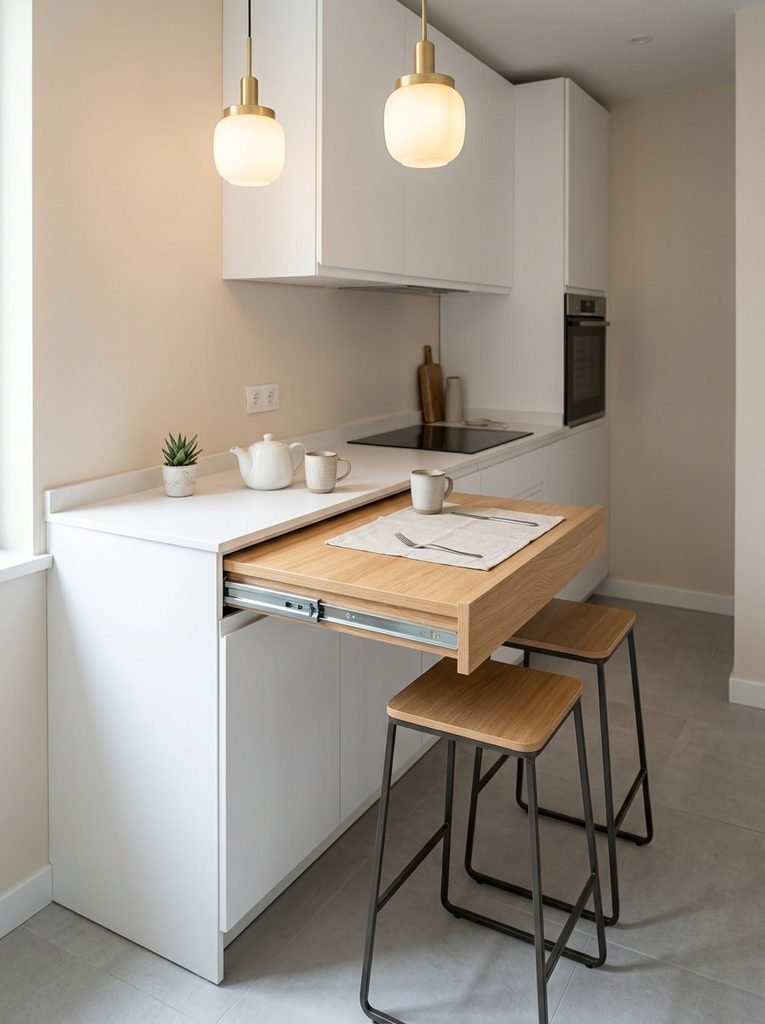
Cost: Medium | Time: One to two days | Skill Level: Intermediate
Best For: Narrow kitchens | Seating: Two to three people | Storage: Moderate
An extendable counter gives you extra dining space only when you need it. Keep the closed section narrow enough to preserve the walkway, then pull out the additional surface for breakfast or casual meals. Choose sturdy sliding hardware and a smooth countertop finish so the extension remains practical for frequent use.
Under-Cabinet Breakfast Bar
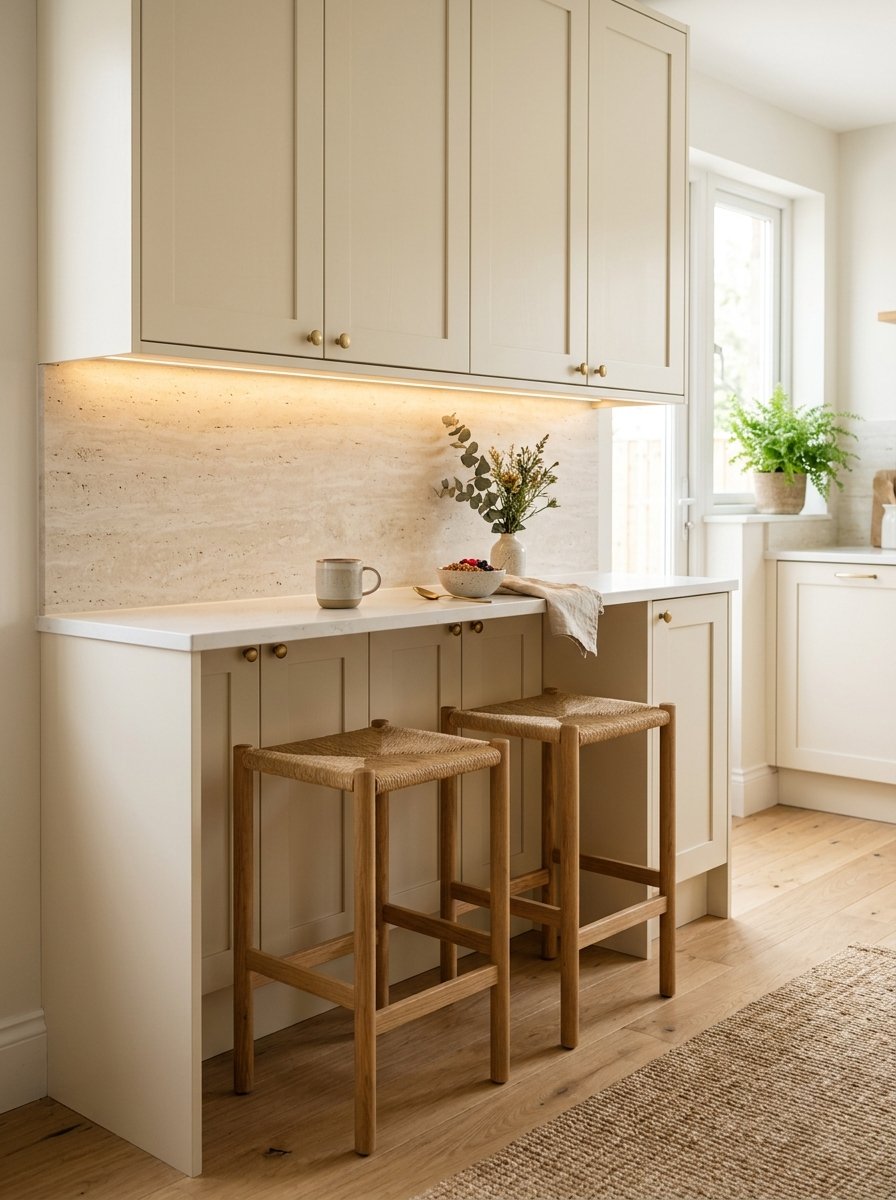
A narrow counter beneath existing cabinetry can create a useful eating zone without requiring a separate wall or island. The upper cabinets provide convenient storage while the lower surface handles meals and drinks. Leave enough clearance between the counter and cabinetry so the seating area feels comfortable rather than boxed in.
Two-Tone Breakfast Bar
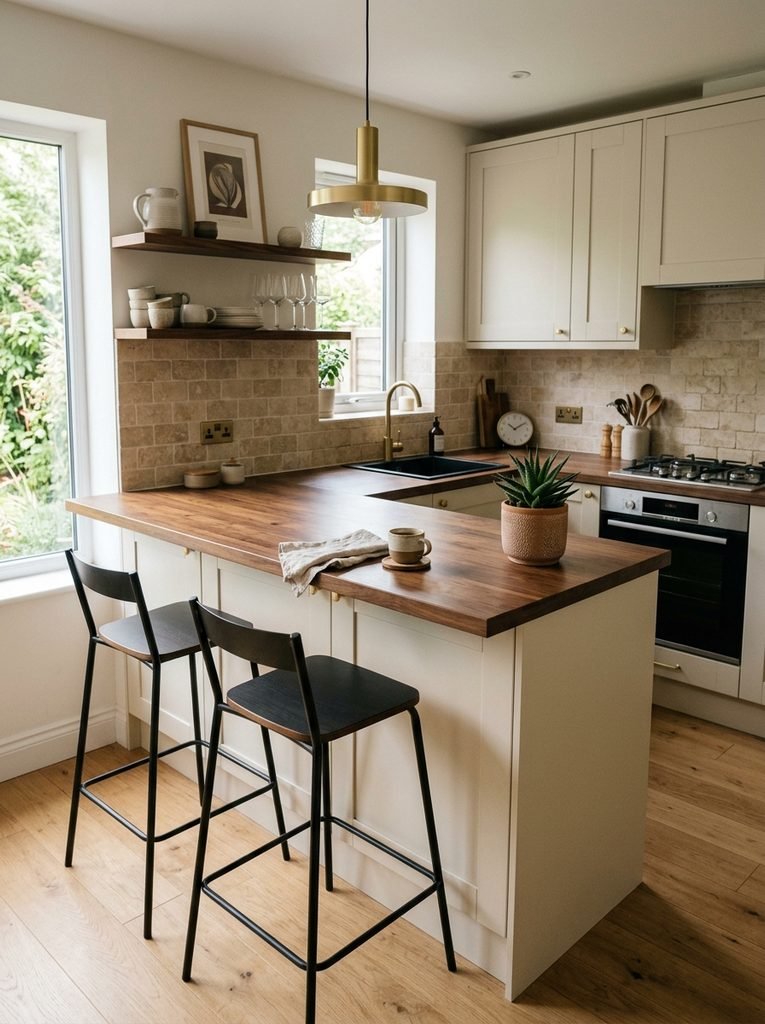
Stylish small kitchen with a two-tone breakfast bar, warm walnut countertop paired with matte cream cabinetry, two black stools, soft natural sunlight, beige stone backsplash, subtle brass hardware, small green plant, clean contemporary aesthetic, realistic Pinterest interior photography, wide three-quarter camera angle.
Conclusion
A compact kitchen can still have a welcoming place for breakfast, coffee and everyday meals. The Breakfast Bar Ideas for Small Kitchens in this article show how smart placement, slim furniture, flexible surfaces and useful storage can make limited space work harder.
Start with the layout you already have, then choose one idea that fits your available wall, counter or corner. I’ve seen how small changes like these can completely shift the way a space feels without requiring a major renovation.
Save this post on Pinterest so you can revisit your favorite designs, try one or two ideas in your own kitchen and share the article with someone looking for practical small-space inspiration.