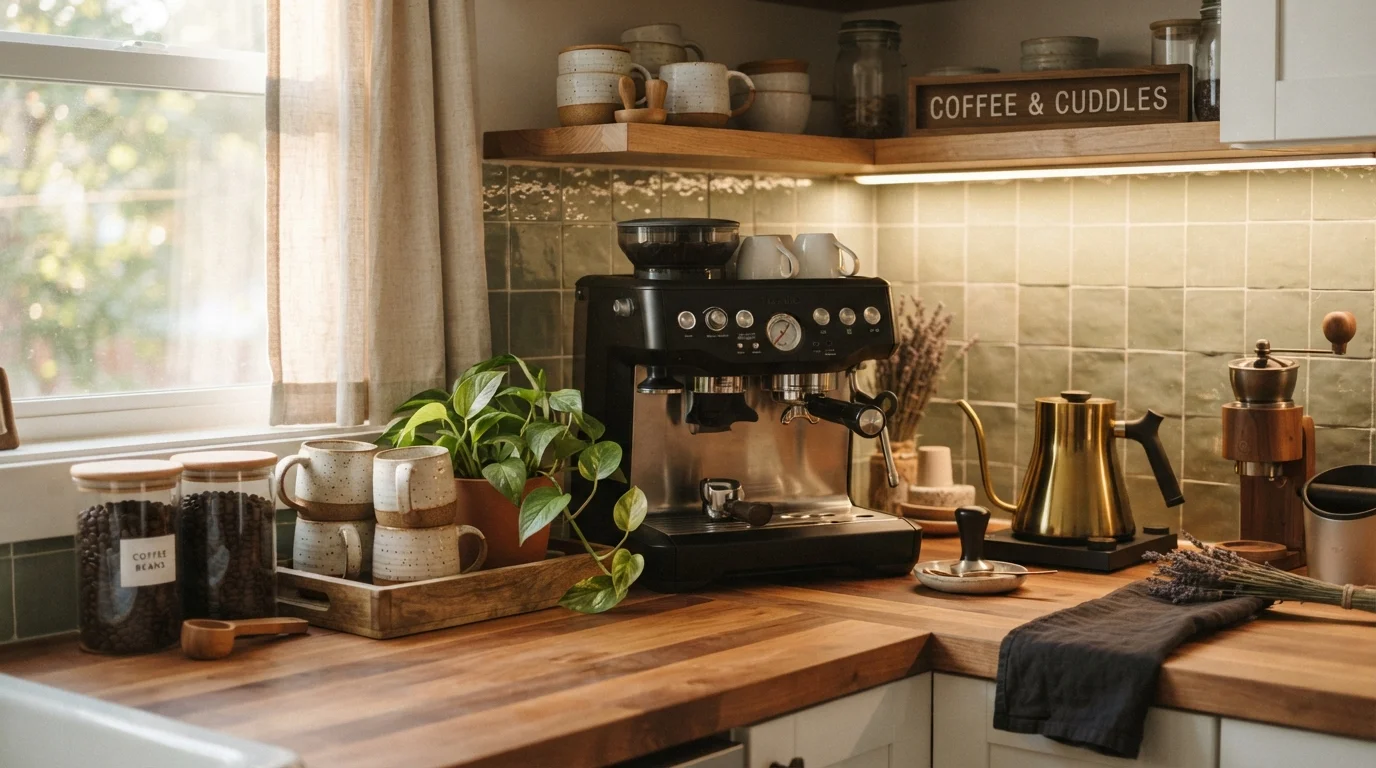
28 Coffee Station Ideas You’ll Love for Cozy Mornings
Mornings go better when your first cup is easy to make and a little bit lovely. If your mugs, beans and syrups are scattered across three cabinets, these coffee station ideas will give everything a happy home.
This article shares 28 setups, from tiny apartment nooks and rolling carts to pantry bars and moody built-ins. Each one includes real measurements, simple steps and styling tips you can use this weekend, whether you rent a small place or own a big kitchen.
I’ve noticed that most people do not need a bigger counter. They need one clear spot where the whole routine lives. Scroll through, save your favorites and find the setup that makes your mornings calmer, cozier and a lot more fun.
Countertop Corner Setup
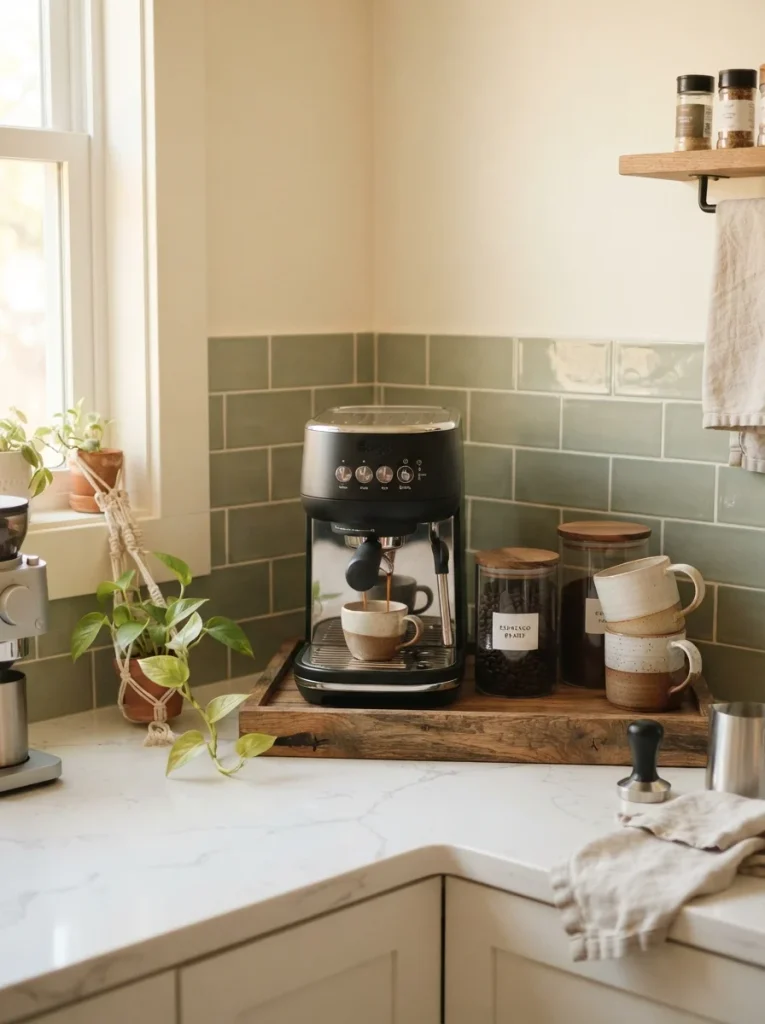
Mornings run smoother when everything you need sits within one arm’s reach. Claim the corner of your counter nearest an outlet and keep the machine, beans and mugs grouped on a single wooden tray. The tray defines the zone and makes wiping up spills a ten second job.
I’ve noticed that a corner setup works best when the tallest item sits in the back and mugs stack on the side. Leave about 24 inches of width so you can prep a cup without bumping the grinder. Renters love it because nothing gets drilled.
Rolling Bar Cart
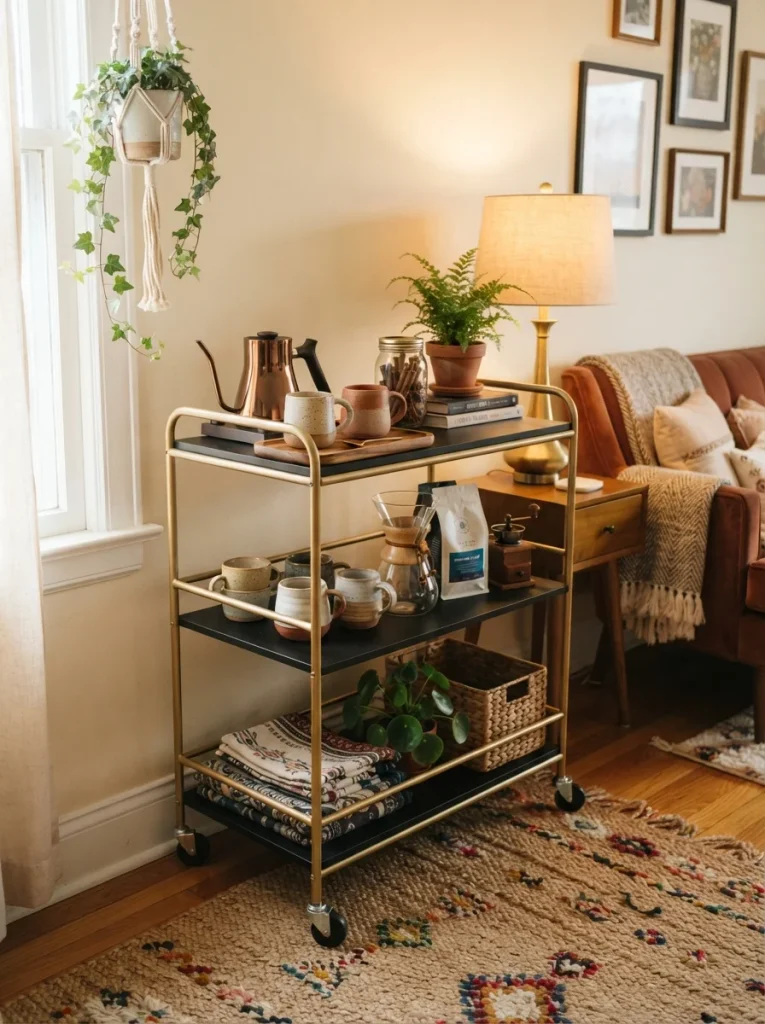
- No counter space? Wheel your coffee setup in from anywhere. A three tier cart gives you a full station on a footprint of about two feet.
- Put the kettle and machine on the top tier, mugs and syrups in the middle and spare filters or pods on the bottom.
- Pick a cart with a lip or rail on each tier so mugs don’t slide when you roll it.
- Check that the casters lock, because a hot kettle on a moving cart is a real risk.
Carts shine in apartments, dining rooms and small kitchens where cabinets are already full. I’ve seen them double as a morning coffee spot and an evening drink cart with one quick swap of the top tier. Keep the load under the weight limit, often around 30 pounds.
Floating Shelf Nook

Quick Tip:
Hang the lower shelf 14 to 16 inches above the counter so a tall grinder still fits underneath. Keep mugs on the upper shelf and daily items within easy reach. Mount into studs or use rated anchors, since a full set of ceramic mugs is heavy.
Wall shelves free up counter space and turn a blank section of wall into the focal point of your kitchen. In my experience, six matching mugs look neater than twelve mismatched ones. Leave a small gap between items so the shelf feels styled, not stuffed.
Pantry Coffee Bar
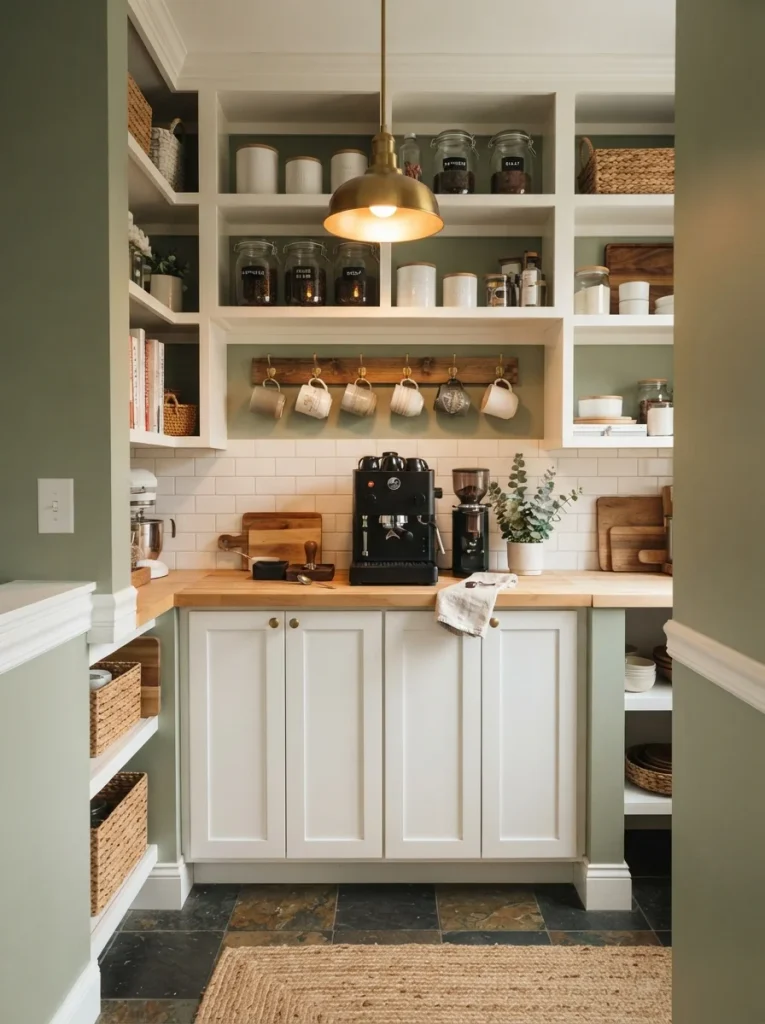
BEFORE: Your pantry shelf holds half-used bags of beans, a tangle of cords and mugs stacked in a risky tower. Mornings start with digging. Nothing has a home.
AFTER: One pantry shelf now holds the whole routine. The machine sits on a cleared counter board, beans live in labeled jars and mugs hang from hooks underneath. You walk in, brew and walk out in two minutes.
Pantries hide the mess behind a door, which makes them ideal for busy households. Confirm an outlet sits within reach, since most machines should plug straight into the wall, not a power strip. In my experience, a small battery light inside the doorway saves a lot of fumbling before sunrise.
Hutch Makeover

- Rescue an old hutch from a thrift shop or the back of your garage. Pick one with a flat lower surface at least 14 inches deep.
- Sand it lightly, wipe it clean and paint it with a durable satin enamel. Let it cure for a full day before loading it.
- Place the machine and grinder on the lower counter and keep a small tray under them to catch grounds.
- Fill the glass front cabinet with mugs, saucers and canisters and keep tea and filters on the lowest shelf.
- Set a small lamp to one side so the hutch glows on dark mornings.
Hidden storage keeps clutter out of sight and supplies within reach. It suits dining rooms and hallways where kitchens run short on space. Wipe spills right away, because painted wood stains when coffee sits. Pick one with sturdy hinges and a flat back.
Sideboard Coffee Bar
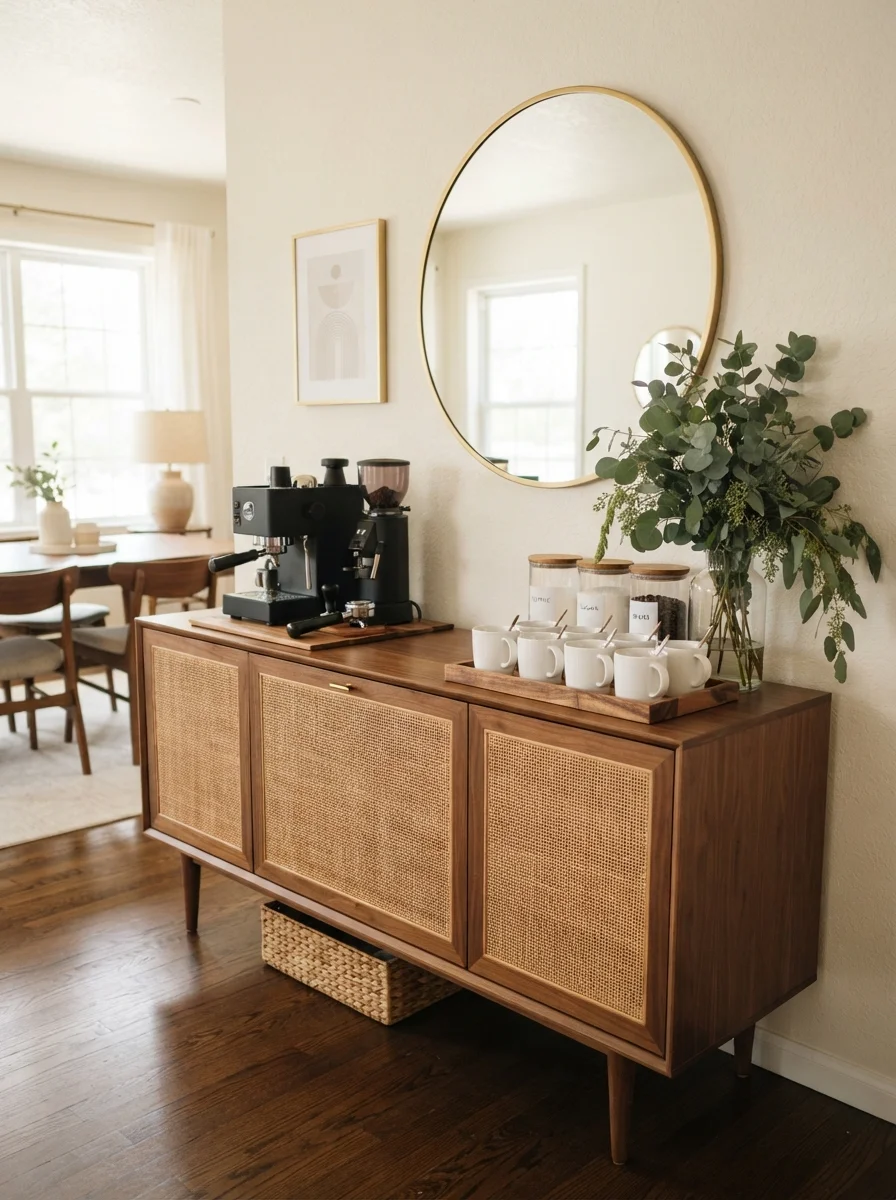
| Bare Sideboard | Styled Coffee Bar | |
|---|---|---|
| Function | Holds random clutter | Holds a full brew routine |
| Storage | Items scattered around | Drawers hold pods, filters and spoons |
| Look | Flat and forgettable | Layered with a tray, lamp and mirror |
Sideboards already live in dining rooms, so the coffee bar feels built in. Use the top for the machine and tray and store spare mugs inside the cabinet. A mirror above doubles the light and makes the whole corner feel larger. Keep hot items away from the wood edge.
Tiny Apartment Nook
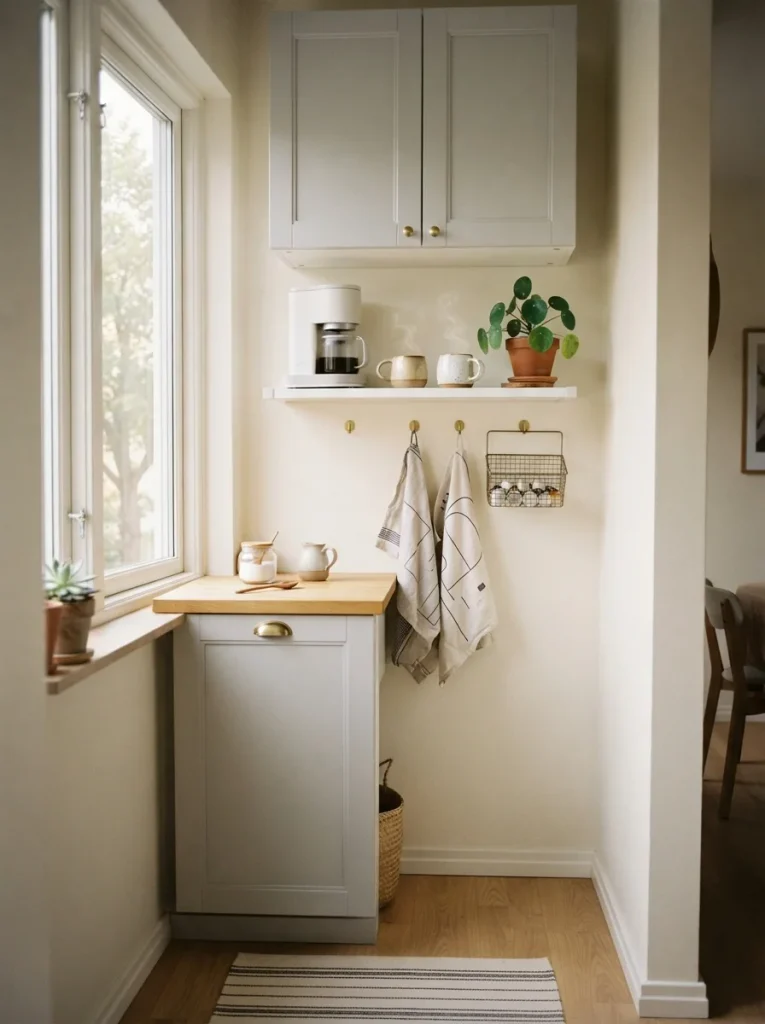
Do:
- Choose a compact brewer under 10 inches wide.
- Hang mugs on wall hooks to free up counter space.
- Store beans and filters in one lidded basket.
- Keep the station to a single clear zone, about 18 inches across.
Don’t:
- Don’t stack more than three mugs, since tall towers tip easily.
- Don’t crowd the outlet with other appliances.
- Don’t leave a wet drip tray sitting overnight.
Small kitchens teach you to edit. A tiny station with one brewer, two mugs and one basket beats a crowded counter every time. Renters can use adhesive hooks rated for the weight of a mug. Everything fits in a space about the size of a cutting board.
Mug Tree Display
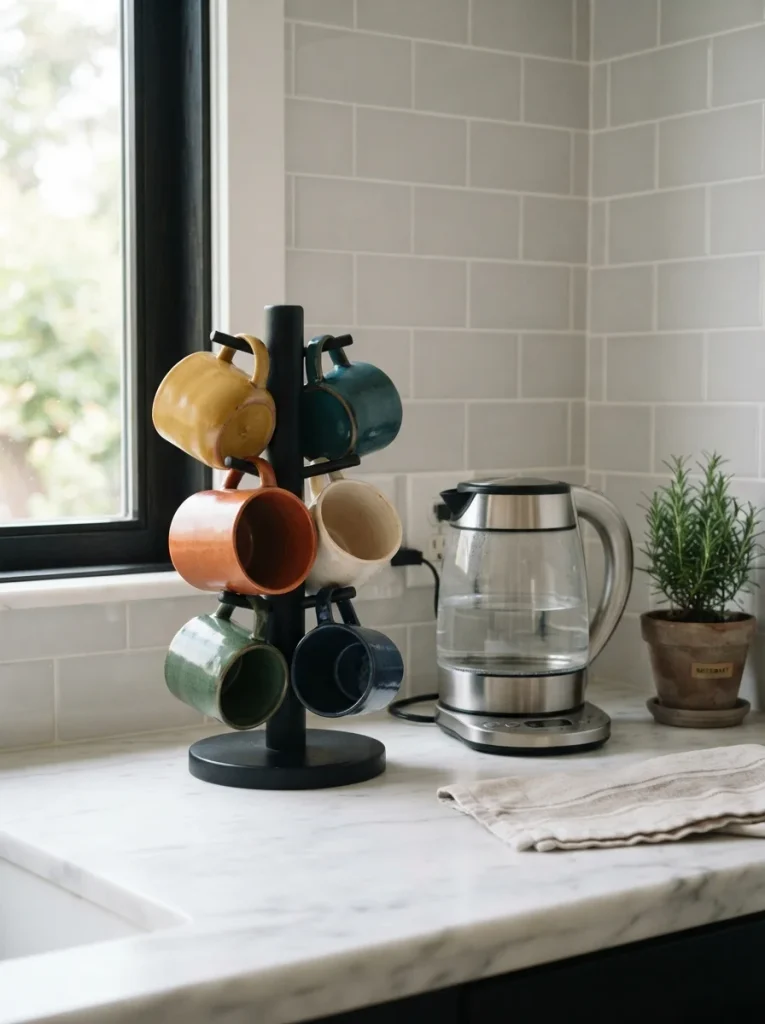
Cost: Low | Time: Five minutes | Skill Level: None needed | Best For: Small counters
Mugs on display cut the cabinet hunt and add color to a plain counter. A tree holds six without eating much space. Choose a heavy base so it never tips when you grab a cup. Keep the set small and rotate in a holiday mug each season for a quick refresh.
Hanging Mug Rail

Walls hold more than most people realize. A simple rail with six hooks gets every mug off the counter and into plain sight. Space the hooks 5 inches apart so handles never clash. It also dries them faster, since air moves freely around each one.
Anchor the rail into studs, because six full mugs add up to several pounds. Pick hooks with a rounded tip, which protects the handle glaze. Brass and matte black both hold up well in a busy kitchen. Leave one hook empty for a guest and the whole row looks relaxed.
Pour Over Corner
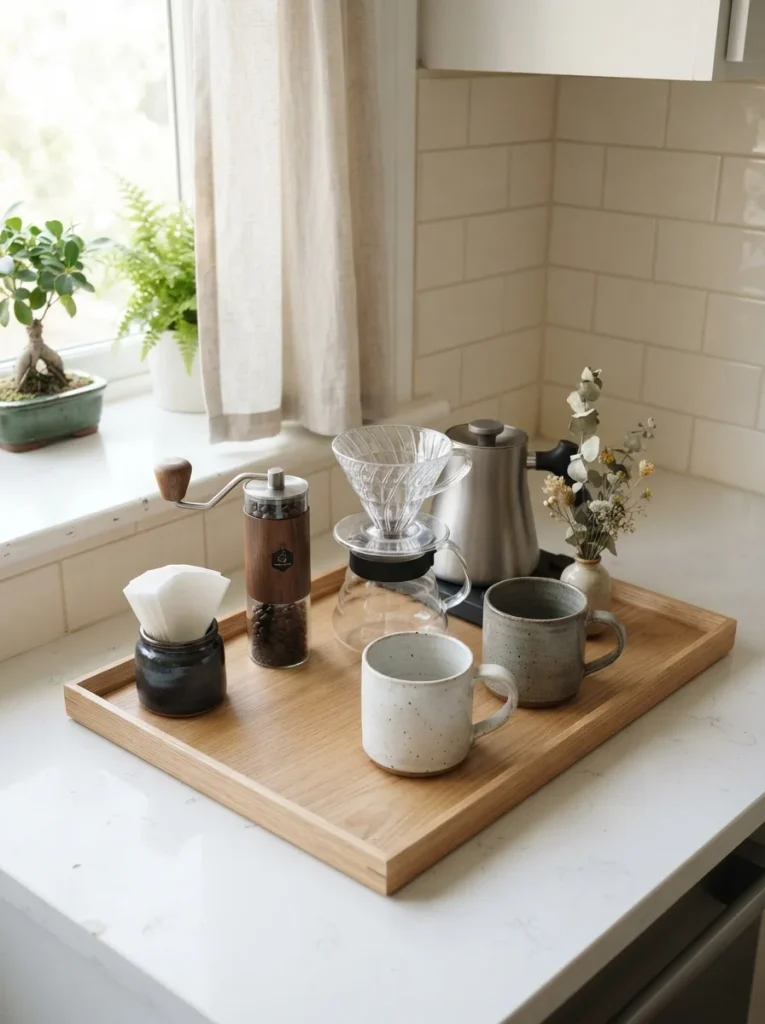
- Slow mornings deserve a slow setup. Start with a gooseneck kettle, a glass dripper and a hand grinder on one tray.
- Keep paper filters in a small jar so they stay dry and flat.
- Store beans in an airtight canister away from the stove, since heat dulls flavor quickly.
- Place a small scale or measuring spoon beside the dripper so every cup tastes the same.
- Leave a clear 12 inch square for the dripper and mug while brewing.
Pour over feels like a ritual because every step is visible. The tray keeps the tools together and the counter clean when the water drips. I’ve noticed guests love watching it, so keep the setup tidy and in view. Rinse the dripper after each cup and it stays easy to clean.
Espresso Zone
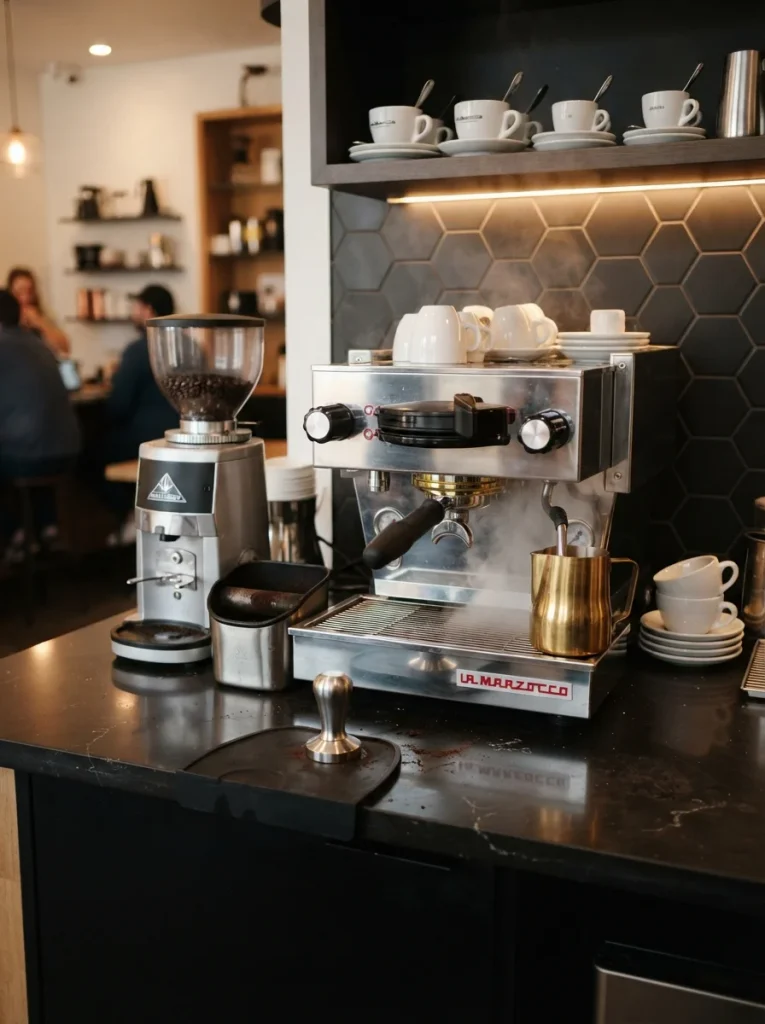
Quick Tip:
Give the machine 4 inches of clearance on each side and keep the water tank easy to reach. Place a silicone mat under the grinder and tamper to catch grounds. Leave the top clear, since the cup warmer needs airflow.
Espresso setups need a little more room than drip brewers and that room pays off. A grinder, tamper, pitcher and cups form a simple left to right workflow. That’s why many experts recommend keeping the milk pitcher near the sink. Of all the coffee station ideas here, this one suits daily drinkers best.
Syrup and Creamer Tray
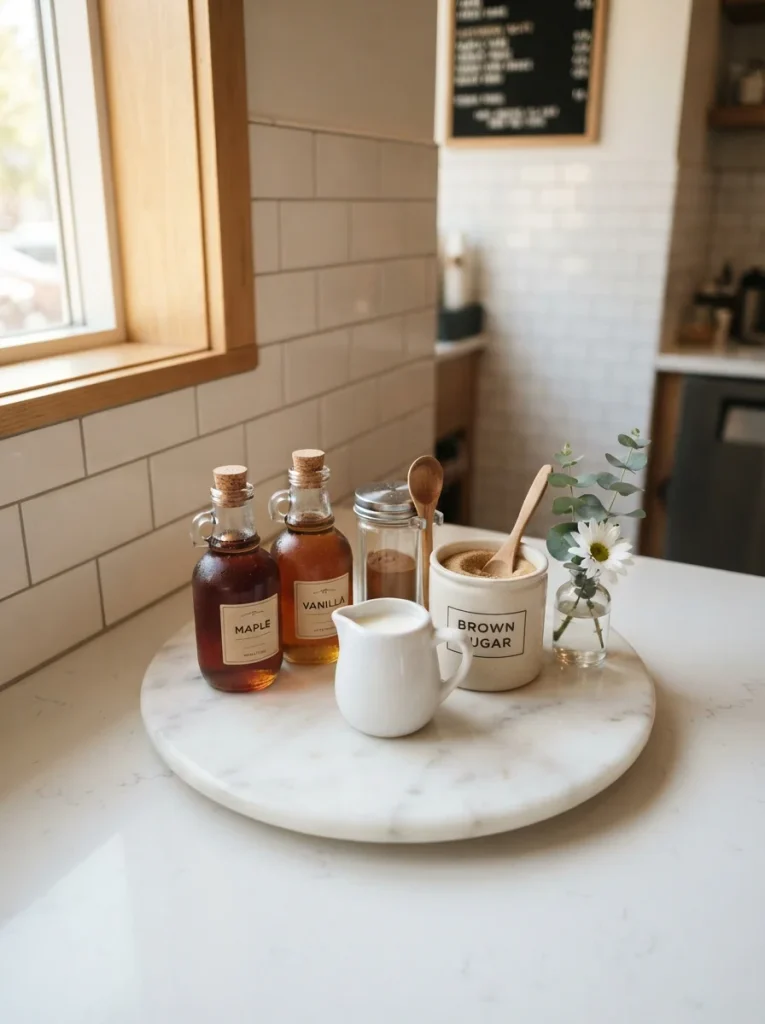
BEFORE: Sticky bottles line up along the backsplash. The creamer lives in the fridge door and spoons hide in a drawer across the room. Every cup takes three trips.
AFTER: One round tray now holds syrups, spoons and sweeteners together. Wipe the tray and the sticky rings disappear with it. Cups come together in under a minute.
A tray turns loose bottles into a tidy flavor bar. Pick glass bottles with pour spouts and label each with a small tag. Keep dairy creamer in the fridge until serving and put only shelf stable creamer on the tray. Store syrups away from the stove, since heat spoils the flavor.
Coffee Pod Drawer

- Open the drawer closest to your machine and clear it out. Wipe it clean.
- Measure the drawer, then buy an expandable bamboo divider or a pod organizer tray that fits.
- Stack pods in a tilted tray so labels face up and sort them by flavor or roast.
- Give tea bags, filters and stir sticks their own compartments and keep sugar packets in a small lined bin.
- Label the front edge of each section so everyone puts things back.
Hidden storage keeps clutter out of sight and supplies within reach. Choose the drawer within one step of the machine, so you never carry pods across the kitchen. I’ve seen families stop buying duplicate boxes once they can see what they have. Check stock monthly and use older pods first.
Hidden Cabinet Bar
| Open Counter | Hidden Cabinet | |
|---|---|---|
| Look | Always on display | Closes to a clean wall |
| Cleanup | Needs daily wiping | Hides crumbs and cords |
| Cost | Low | Moderate to high |
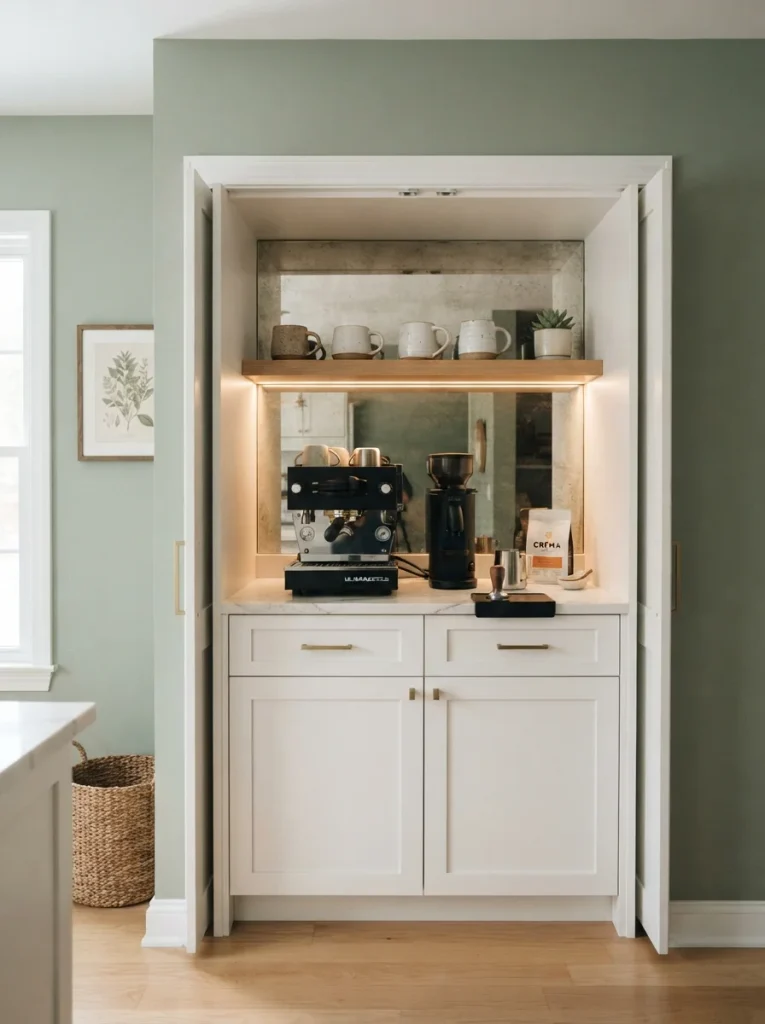
Some people love a styled counter and others want the whole thing gone. A cabinet with pocket doors hides it in seconds. Open the doors fully before brewing, since steam can warp wood over time. Ask an electrician to add a small interior outlet so cords stay tucked away.
Marble Tray Styling
Do:
- Group items in odd numbers, such as three or five.
- Mix heights, with one tall item and two short ones.
- Keep daily tools on the tray and store extras in the cabinet.
- Wipe the marble dry after each use to avoid water rings.
Don’t:
- Don’t set a hot kettle straight on marble without a trivet.
- Don’t overfill the tray, since crowded trays look messy.
- Don’t use acidic cleaners, which dull the stone.
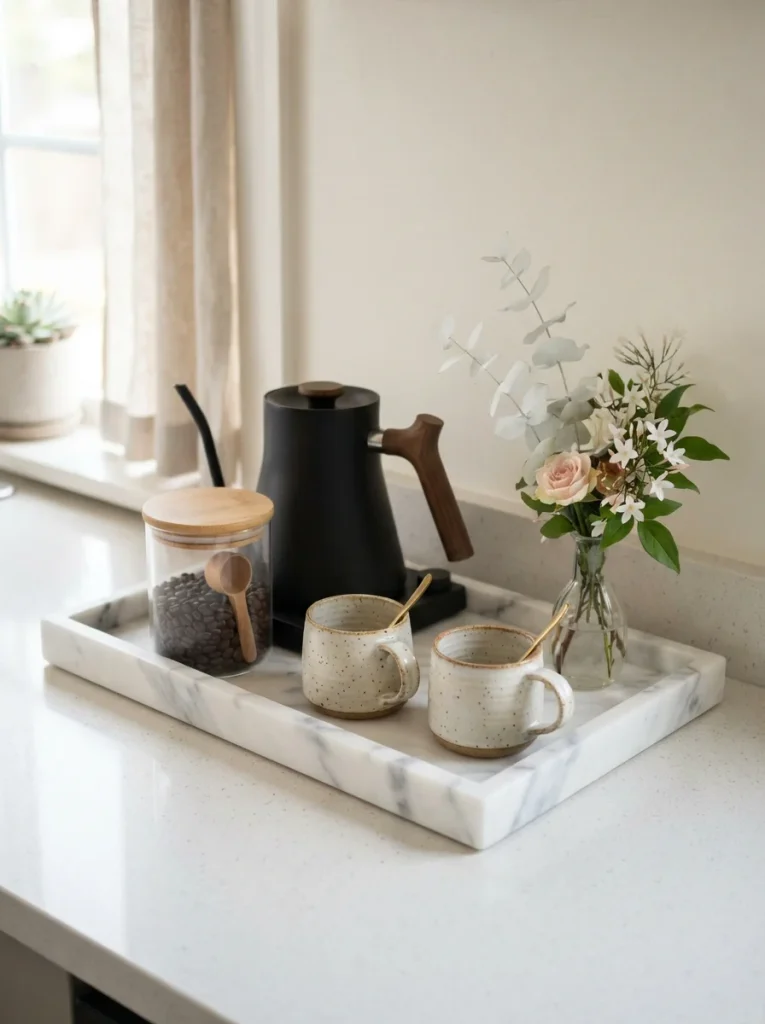
Styling is what makes a plain station look planned. Keep the palette to three colors, such as white, black and brass. I’ve noticed a single fresh stem adds more life than a bunch of fake flowers. Swap the stem weekly and dust the tray when you wipe the counter.
Coffee Bean Storage
Cost: Low | Time: Ten minutes | Skill Level: Beginner | Best For: Fresh flavor and tidy counters
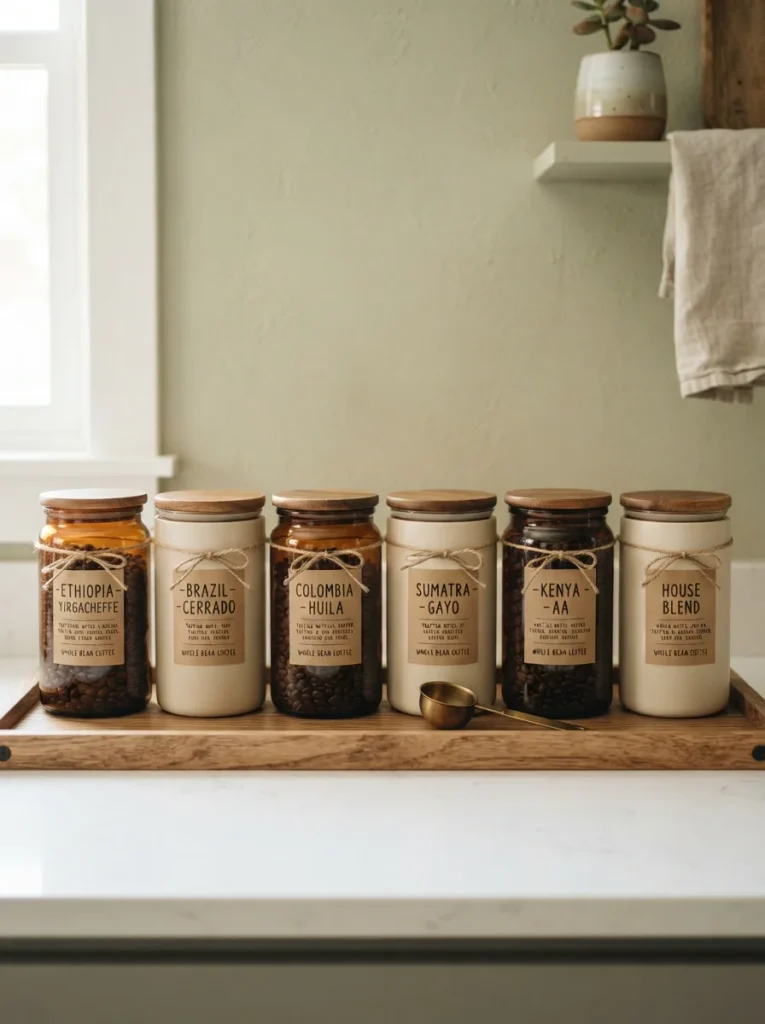
Stale beans ruin a good cup faster than a bad machine does. Pick opaque or tinted canisters with a tight seal and keep them away from the stove and direct sun. Buy smaller bags more often, then pour in only what you will use within two weeks. Label each canister with its roast date.
Chalkboard Menu Wall
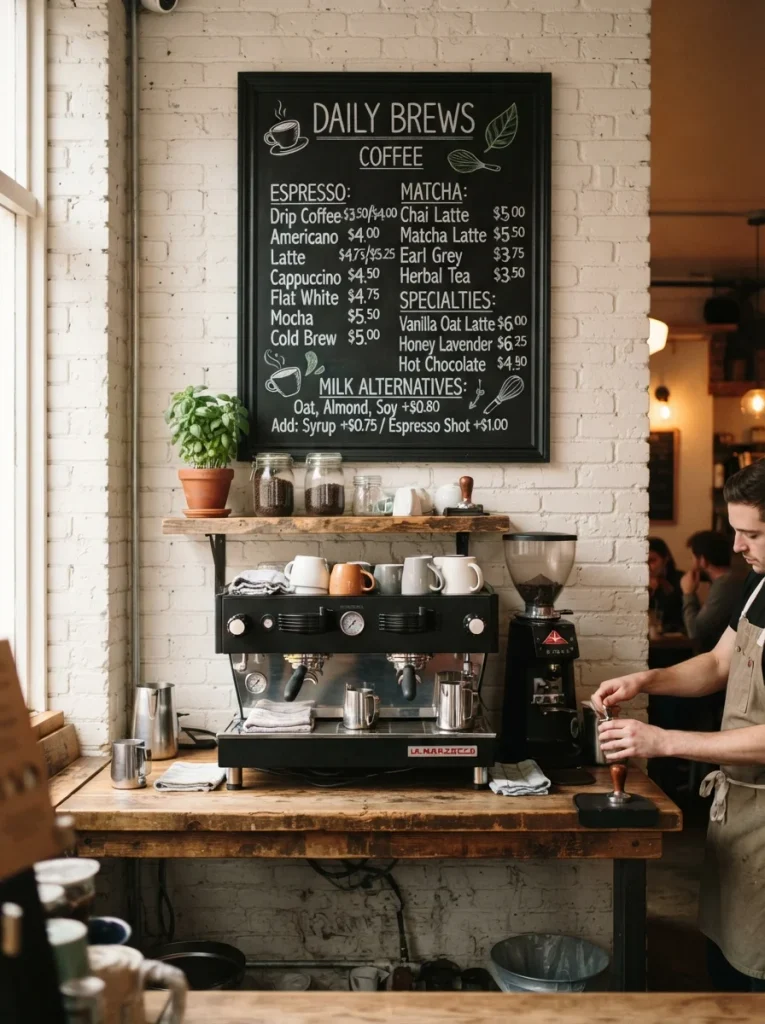
Walk into any favorite cafe and your eyes go straight to the menu board. Bring that same pull home with a framed chalkboard above the station. Write out the five drinks your household actually makes, such as latte, cold brew and cocoa, so everyone knows what is on offer.
Pick a board about 16 by 20 inches so the writing stays readable from across the room. A chalk marker gives cleaner lines than stick chalk and wipes off with a damp cloth. Change the menu with the seasons and kids will love adding their own doodles.
Dark Moody Coffee Bar
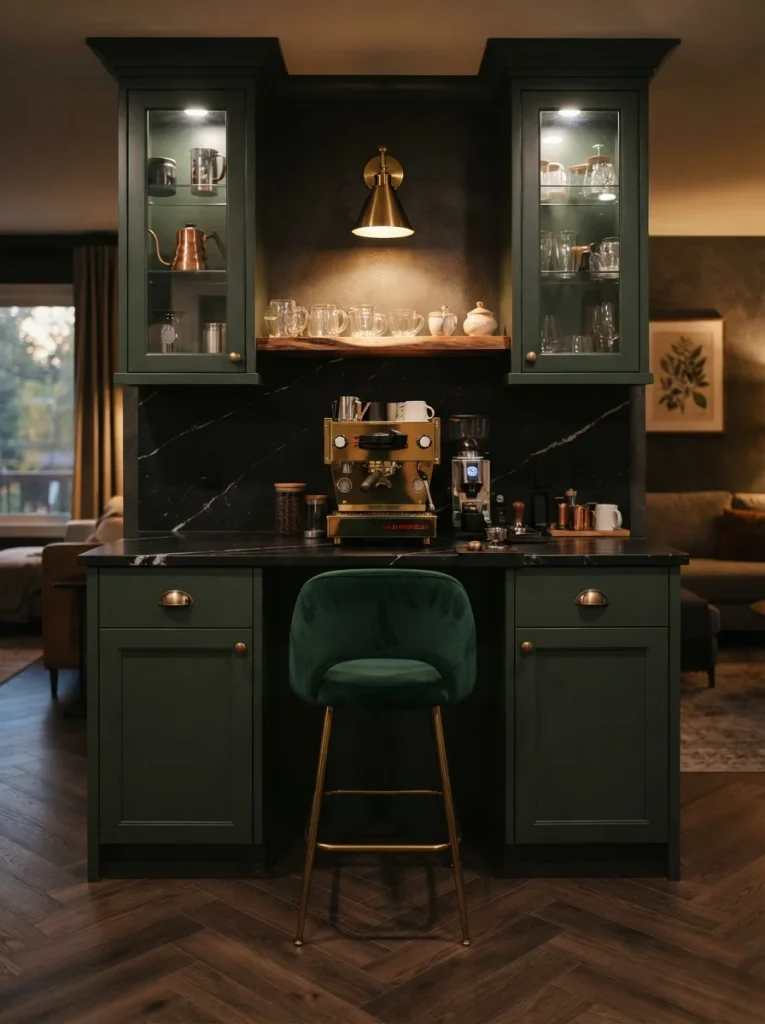
- Dark paint turns a corner into a destination. Pick deep green, navy, or charcoal in a matte or satin finish.
- Choose brass or aged bronze hardware, which pops against dark cabinets.
- Add warm 2700K bulbs or a small sconce, since cool light flattens dark color.
- Pair a black counter with glass or white mugs for contrast.
- Test a large paint sample for three days in morning and evening light.
Moody colors make small spaces feel wrapped, not cramped. In my experience, a dark cabinet looks richer when the room has two light sources instead of one. Keep surfaces wiped, because dark finishes show fingerprints and water spots. Light mugs and a pale plant give the palette room to breathe.
Window Side Setup
Quick Tip:
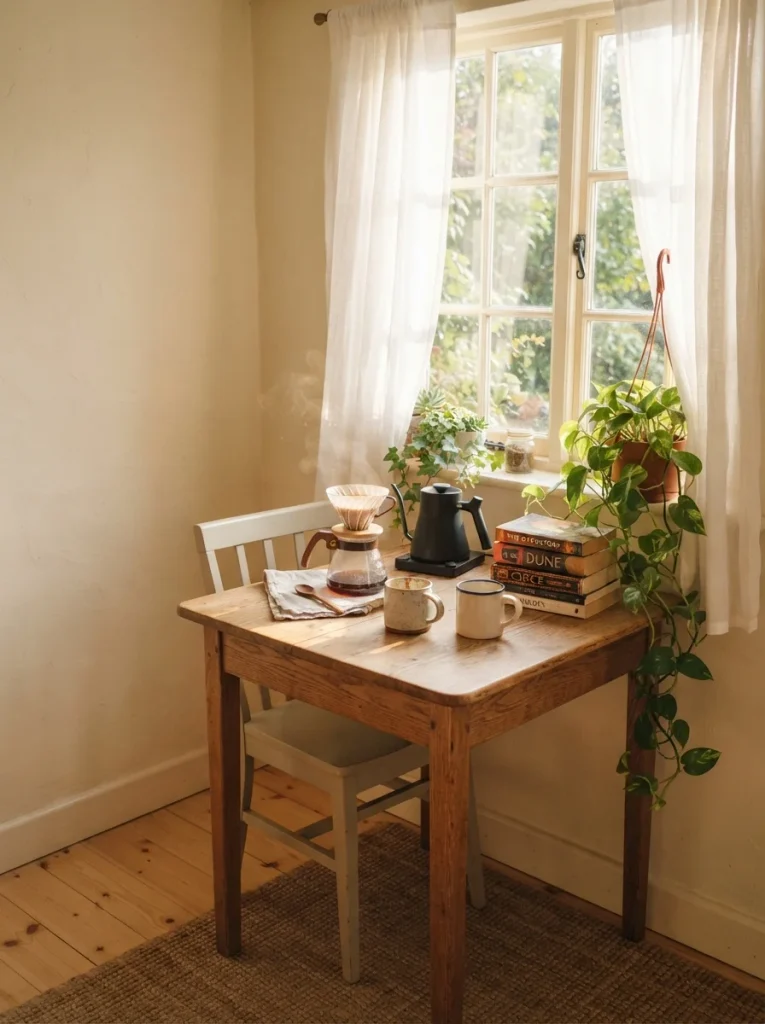
Keep beans and any dairy out of direct sunlight, since heat and light spoil both quickly. Hang a sheer curtain to soften the glare on bright mornings. Set the table at least 3 feet from any radiator or vent.
Natural light turns a quick cup into a small moment of calm. Set a narrow table near the window and leave room for one stool. Keep the setup light so you can shift it for cleaning. A trailing plant and a short stack of books finish the corner.
Vintage Dresser Bar

BEFORE: A scratched dresser sits unused in the spare room. The drawers hold clothes nobody wears. It takes up floor and gives nothing back.
AFTER: A fresh coat of paint and new brass pulls turn it into a full coffee bar. The top holds the machine and the drawers hold mugs, pods and napkins. It becomes the best piece in the room.
Thrift stores and curb alerts are full of solid wood dressers that need only a sand and a paint job. Seal the paint with a water resistant topcoat first. Line the top with a heat safe tray and a silicone mat. Look for pieces 30 to 36 inches tall, which match standard counter height.
Tea and Coffee Combo
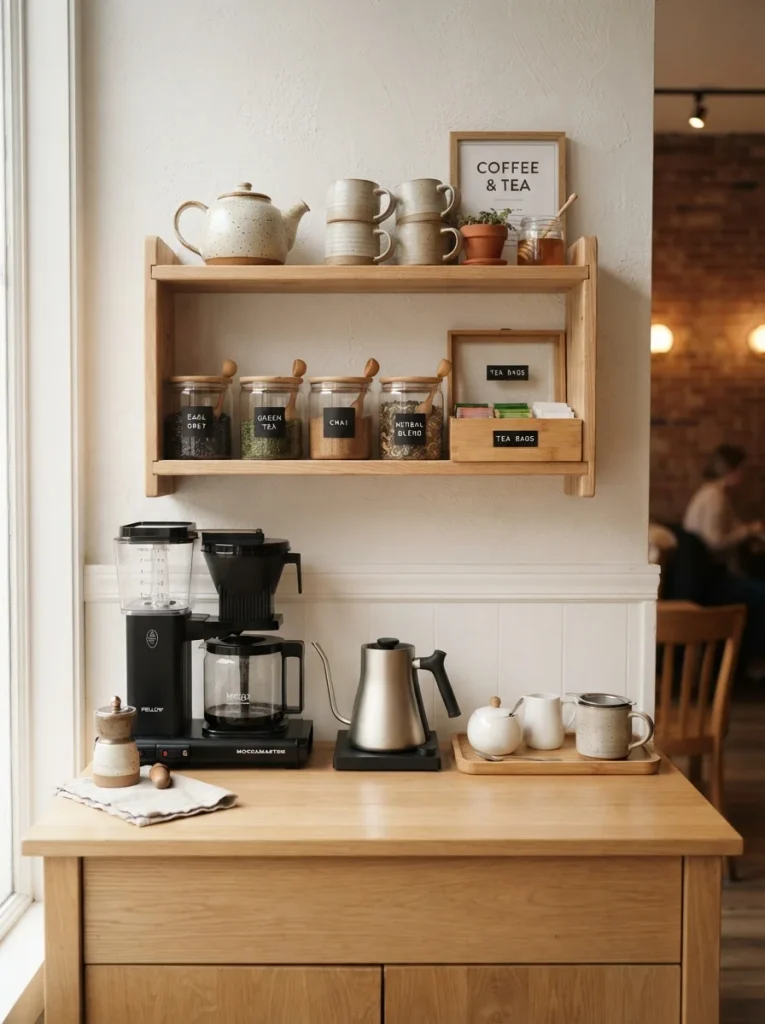
- Give tea drinkers their own half so nobody hunts for a bag. Split the tray or shelf into two zones, with coffee on the left and tea on the right.
- Share one electric kettle between both zones and place it in the middle for easy reach.
- Store tea bags in a bamboo box and loose leaf tea in small airtight jars.
- Place a honey jar, lemon dish and stir sticks between the zones so both drinks share them.
- Keep mugs and a teapot on the shelf above, with one hook or row per drinker.
Mixed households need flexible stations, not two separate counters. A shared kettle and sweeteners keep it compact and clear jars let guests choose without asking. I’ve seen this work well for couples who never agree on a morning drink. Wipe the shared surfaces daily to avoid flavor mixing.
Under Cabinet Lighting
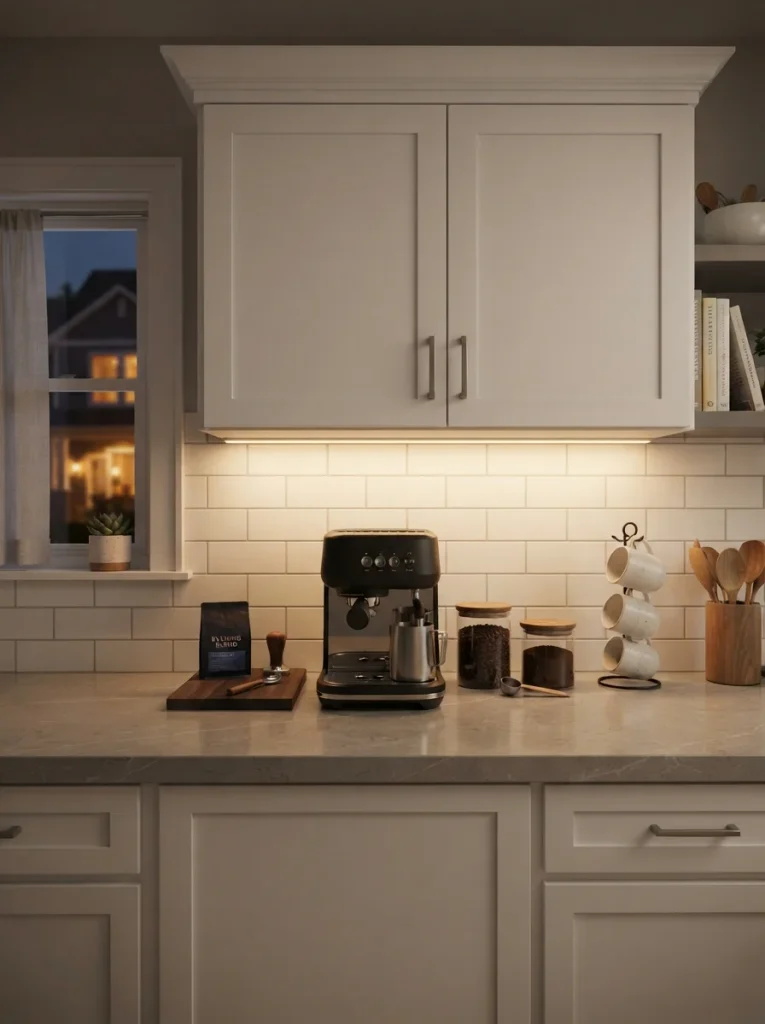
| Overhead Light Only | Under Cabinet Strip | |
|---|---|---|
| Shadows | Dark spots on the counter | Even light where you work |
| Mood | Flat and bright | Warm and cozy |
| Setup | Already installed | Peel, stick and plug in |
Dark corners make early brewing feel clumsy. A stick-on LED strip lights the counter exactly where your hands work. Choose a 2700K to 3000K warm white strip and pick a dimmable kit for slow mornings. Clean the cabinet underside first so the adhesive sticks and hide the wire with a small cord clip.
Bedroom Morning Bar
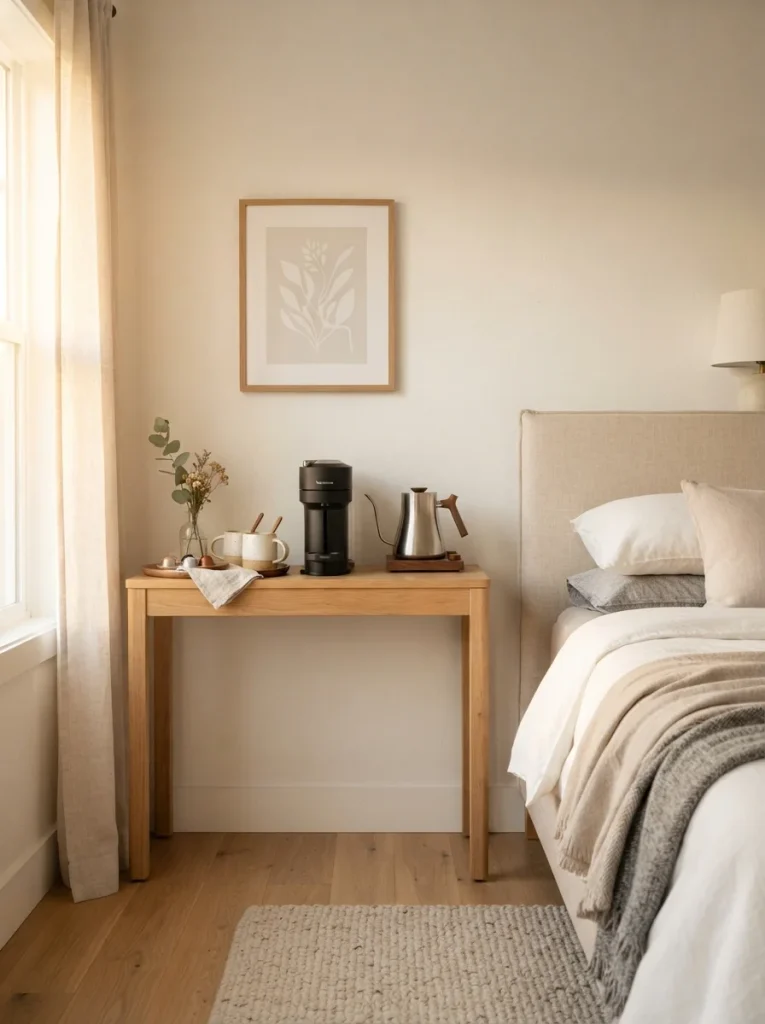
Do:
- Use a quiet brewer so early risers do not wake the house.
- Place a heat safe tray under the kettle and brewer.
- Keep the setup on a stable surface away from the bed.
- Store a few mugs and a small sugar jar in a nearby basket.
Don’t:
- Don’t plug a high wattage machine into a shared extension cord.
- Don’t leave a hot kettle unattended near bedding.
- Don’t store dairy in the bedroom.
Slow mornings start before you leave the bedroom. A tiny station on a slim console lets you brew a cup, sit by the window and ease into the day. Many hotel suites use the same trick for good reason. Keep the footprint small and choose a model with an auto shutoff.
Mini Fridge Station
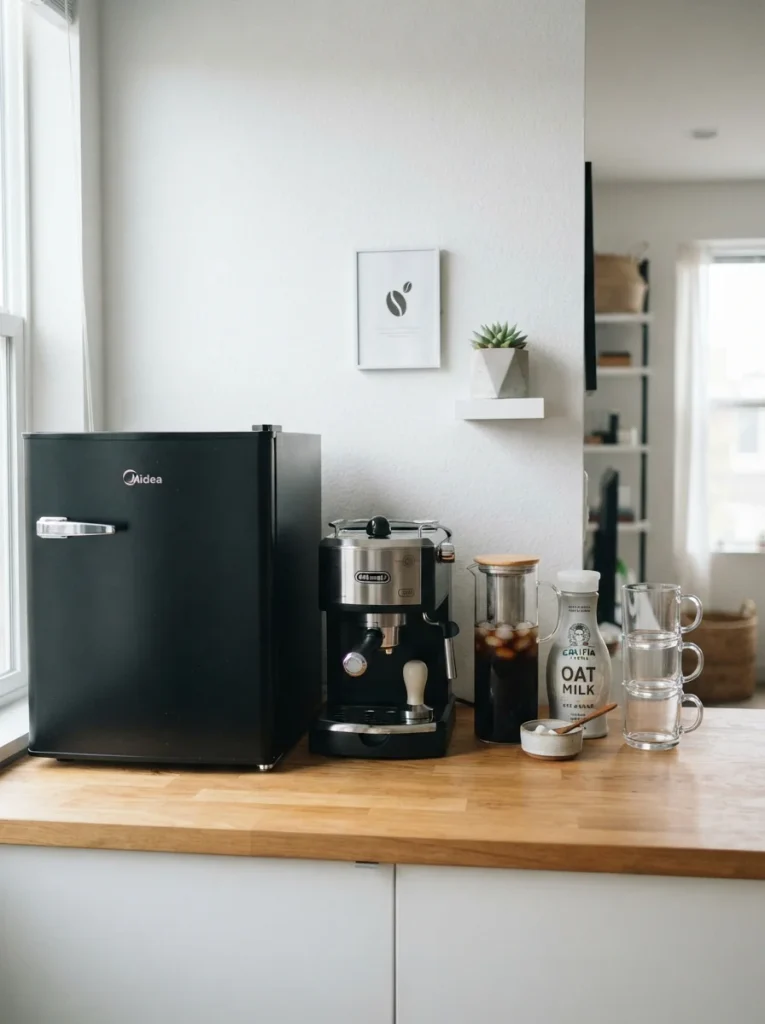
Cost: Moderate | Time: One afternoon | Skill Level: Beginner | Works In: Offices, basements and garages
Cold brew and creamer love a fridge within arm’s reach. A compact unit tucked under the counter keeps milk and cold brew chilled without walking to the kitchen. Leave 2 to 3 inches of space around the sides for airflow and check the manual before enclosing it in cabinetry. Wipe the shelves monthly.
Office Coffee Corner
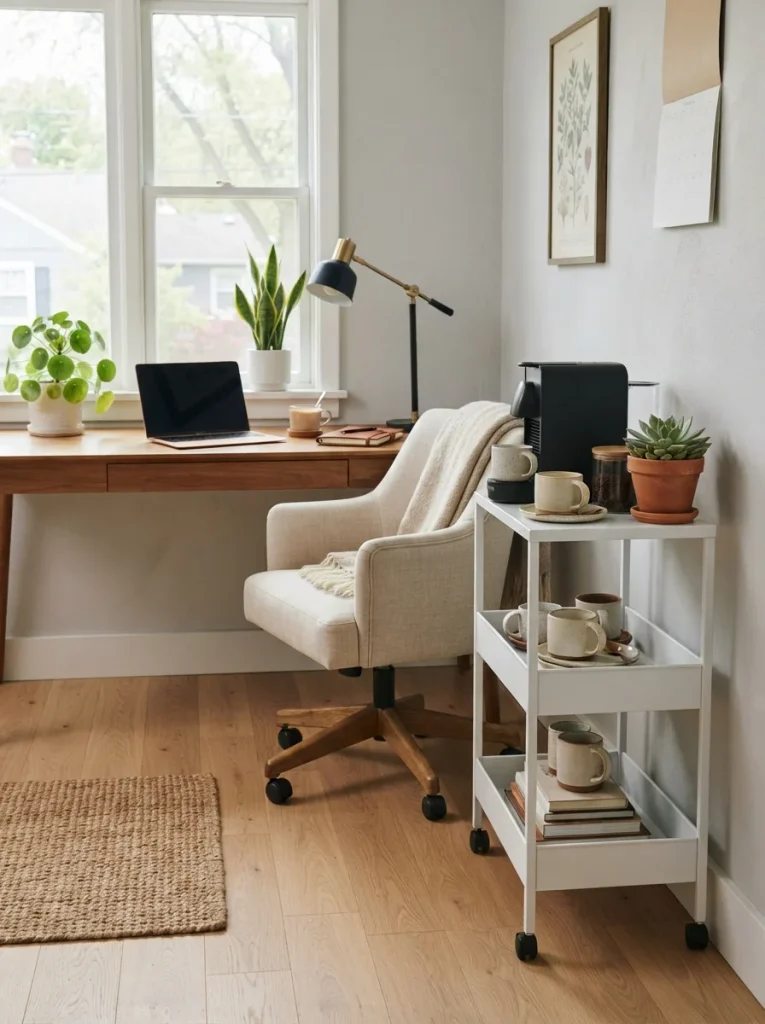
Working from home puts the kitchen one trip too far away. A small coffee corner a few steps from your desk saves time and keeps your focus. Choose a narrow cart or side table that fits beside the desk and still leaves a clear walkway.
Keep drinks away from laptops, chargers and paper stacks and use mugs with lids to prevent spills. A small kettle and a pack of single serve pods work well for quick breaks. I’ve noticed that a short walk to the cart helps break up long hours at the desk.
Seasonal Mug Styling
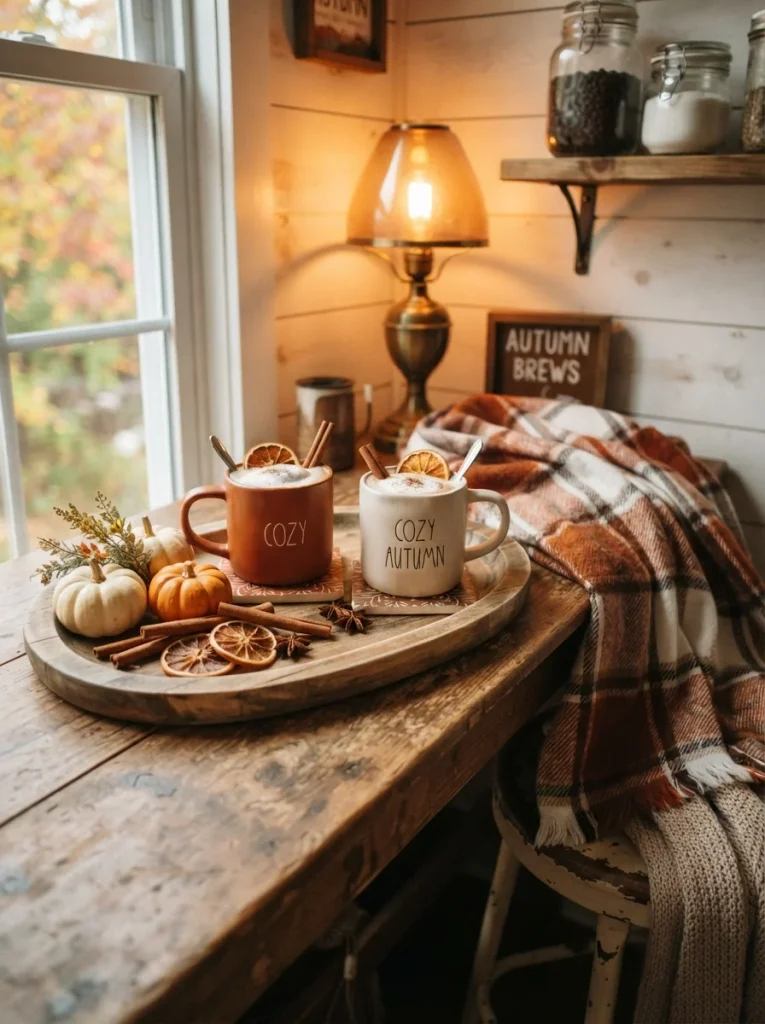
- Swap the look four times a year and the same counter feels new. Start with a mug set in each season’s colors.
- For fall, pair rust and cream mugs with cinnamon sticks and a few mini pumpkins.
- For winter, use white and silver mugs, a small evergreen sprig and a string of battery fairy lights.
- For spring, switch to pastel mugs and a bud vase with fresh tulips.
- For summer, set out glass cups, a pitcher for iced coffee and a lemon slice dish.
Seasonal swaps cost almost nothing when you reuse what you own. Two or three small changes feel fresh without buying a whole new set. Store off season items in one labeled bin and the next change takes five minutes. Never let decor block the machine or the space you need.
Butcher Block Counter
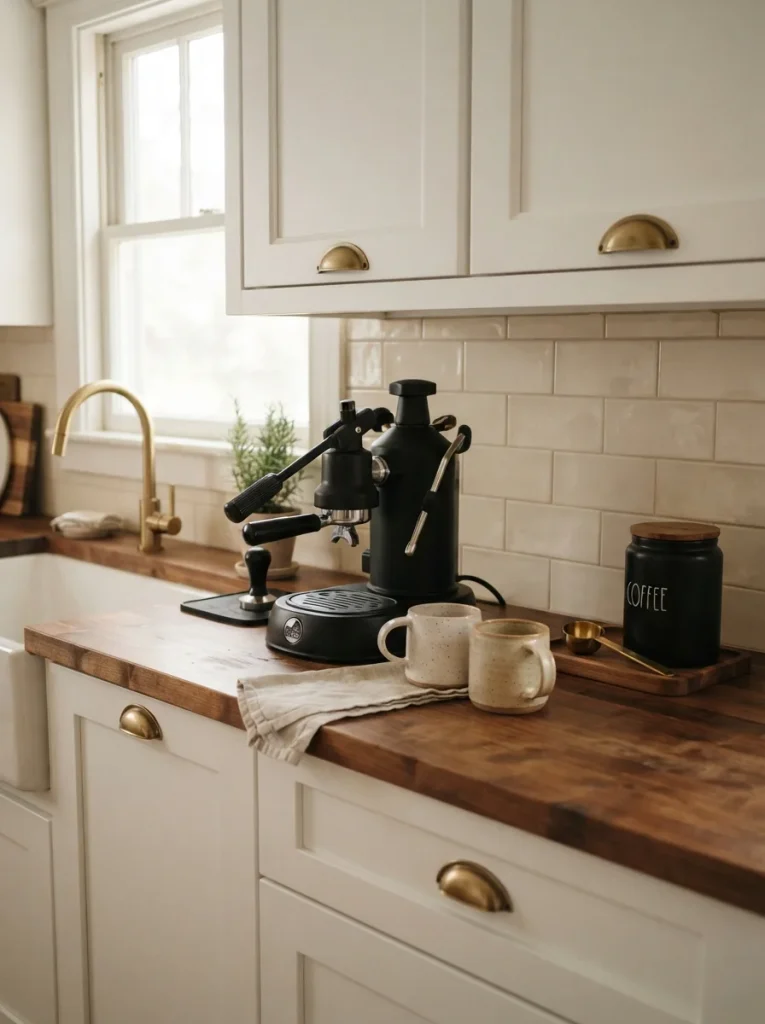
Quick Tip:
Seal the wood with food safe mineral oil every month, especially around the machine. Wipe coffee spills right away, since dark stains soak in fast. Add a thin silicone mat under the machine to protect the grain from moisture.
Wood adds warmth that stone and laminate never quite match. A butcher block section can turn a cold counter into the heart of the kitchen. Ask a local carpenter about cutting a slab, or buy a pre cut board and secure it with adhesive. Let the wood acclimate for a few days before sealing.
Brunch Party Bar
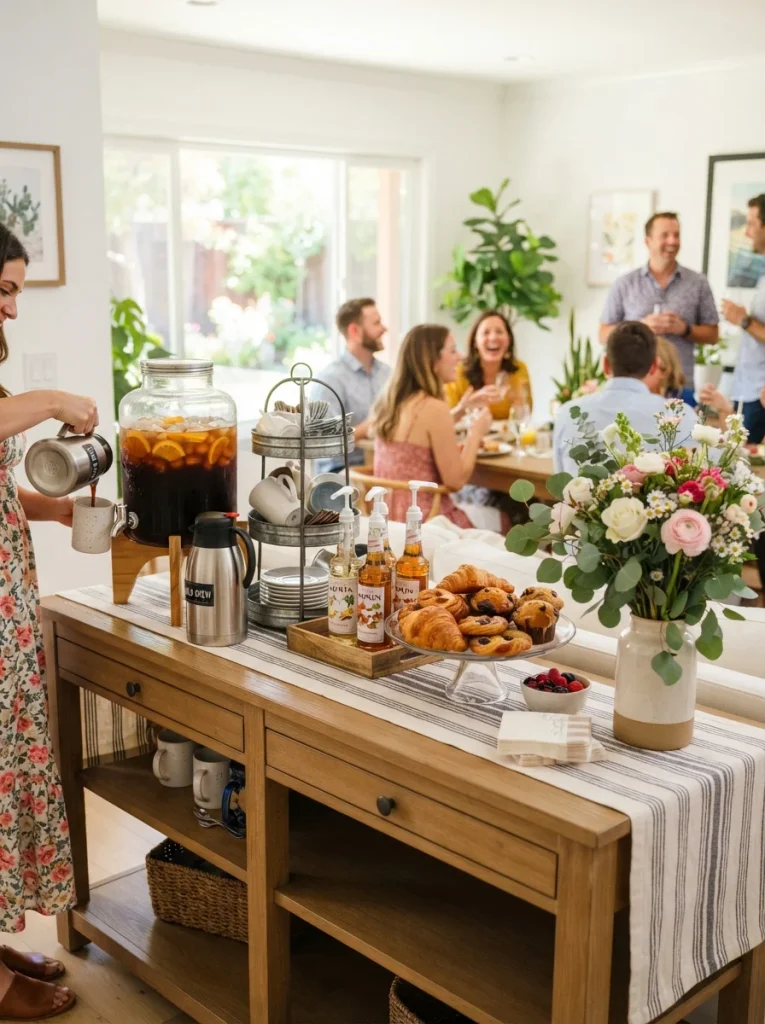
BEFORE: Guests crowd the kitchen and ask where the mugs are. The host plays barista all morning. Conversations keep getting interrupted.
AFTER: A self serve bar sits at the end of the table with carafes, mugs and labeled syrups. Guests pour what they like and the host finally sits down. The party flows.
Hosting gets easier when the drinks run themselves. Use two thermal carafes, one regular and one decaf and label each with a small card. Set out a mug stand, a sugar bowl and a tray of syrups. I’ve seen guests linger longer when the bar looks inviting and is easy to use.
Conclusion
A good coffee station does more than hold mugs. It gives your morning a calm starting point and turns a messy corner into the spot you look forward to most. I’ve seen how small changes like these can completely shift the way a kitchen feels, often in a single afternoon.
Whether you pick a tiny nook or a full pantry bar, start with one idea and build from there. With so many coffee station ideas to choose from, one is sure to fit. Save this post on Pinterest, try one setup this week and share it with a friend who loves a good cup.