28 Beautiful Backyard Landscaping Ideas That Wow Guests
Backyard Landscaping Ideas can turn an ordinary yard into a space that feels welcoming, useful, and full of personality. The right layout can make even a small backyard feel more organized and inviting.
Whether your yard needs a cozy seating corner, colorful planting beds, a practical pathway, or a relaxing place to gather, small changes can have a noticeable effect. The key is choosing ideas that fit your space, lifestyle, budget, and maintenance routine.
In my experience, the most successful outdoor spaces are not always the largest or most expensive. A well-placed path, defined garden border, or comfortable seating area can completely change how a backyard is used. In this guide, you’ll find 28 practical ideas to help you create a backyard that looks polished while still feeling comfortable and personal.
Stone Garden Path
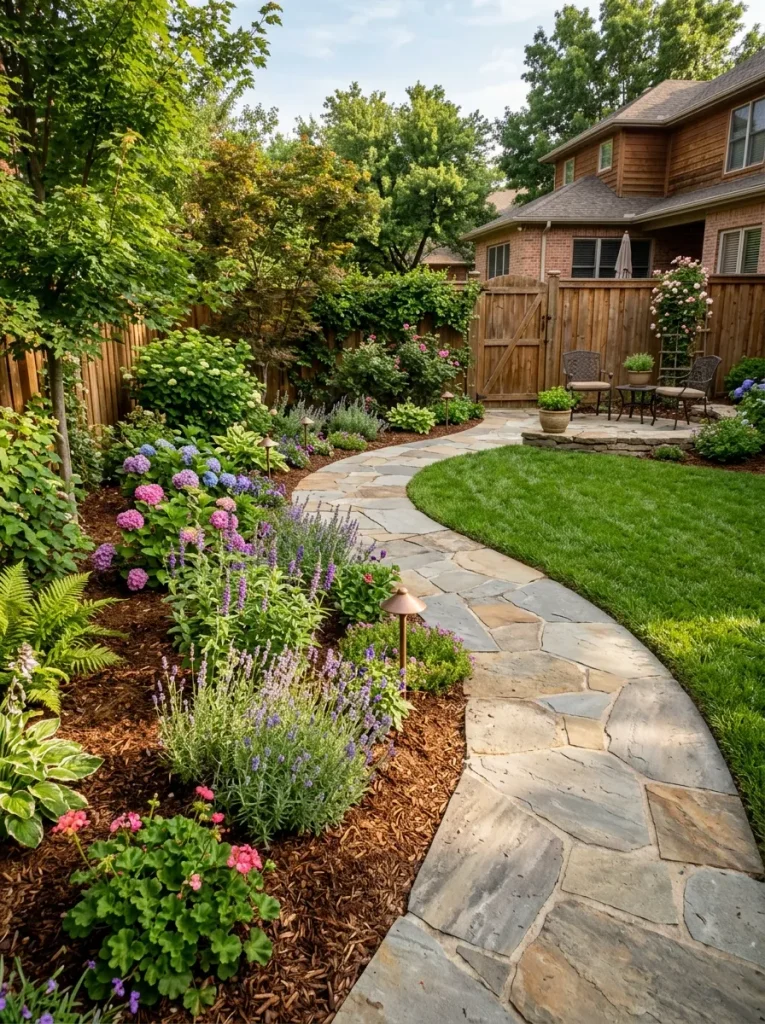
A stone path gives a backyard an instant sense of structure without making the space feel overly formal. Arrange irregular flagstones through grass, gravel, or groundcover to create a natural route between the patio, garden beds, and seating area.
Keep the stones slightly spaced for a relaxed appearance, but make sure each piece sits firmly and level. I’ve noticed that paths look more polished when their curves follow the shape of the yard instead of cutting straight across it. Add low plants along the edges for softness.
Layered Flower Beds
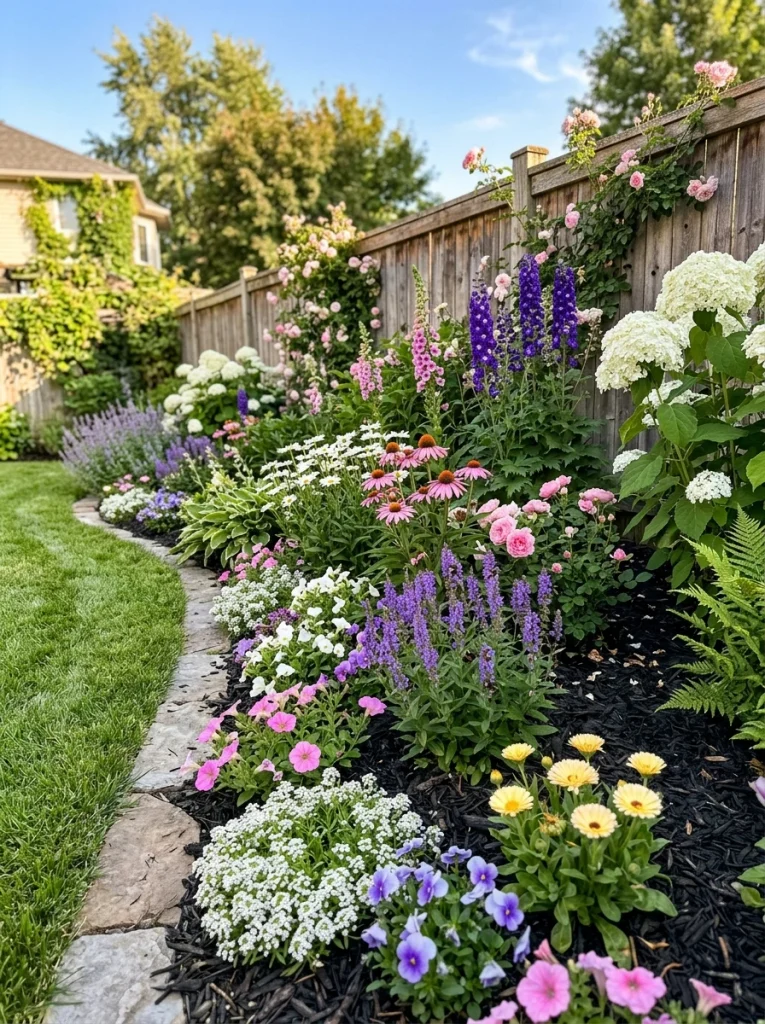
- Place taller plants toward the back so they do not hide shorter flowers.
- Combine three or four bloom colors instead of mixing too many shades.
- Use dark mulch to define the planting area and reduce visible soil.
- Repeat a few plant varieties across the bed for a connected look.
- Leave enough spacing for mature plants to grow without crowding.
Layered planting makes even a modest yard feel fuller and more intentional. Choose plants with different heights, leaf shapes, and bloom periods so the bed stays interesting through the seasons. For easier maintenance, group plants with similar sunlight and watering needs rather than choosing varieties based only on appearance.
Cozy Fire Pit Area
Quick Tip:
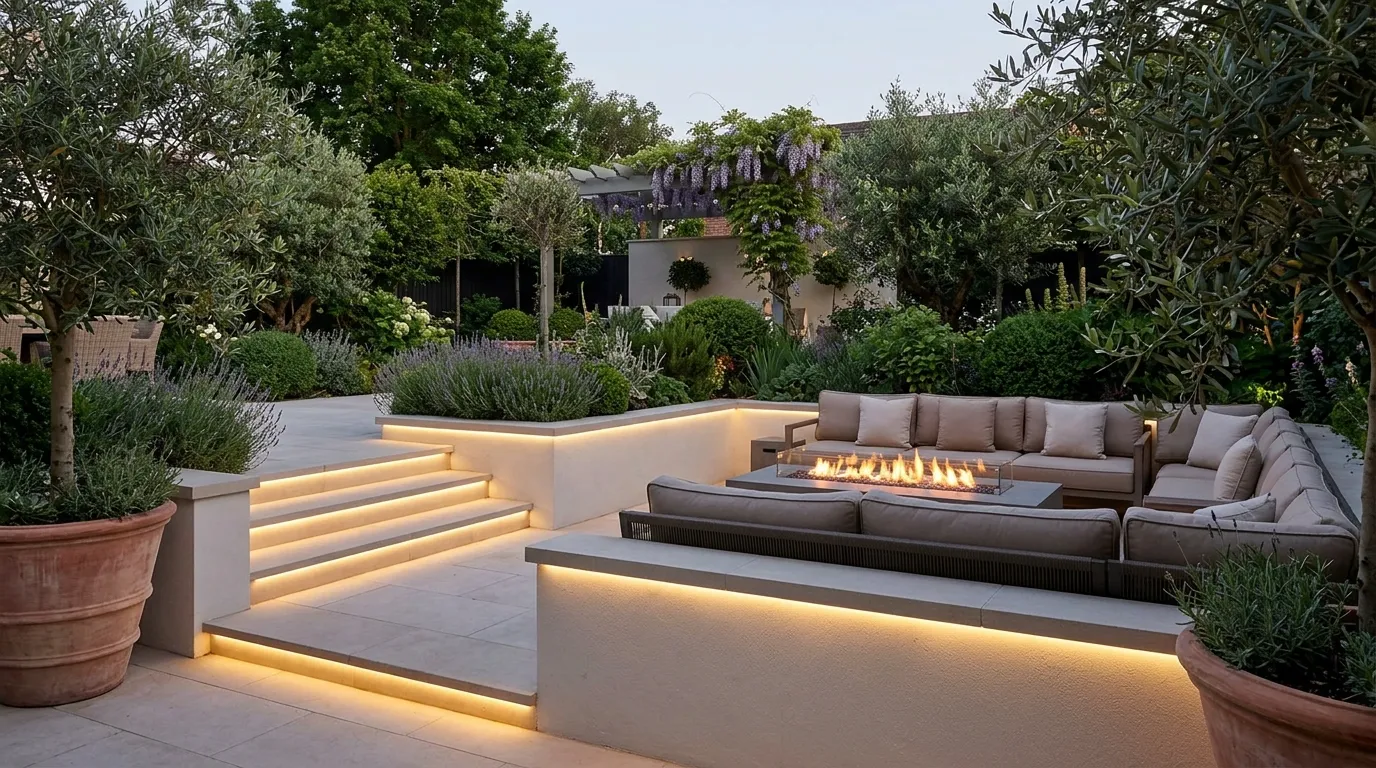
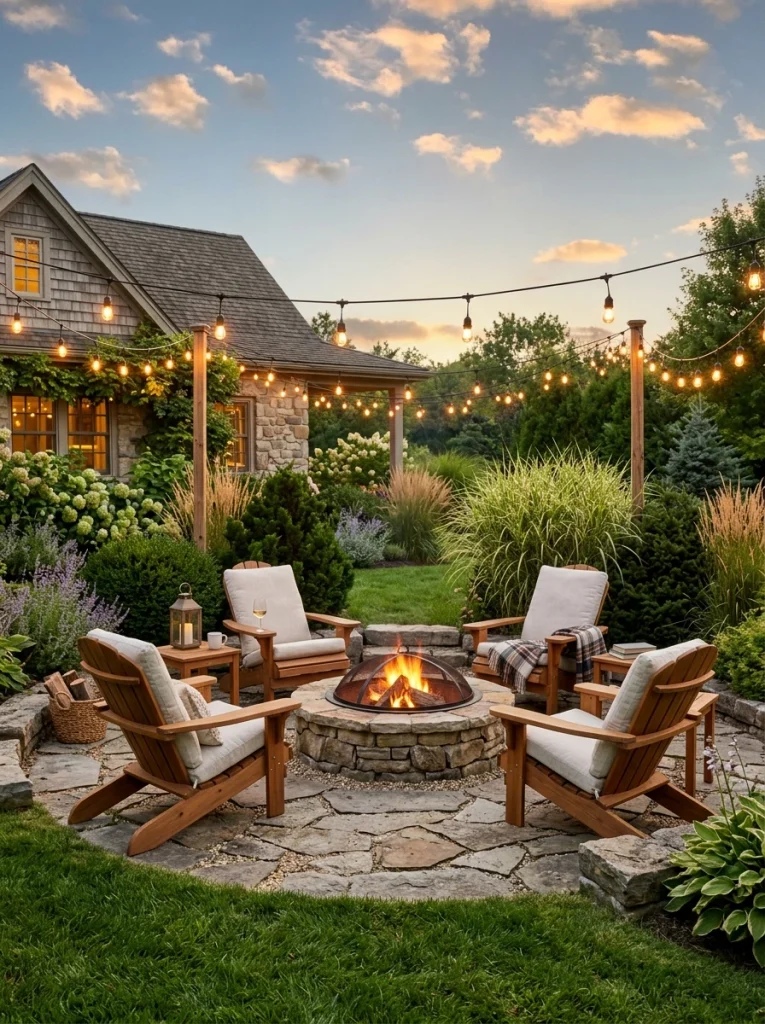
Keep the fire pit well away from fences, overhanging branches, and other combustible materials. Check your local fire regulations before choosing its location. Use a level, noncombustible surface around the pit to create a safer and more stable seating zone.
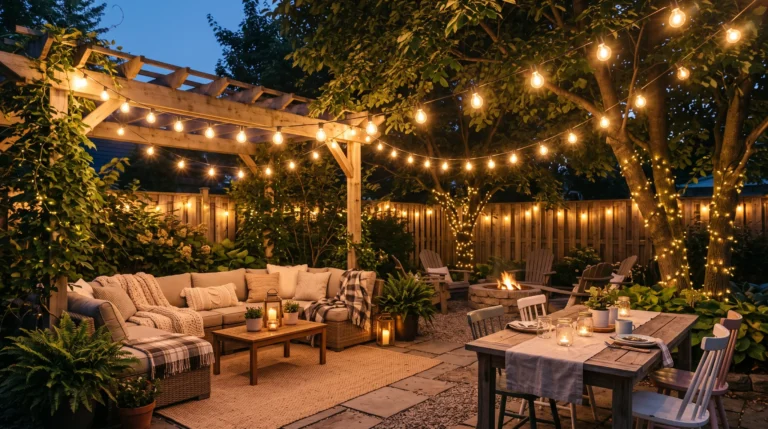
A dedicated fire pit area can turn an unused corner into a natural gathering spot. Leave enough room for chairs to move comfortably and maintain clear walking space around the circle. I’ve seen compact setups work especially well when the seating faces inward and the surrounding planting stays low.
Read More: 22 Bathroom Wall Decor Ideas for a Stunning Retreat
Wooden Deck Seating
BEFORE:
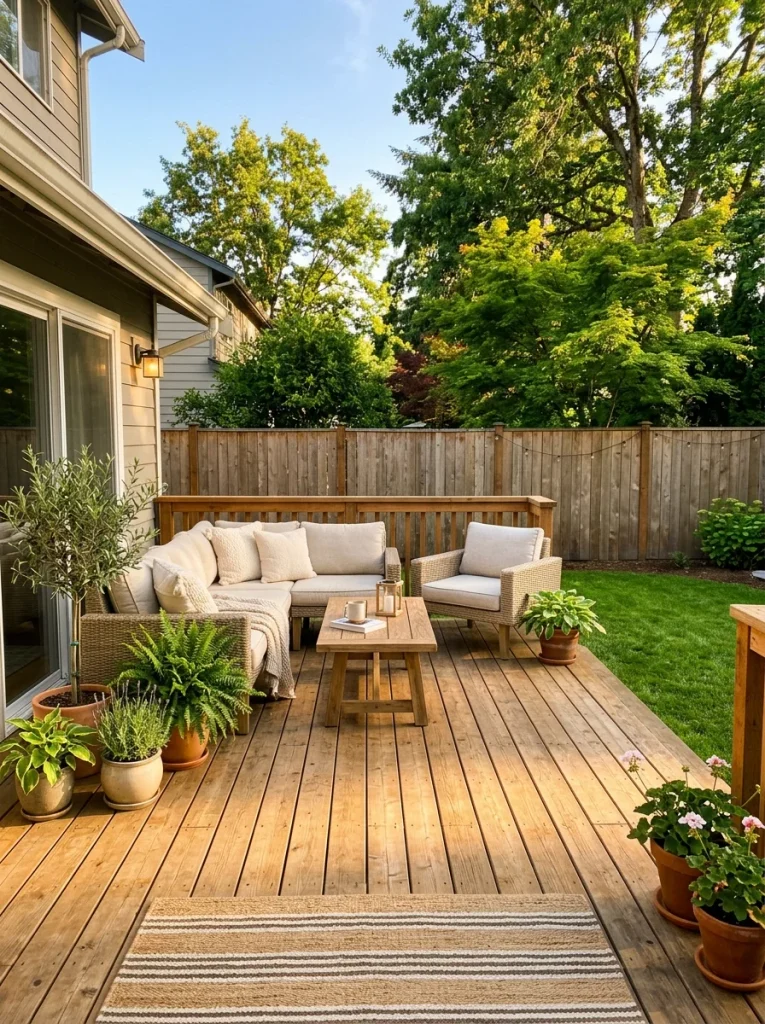
An empty backyard corner can feel disconnected from the rest of the outdoor space. There may be plenty of room, but no clear place for relaxing, reading, or having coffee.
AFTER:
A compact wooden deck creates a defined destination for seating. Add two chairs, a small table, and a few containers around the edges to make the area useful without overcrowding it.
Choose weather-resistant decking and leave enough clearance for comfortable movement. A simple rectangular layout usually works well for beginners because it is easier to measure, build, and furnish.
Gravel Seating Nook
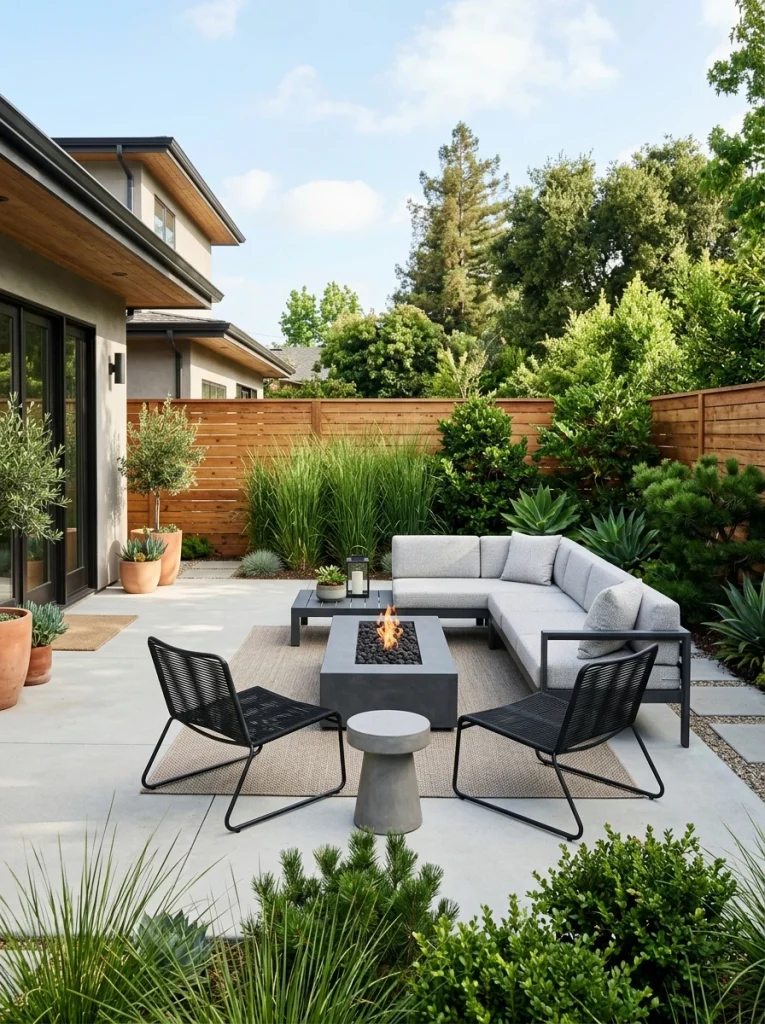
- Choose the location: Pick a level area that receives comfortable amounts of sunlight and shade throughout the day.
- Prepare the ground: Remove weeds, level the surface, and install landscape fabric to help reduce unwanted growth.
- Add the gravel: Spread a consistent layer of compactable gravel across the prepared area.
- Define the edges: Use stone, brick, or metal edging to keep gravel contained.
- Furnish lightly: Add two chairs and a small table while leaving enough open space for movement.
A gravel nook is especially useful for yards that lack a natural patio area. It costs less than many hardscape surfaces and can be installed in a small section without taking over the lawn. Choose comfortable outdoor furniture and repeat nearby plant colors to connect the nook with the rest of the garden.
Raised Garden Borders
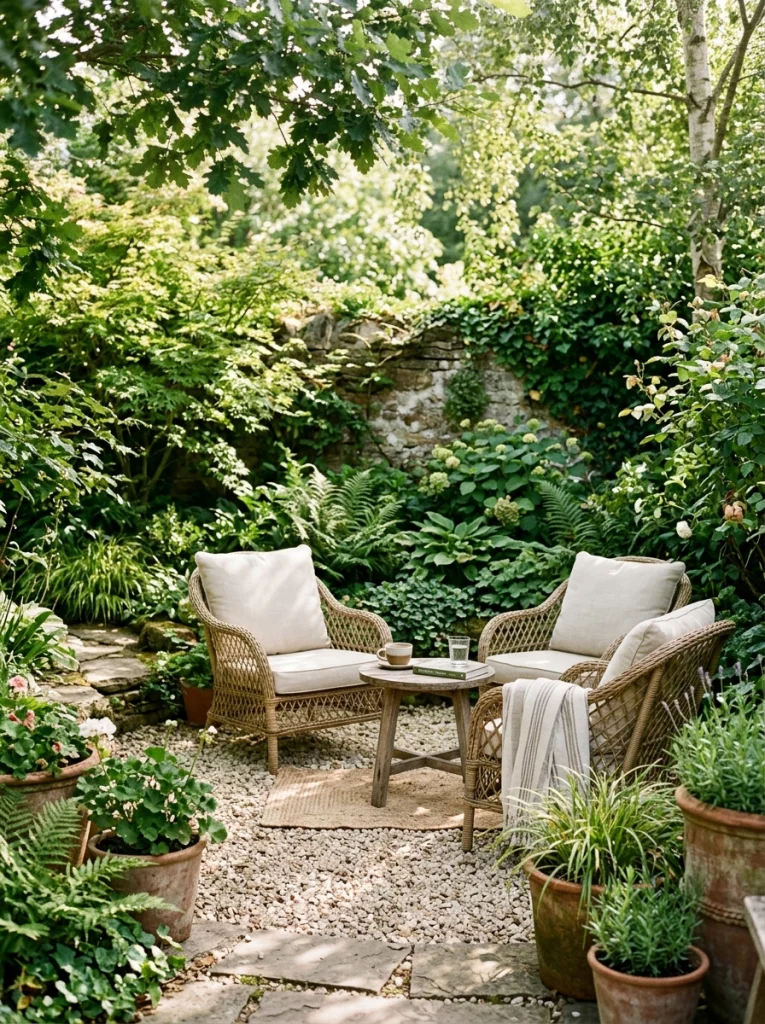
| Feature | Option A: Low Border | Option B: Raised Border |
| Height | 4 to 6 inches | 10 to 18 inches |
| Best Use | Lawn separation | Defined planting areas |
| Maintenance | Simple edging | Easier soil management |
| Visual Effect | Subtle | More structured |
Raised borders give planting areas a stronger outline and help separate flowers from grass. They also make soil easier to manage, especially where the existing ground is compacted or uneven. Choose durable materials that match nearby features, then keep the border height consistent for a cleaner finished appearance.
Defined Lawn Edges
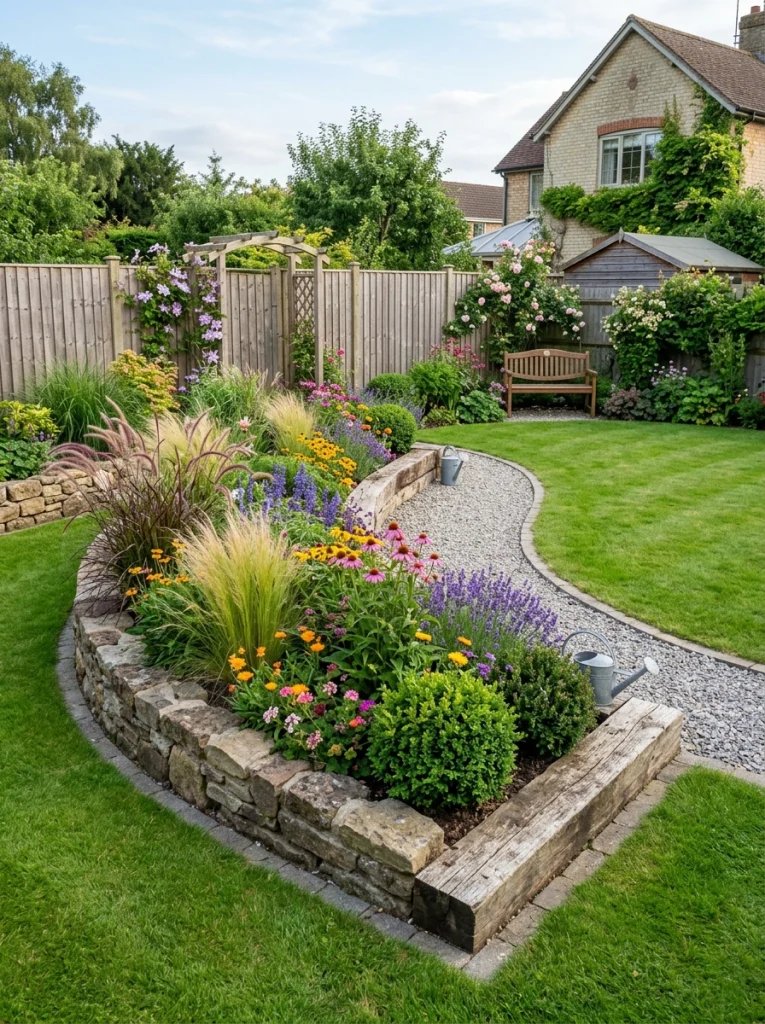
DO:
- Use a sharp edging tool to create a clean boundary.
- Follow gentle curves that match the natural shape of the yard.
- Keep mulch slightly below the lawn surface.
- Check the edge after mowing and trim stray grass promptly.
DON’T:
- Create narrow corners that are difficult to mow.
- Let mulch spill onto the grass.
- Make complicated patterns without a clear purpose.
- Cut too deeply near tree roots.
Clean borders make the entire backyard look more organized with relatively little work. They also stop grass from creeping into planting beds and make mowing easier. I’ve noticed that repeating the same border material around several areas creates visual consistency, especially when the yard includes separate flower beds, trees, and seating zones.
Vertical Privacy Garden
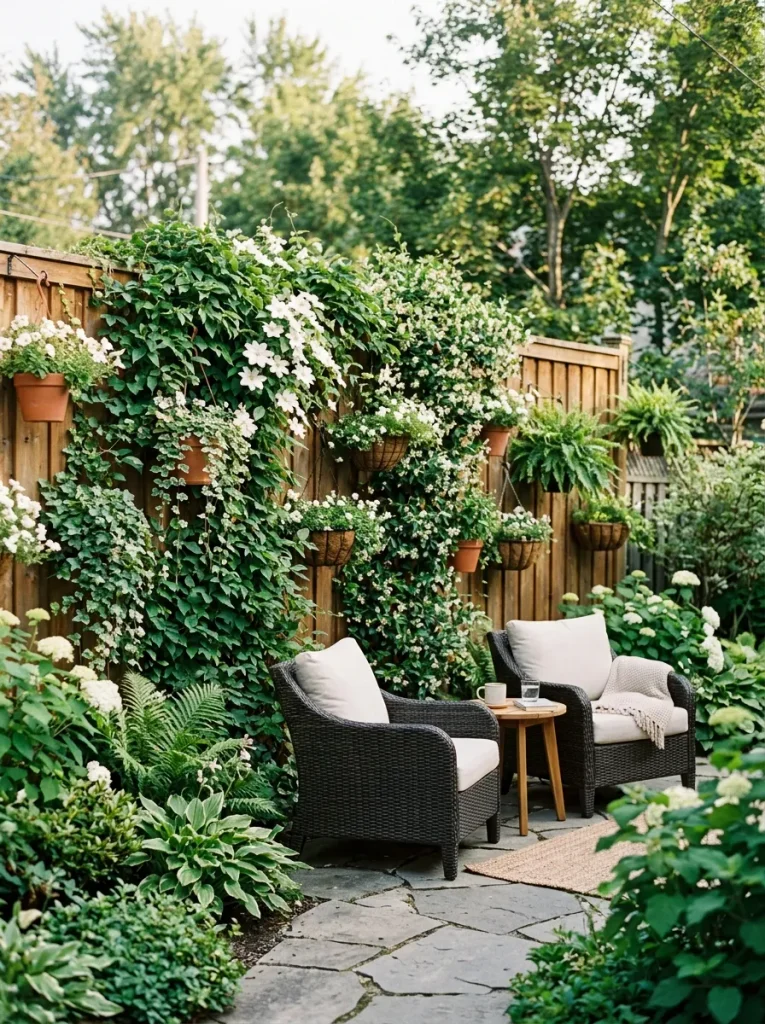
Cost: Moderate | Time: One to two weekends | Skill Level: Beginner to intermediate
Best For: Small yards and overlooked seating areas
Materials: Privacy screen, climbing plants, planters, sturdy supports
Result: More privacy with added greenery
A vertical garden makes useful use of limited wall or fence space while adding height to the landscape. Choose sturdy supports for mature vines and position plants according to their sunlight needs. For a faster result, combine climbing plants with tall planters and evergreen screening rather than relying on one plant alone.
Curved Planting Beds
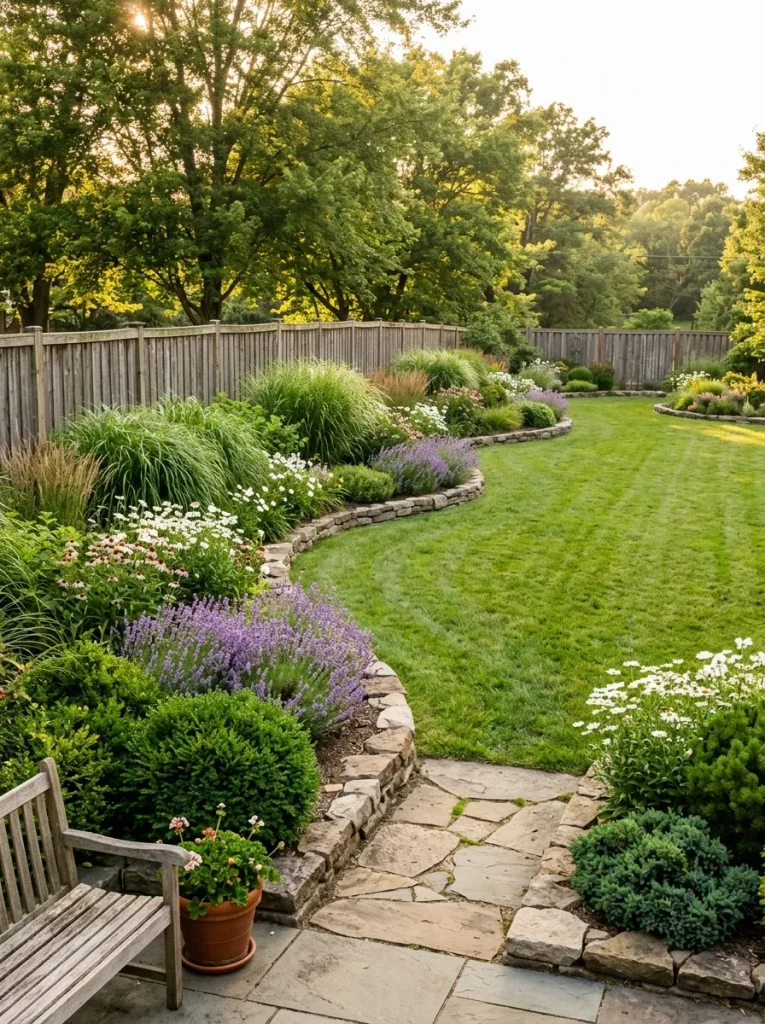
Curved planting beds can soften a backyard filled with straight fences, patios, and walkways. Start by marking the desired curve with a garden hose before digging, which makes it easier to adjust the shape. Keep the lawn area broad enough for mowing and avoid tight curves that create awkward maintenance spots.
A balanced curve should guide the eye rather than consume usable space. In my experience, wide, gradual curves usually look more natural and are easier to maintain than several small bends. Repeat a few plants along the border to make the entire bed feel connected without making it overly uniform.
Pergola Dining Space
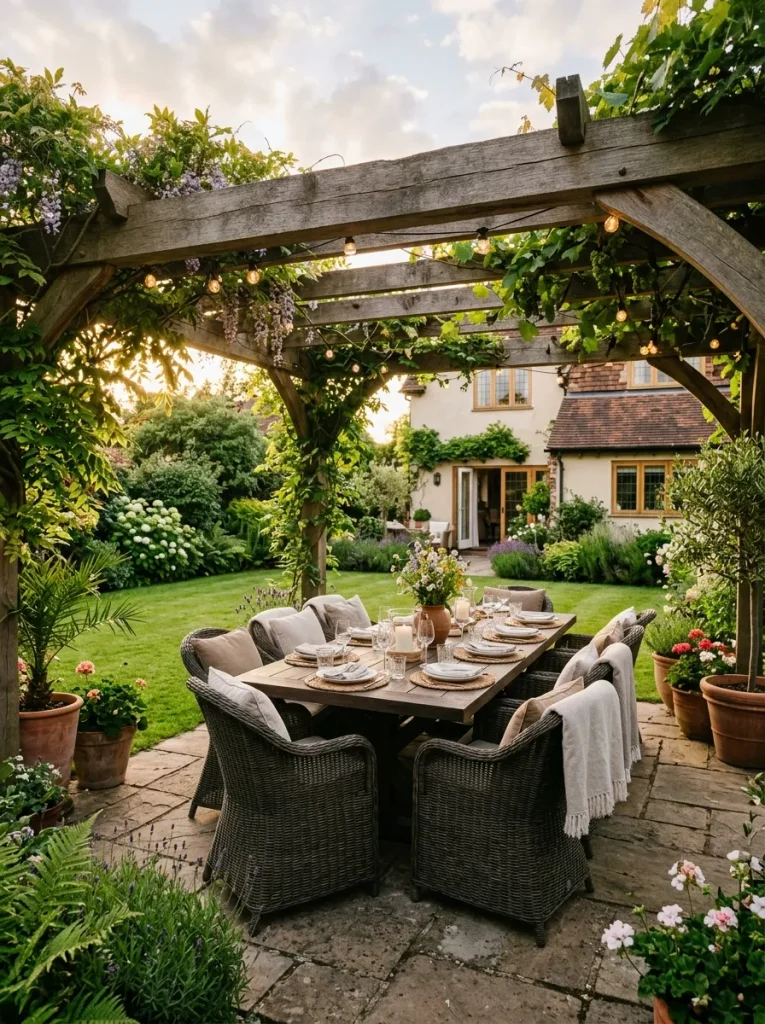
- Position the pergola near the house for convenient access to the kitchen.
- Choose weather-resistant wood or metal suited to your local climate.
- Add climbing plants for shade and a softer appearance.
- Leave comfortable clearance around the dining table and chairs.
- Use outdoor lighting for evening meals and gatherings.
A pergola gives an outdoor dining area a clear sense of purpose while adding vertical interest to the yard. Keep the structure proportional to the available space, especially in smaller gardens. A compact table underneath can still provide plenty of room for family meals without making the surrounding landscape feel crowded.
Stepping Stone Trail
Quick Tip:
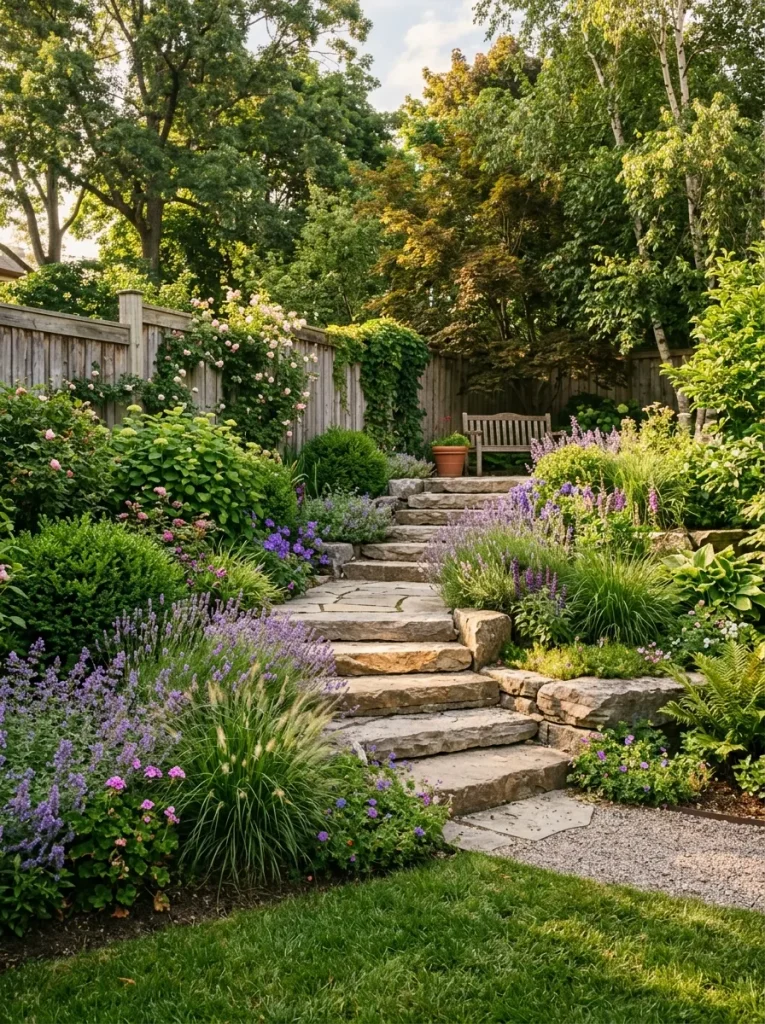
Place each stepping stone where a person’s natural stride would land, then test the spacing before permanently setting them. Keep the stones stable and level with the surrounding ground to reduce tripping risks and make mowing easier.
A stepping stone trail works well between garden zones, especially where a full paved walkway would feel too heavy. Choose stones with textured surfaces for better grip and arrange them in a gentle curve. I’ve noticed that slightly varied stone shapes create a more natural garden appearance than perfectly matching pieces.
Mulched Tree Circle
BEFORE:
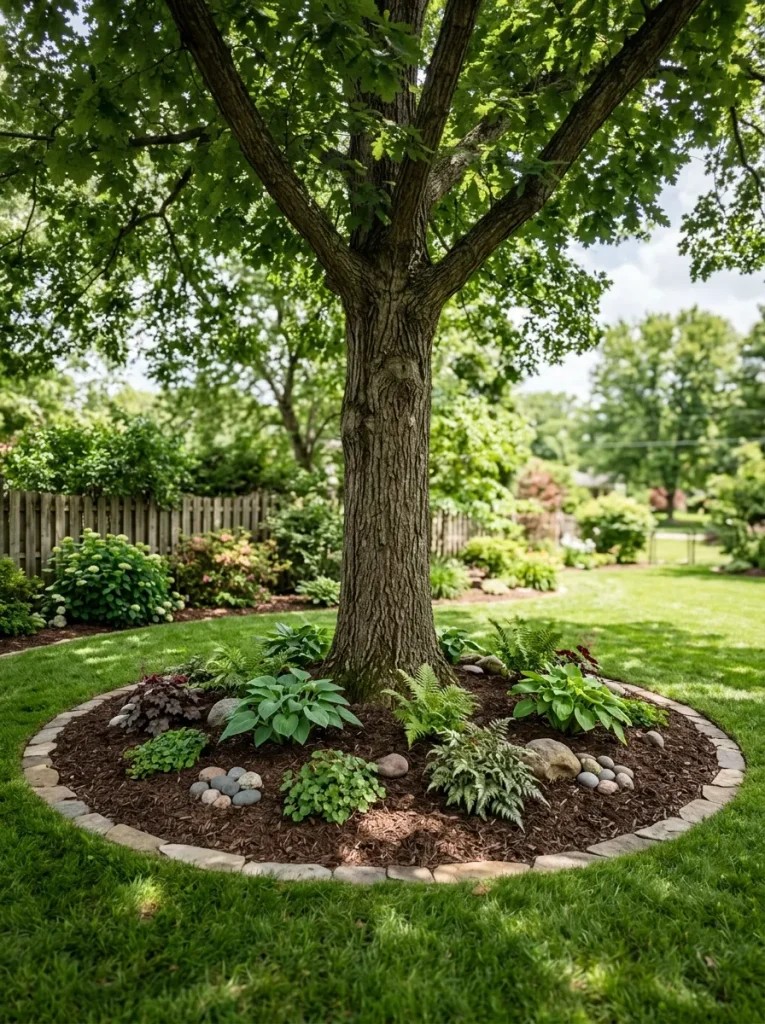
Grass growing directly around a mature tree can make mowing difficult and may leave an untidy ring around the trunk. Exposed soil can also become dry and compacted during hot weather.
AFTER:
A defined mulch circle creates a clean boundary around the tree while reducing the need to mow close to the trunk. A broad, shallow mulch layer can also help conserve soil moisture.
Keep mulch away from direct contact with the trunk because excessive moisture against the bark can encourage problems. Extend the circle gradually as the tree grows, and avoid digging deeply around established roots.
Outdoor Garden Steps
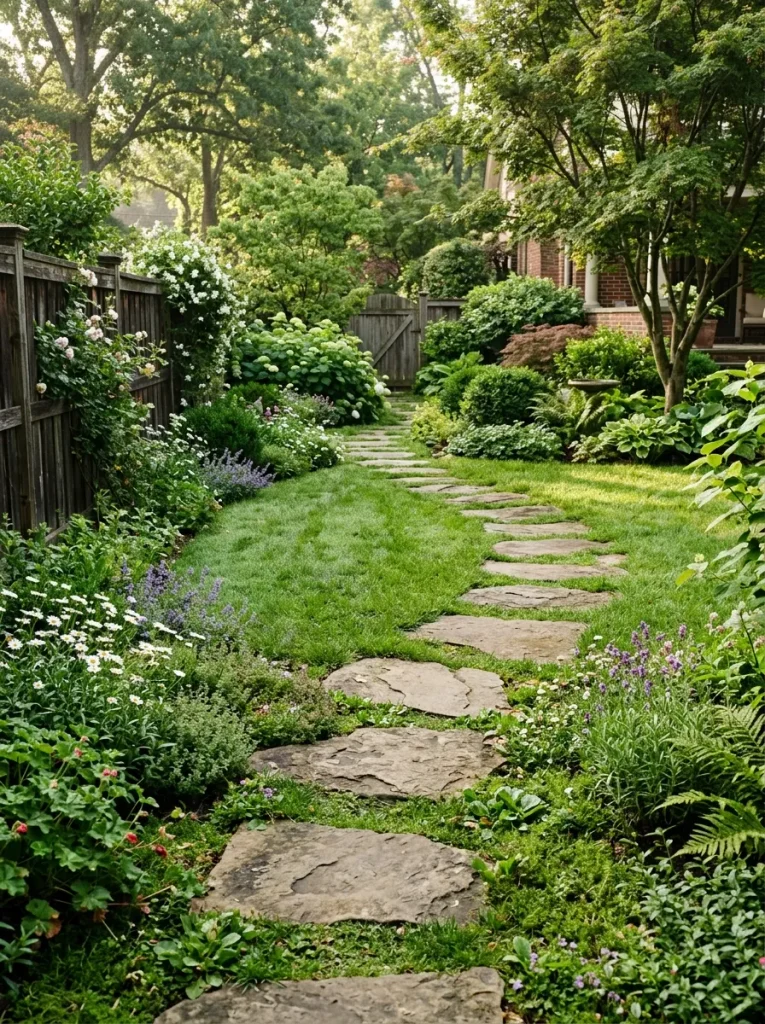
- Measure the slope: Check the height and length of the area before choosing the number of steps.
- Mark each step: Use stakes and string to establish consistent widths and heights.
- Prepare the base: Compact a stable foundation beneath each step before placing the materials.
- Install the steps: Set each stone or paver firmly and check that every surface is level.
- Finish the edges: Add low plants or gravel along the sides for a polished transition.
Garden steps can make a sloped backyard easier to navigate while connecting separate outdoor areas. Keep risers and treads consistent so the staircase feels comfortable underfoot. For larger slopes or structural retaining work, professional installation may be appropriate because drainage and soil stability need careful attention.
Modern Concrete Patio
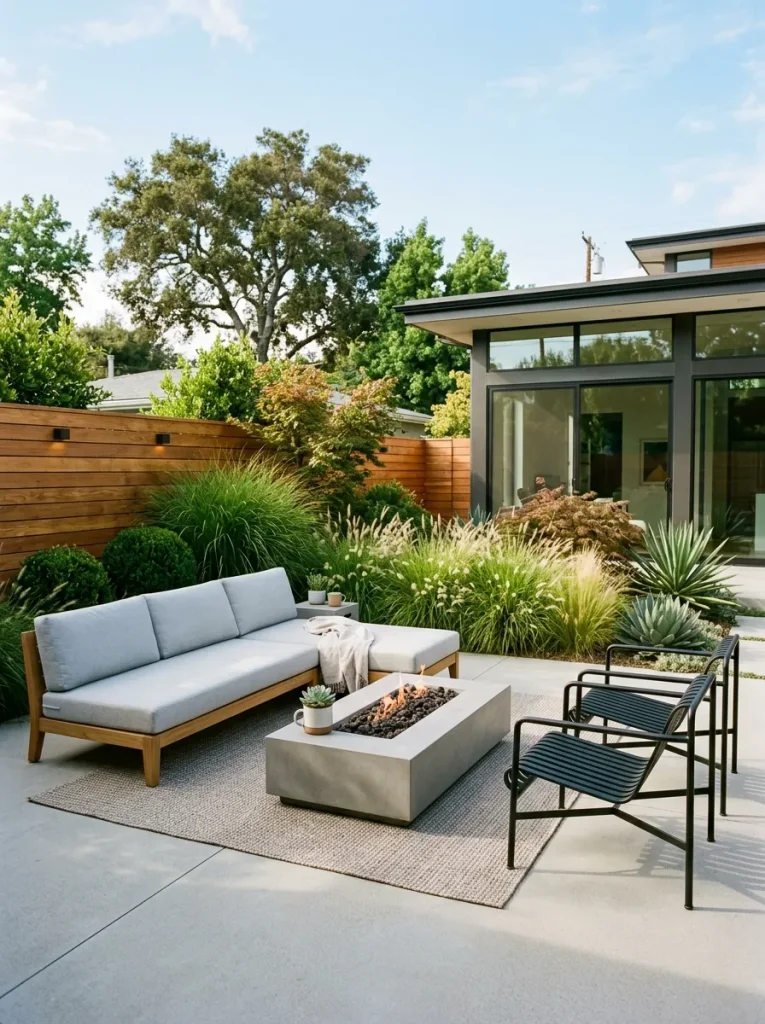
| Feature | Option A: Poured Concrete | Option B: Concrete Pavers |
| Appearance | Smooth and continuous | Individual modular pieces |
| Installation | Requires careful forming | Easier to replace sections |
| Repairs | May show visible cracks | Damaged units can be replaced |
| Design | Clean and minimal | More pattern choices |
Concrete creates a durable foundation for outdoor seating, dining, and entertaining. Choose a finish that provides suitable traction when wet, especially around areas exposed to rain. A simple rectangular layout is easy to furnish, while surrounding the patio with planting beds helps soften the strong lines of the hardscape.
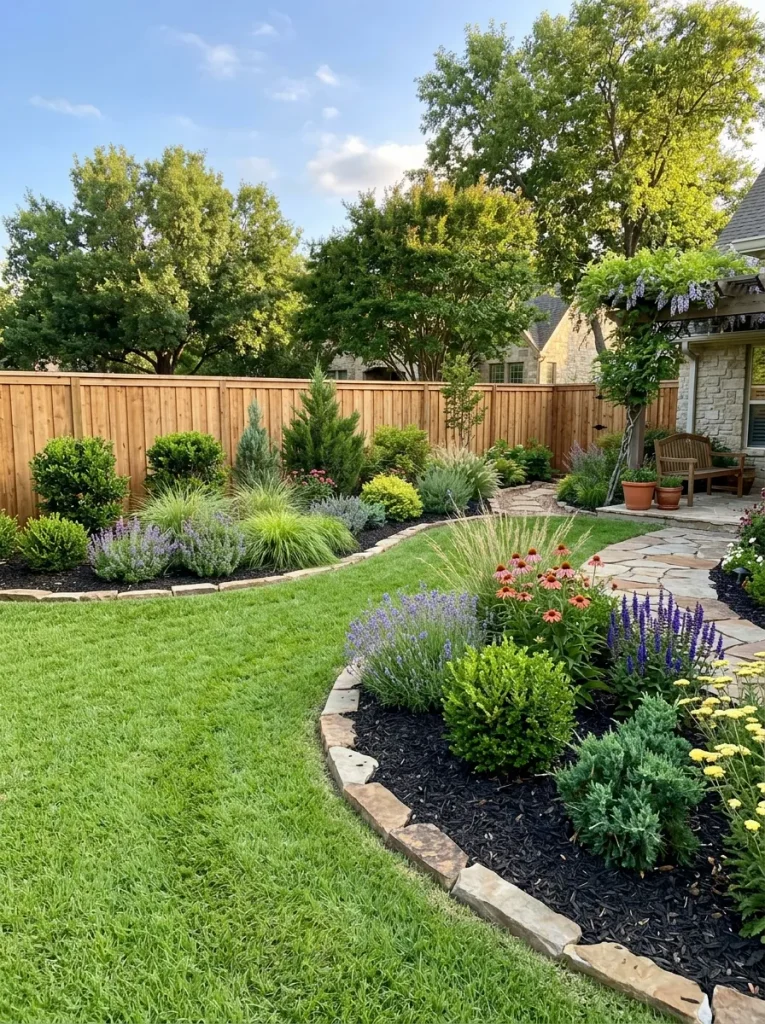
Low-Maintenance Shrubs
DO:
- Select shrubs suited to your local climate and soil.
- Group plants with similar watering requirements.
- Leave enough space for mature growth.
- Mulch the surrounding soil to help conserve moisture.
DON’T:
- Plant shrubs too close together.
- Choose varieties solely for their appearance.
- Ignore the mature height and width of each plant.
- Overwater established drought-tolerant plants.
Low-maintenance planting reduces the amount of pruning, watering, and seasonal replacement a backyard requires. Evergreen shrubs can provide structure throughout the year, while ornamental grasses add movement without demanding constant attention. Check mature plant sizes before planting so the bed remains attractive without becoming crowded as everything grows.
Hanging Planter Wall

Cost: Low to moderate | Time: One afternoon | Skill Level: Beginner
Best For: Small yards and blank walls
Materials: Planters, sturdy hooks, wall supports, potting mix
Result: Added greenery without using much ground space
A hanging planter wall adds layers to a backyard without taking valuable floor area. Arrange containers in staggered rows rather than a rigid grid for a more relaxed appearance. Choose lightweight planters for fences and confirm that hooks or brackets are securely attached before adding soil and mature plants.
Grassy Lounge Corner
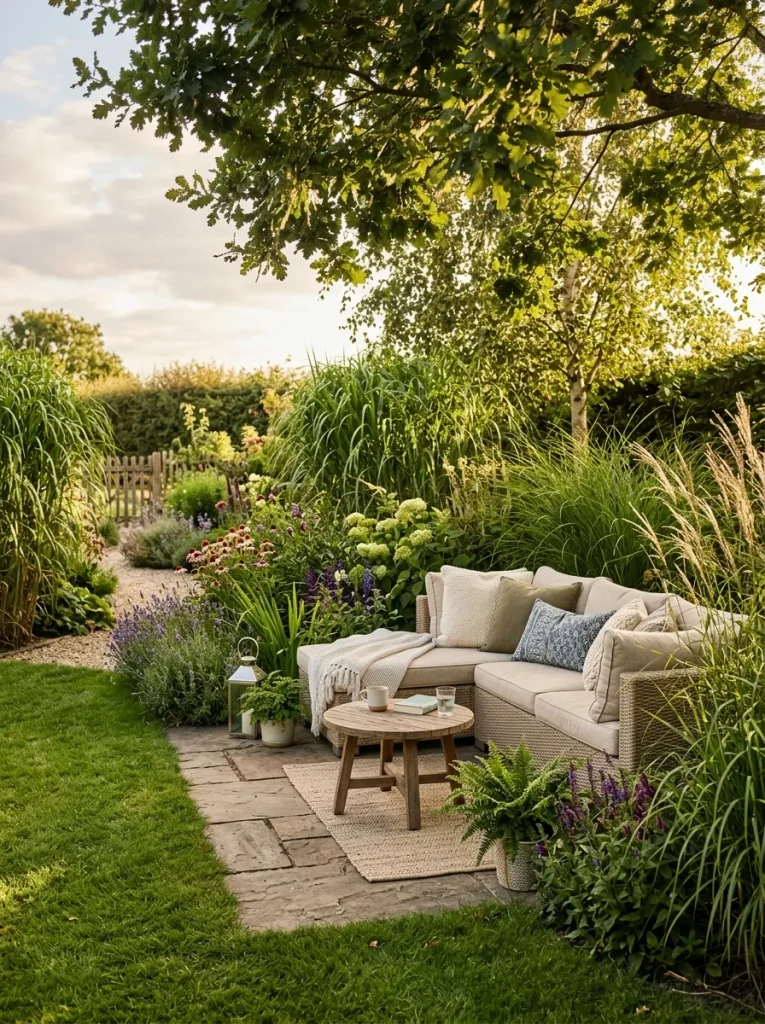
A quiet seating corner can make an overlooked part of the yard useful. Place the furniture where you can enjoy a garden view rather than facing directly toward a fence. I’ve noticed that adding one small side table and a few large planters is often enough to make the area feel complete.
Keep taller grasses behind the seating rather than directly beside walking paths. This creates a sense of enclosure without blocking movement. Choose weather-resistant cushions and furniture, especially if the area remains exposed to rain or strong sunlight. A small outdoor rug can visually anchor the seating arrangement.
Natural Rock Border
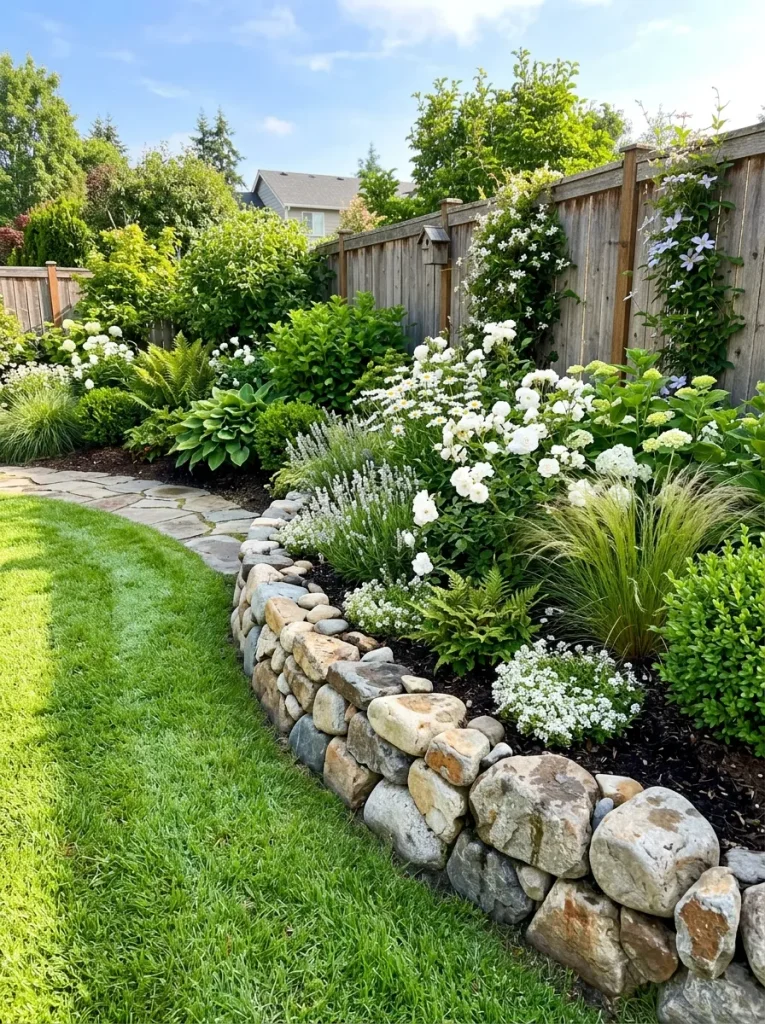
Natural rock borders give planting beds a defined edge while keeping the overall landscape relaxed. Select stones that complement existing paths, walls, or patio materials. Before placing them, mark the border with a hose and arrange the larger rocks first, then fill smaller gaps with medium stones.
Avoid creating an excessively narrow strip where stones can shift onto the lawn. A slightly wider border is easier to maintain and provides stronger visual separation. In my experience, using a limited range of stone colors makes the finished bed look intentional instead of visually busy.
Built-In Bench Seating
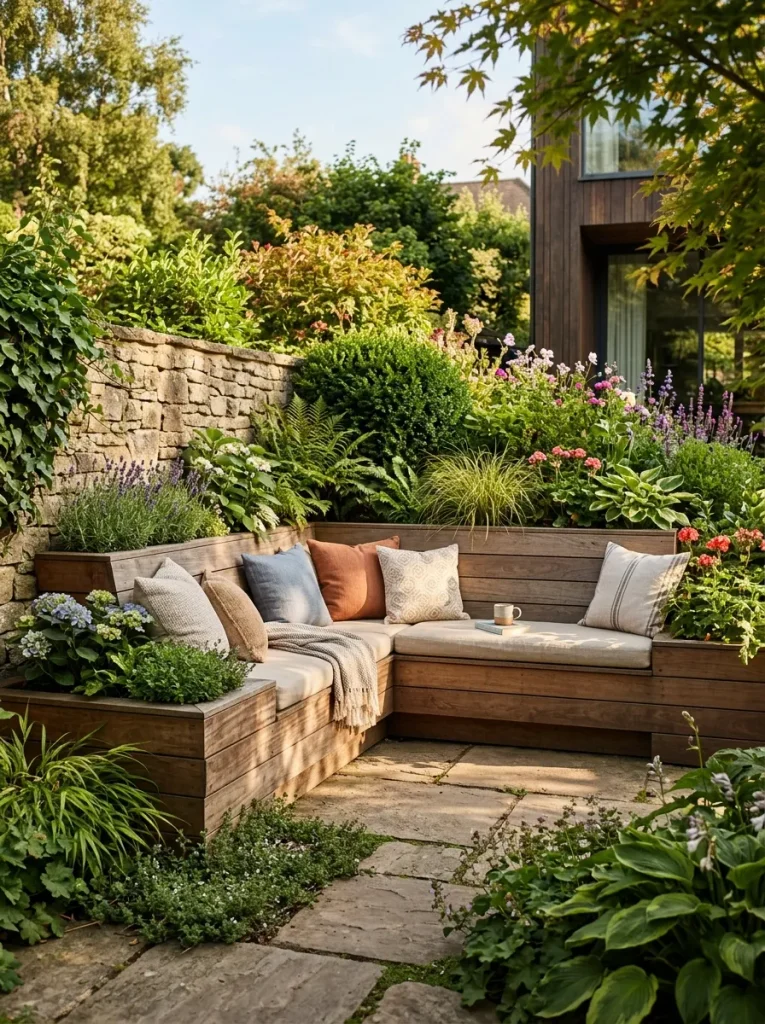
Quick Facts:
Cost: Moderate | Time: One to two days
Skill Level: Intermediate | Best For: Compact seating areas
Materials: Treated timber, outdoor cushions, fasteners, planter boxes
Result: Permanent seating with useful storage or planting space
Built-in seating makes efficient use of narrow edges that might otherwise remain unused. Design the bench around the available wall or fence length, then leave enough legroom in front. A hinged seat can provide discreet storage for cushions, gardening tools, or outdoor accessories.
Layered Privacy Screening
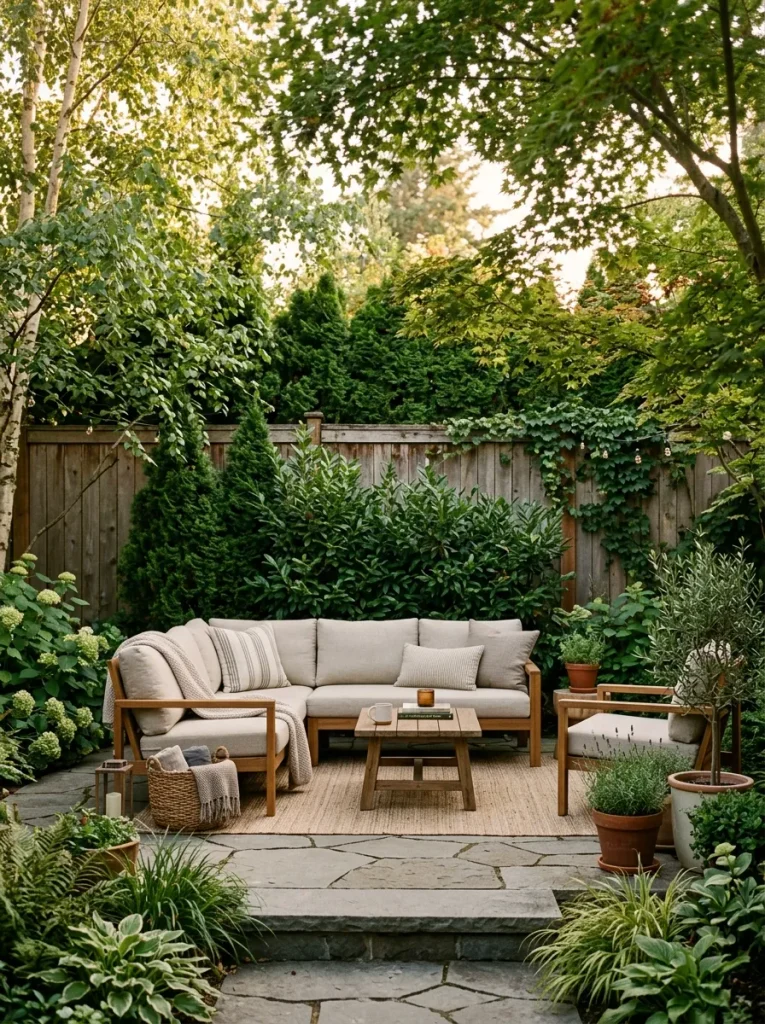
Start with the tallest screening element along the property boundary, then work forward with medium shrubs and shorter plants. This creates depth while avoiding a wall of greenery. Choose evergreen varieties where year-round privacy matters, and check their mature size before planting.
Spacing is important because crowded plants often compete for light and water as they mature. Leave room for airflow and routine pruning. I’ve noticed that combining different foliage textures makes privacy planting feel more like a garden than a solid barrier.
Colorful Container Group
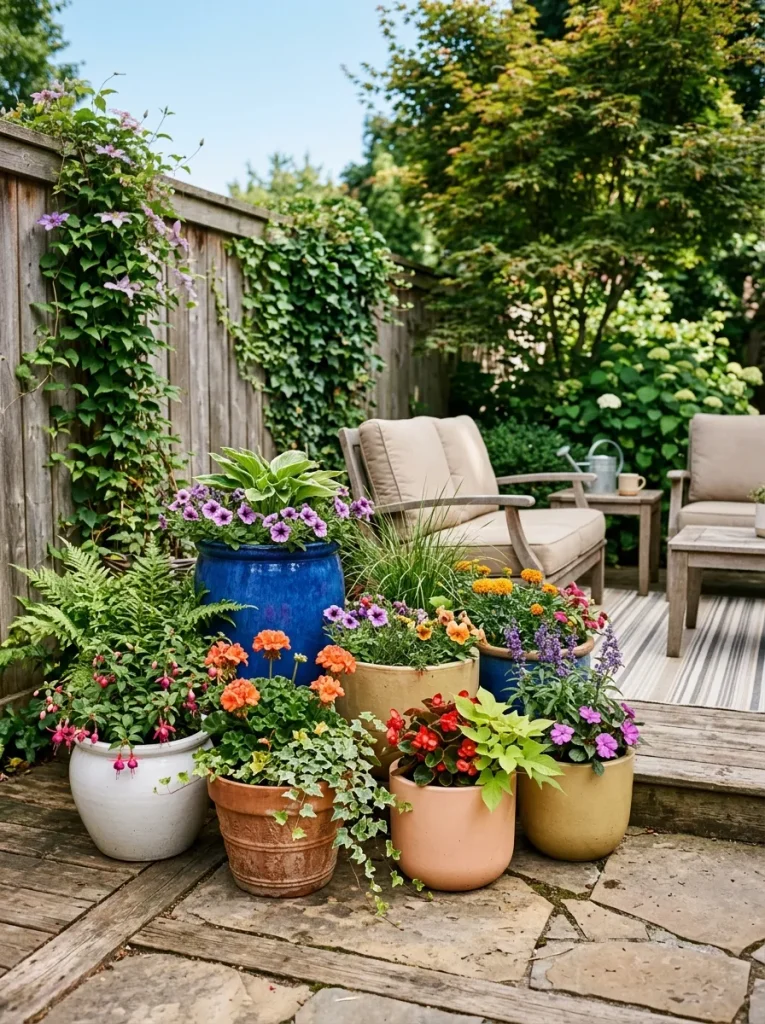
Cost: Low to moderate | Time: One afternoon | Skill Level: Beginner
Best For: Patios, decks, and rental-friendly yards
Materials: Containers, potting mix, flowering plants, foliage plants
Result: Flexible seasonal color and movable garden accents
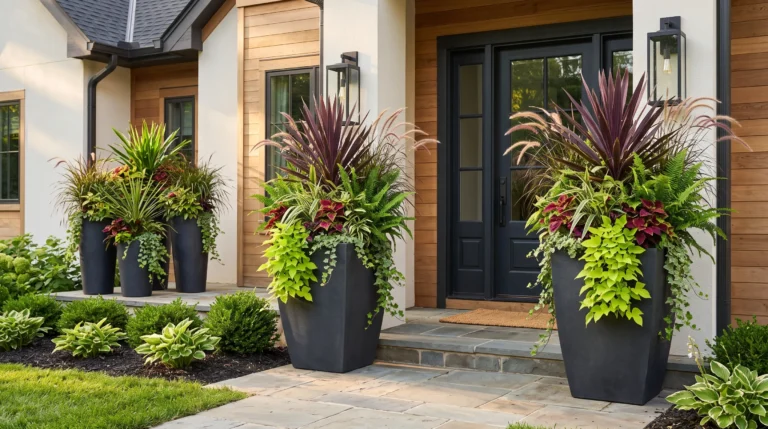
Group containers in odd numbers and vary their heights to create a balanced arrangement. Place the largest pot toward the back and smaller containers toward the front. Select plants with similar sunlight and watering requirements so maintenance stays simple.
Container groupings are especially useful when permanent planting is not practical. You can move them as seasons change or rearrange the layout when outdoor furniture changes. Use pots with drainage holes and place saucers beneath them where needed to protect patio surfaces.
Lush Tropical Border
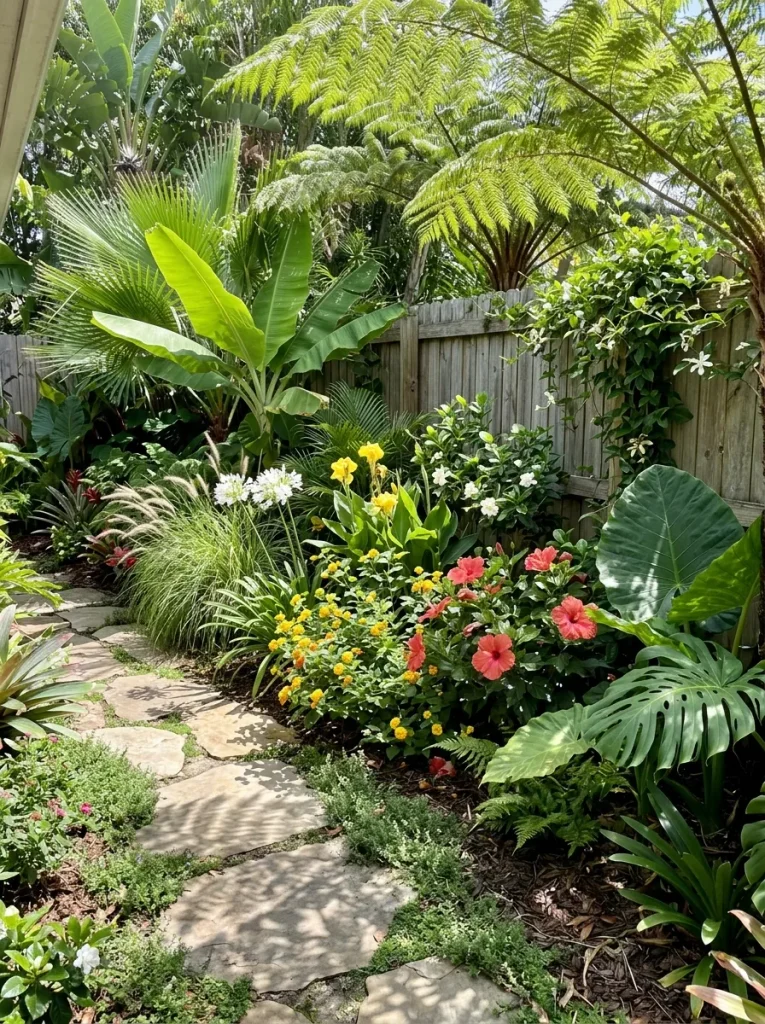
- Choose plants according to your local winter temperatures and sunlight.
- Place tall tropical-style plants behind shorter foliage.
- Repeat bold leaf shapes to create visual continuity.
- Add mulch around plants to help retain soil moisture.
- Protect cold-sensitive plants during unsuitable weather.
A tropical-inspired border brings bold foliage and layered texture to an ordinary backyard. Large leaves provide visual impact even when flowers are not blooming. If your climate is cooler, combine hardy plants with containers for tender varieties so you can move sensitive plants indoors or into shelter when necessary.
Simple Gravel Garden

BEFORE:
A bare section of lawn may require frequent mowing and can struggle in areas with poor soil, intense sun, or limited irrigation. Without clear boundaries, the space can also look unfinished.
AFTER:
A gravel garden replaces part of the lawn with a defined, low-maintenance surface. Add drought-tolerant plants, decorative rocks, and a few stepping stones to create structure without excessive upkeep.
Use landscape fabric where appropriate and choose gravel suited to foot traffic. Avoid placing loose gravel directly against entrances where it can easily be tracked indoors. Keep plants grouped according to their water needs for easier care throughout the growing season.
Curved Garden Wall
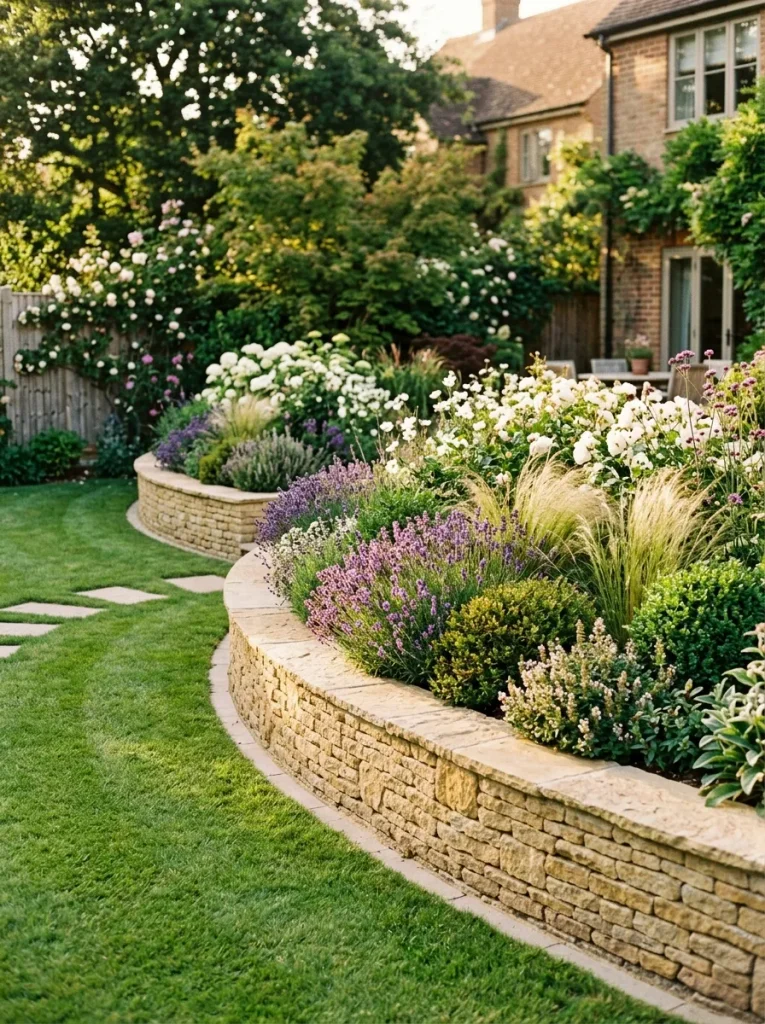
- Mark the curve: Lay a garden hose along the planned wall line until the shape looks balanced.
- Prepare the base: Clear the soil and create a stable, level foundation appropriate for the wall material.
- Build gradually: Place each layer carefully, checking alignment and stability as you work upward.
- Add planting: Fill the area behind the wall with suitable soil and plants that match the sunlight conditions.
A curved wall can separate planting areas while adding height and structure to a flat backyard. Keep the curve broad rather than tightly bent, especially if the wall is intended to support soil. Proper drainage is also important because water pressure can affect retaining structures over time.
Pergola Shade Retreat
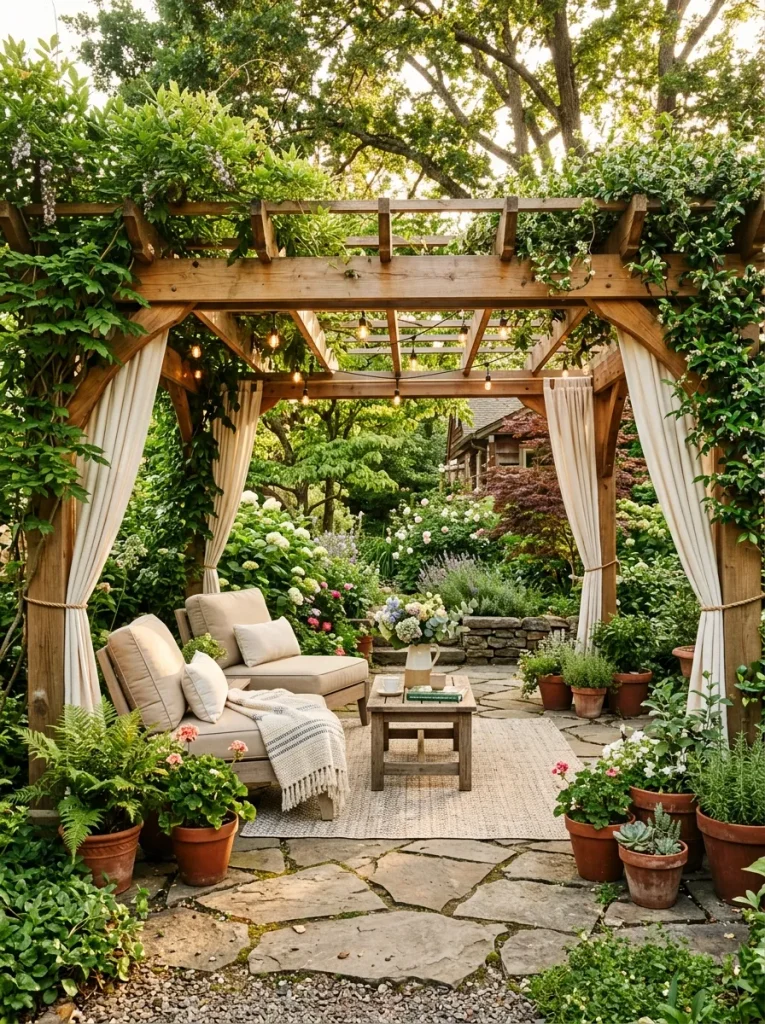
| Feature | Option A: Open Pergola | Option B: Covered Pergola |
| Sun Protection | Partial | Greater |
| Airflow | Excellent | Depends on roofing |
| Maintenance | Lower | More cleaning required |
| Appearance | Light and airy | More enclosed |
A pergola can define a comfortable outdoor retreat without requiring a fully enclosed structure. Consider the sun’s direction before deciding where to place it. An open roof provides filtered shade, while a suitable cover offers more protection from direct sunlight and light weather.
Native Plant Mix
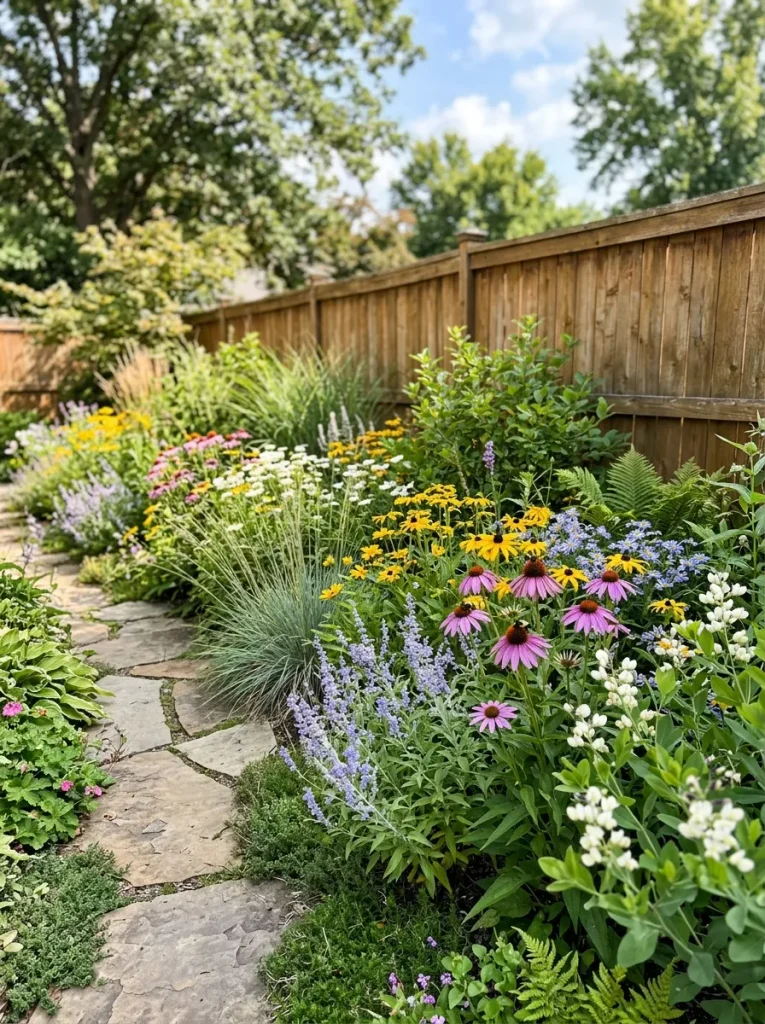
DO:
- Research plants naturally suited to your local region.
- Match species to your yard’s sunlight and soil conditions.
- Group plants with similar water requirements.
- Leave room for mature growth.
DON’T:
- Choose plants only because they look attractive in photos.
- Ignore mature plant size.
- Mix plants with very different watering needs.
- Remove all natural leaf litter unnecessarily.
Native planting can create a more locally adapted landscape while providing varied textures and seasonal interest. Start with a small bed rather than changing the entire yard at once. Local nurseries and extension services can often help identify suitable species for your soil, climate, and available sunlight.
Garden Lighting Path
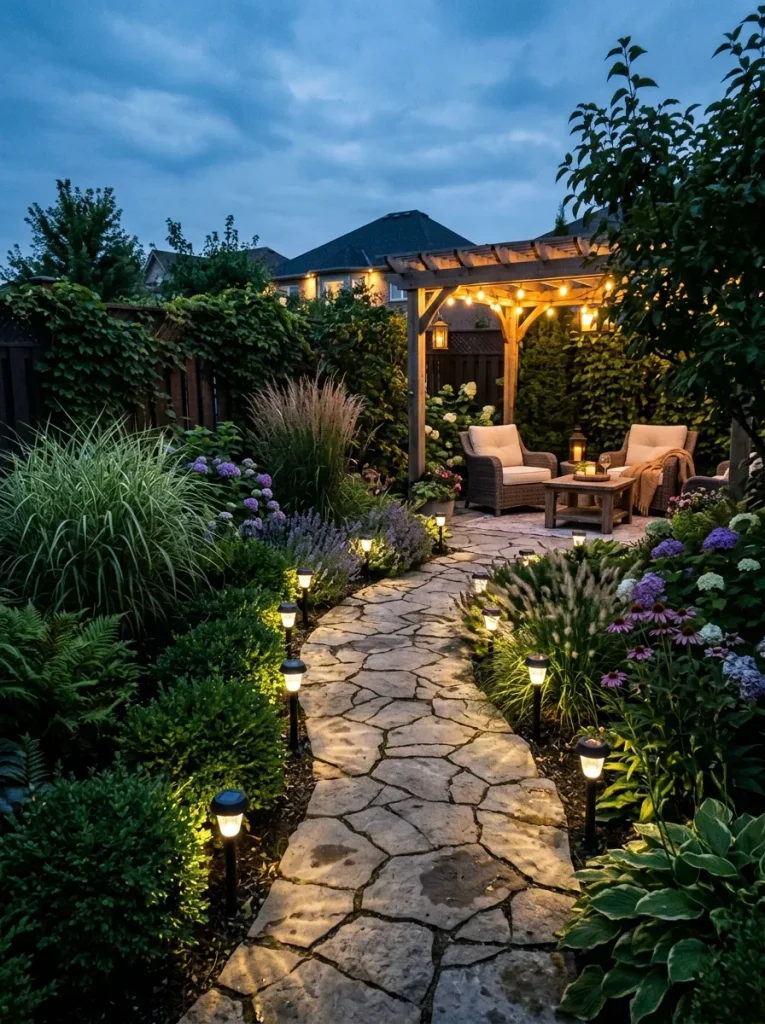
Quick Tip:
Place pathway lights where they illuminate changes in direction, steps, and uneven surfaces without creating excessive glare. Space fixtures consistently and angle them toward the walking surface. Solar lights are convenient for simple installations, while wired outdoor lighting can provide more consistent brightness.
Good pathway lighting improves visibility while adding a warm evening layer to the garden. Avoid placing lights in a perfectly straight line unless the pathway itself is formal. Slightly alternating their positions can create a softer look. Keep fixtures clear of mowing routes and regularly remove dirt from solar panels.
Layered Greenery Border
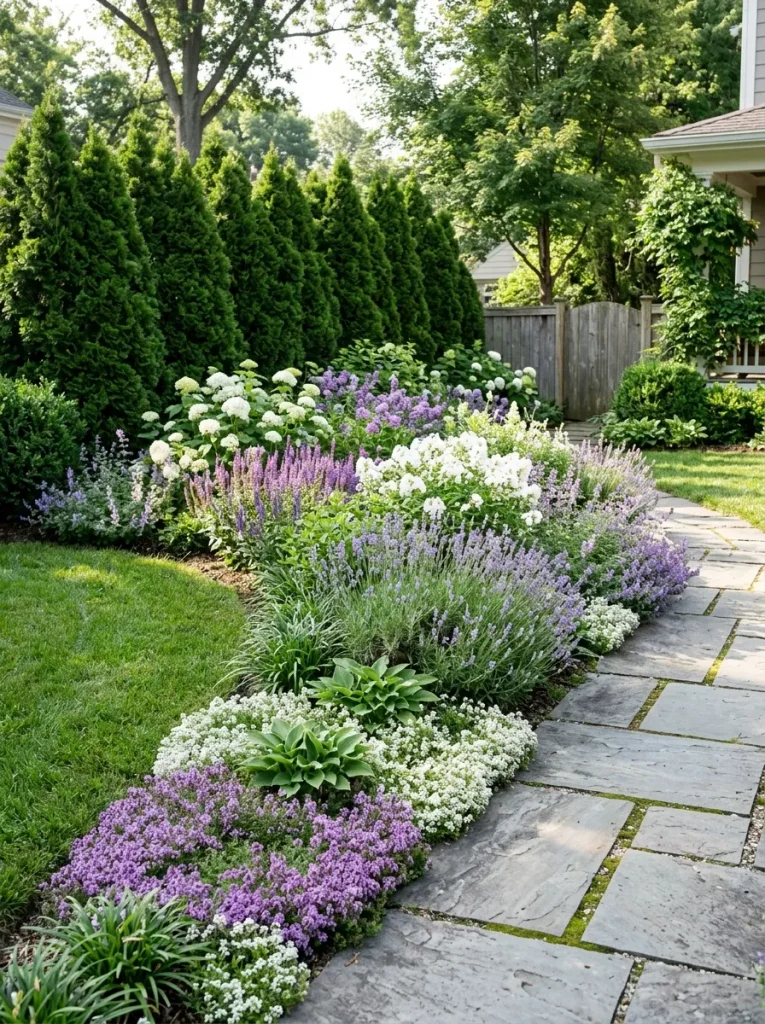
BEFORE:
A single row of plants can leave a backyard border looking flat, especially when there is a large fence or blank wall behind it. Gaps may also become noticeable as seasons change.
AFTER:
Three planting heights create depth from front to back. Tall shrubs provide structure, medium plants add seasonal color, and low groundcover fills exposed soil near the edge.
Check mature heights before planting each layer so taller varieties do not shade plants that need full sun. Repeating several species across the border helps connect separate sections. A small amount of open space between groups also makes pruning and watering easier.
Conclusion
A beautiful backyard does not require a complete renovation. The right combination of pathways, planting, seating, lighting, and defined outdoor zones can make your space more enjoyable and easier to use. These Backyard Landscaping Ideas offer plenty of inspiration, whether you’re working with a small garden or a spacious yard.
Start with one area that needs attention and build from there. Choose materials and plants that suit your climate, budget, and maintenance routine. I’ve seen how small changes like these can completely shift the way a space feels. Save this post on Pinterest, try your favorite ideas, and share it with someone planning their own backyard refresh.