
29 Outdoor String Light Ideas for a Cozy Evening Glow
A cozy outdoor space can feel completely different once the sun goes down. The right lighting can turn an ordinary patio, porch or garden into a warm place to relax, dine and spend time with family.
These Outdoor String Light Ideas offer simple ways to add soft evening light without making your outdoor area feel complicated or overcrowded. From pergolas and fences to trees, railings, dining areas and garden paths, you will find practical setups for different spaces and styles.
I’ve noticed that even a small change in lighting can make an outdoor seating area feel much more inviting. The key is choosing the right placement, spacing and bulb style for your space. Whether you have a large backyard or a tiny balcony, these ideas can help you create a comfortable glow that feels intentional and welcoming.
Pergola Roof Lights
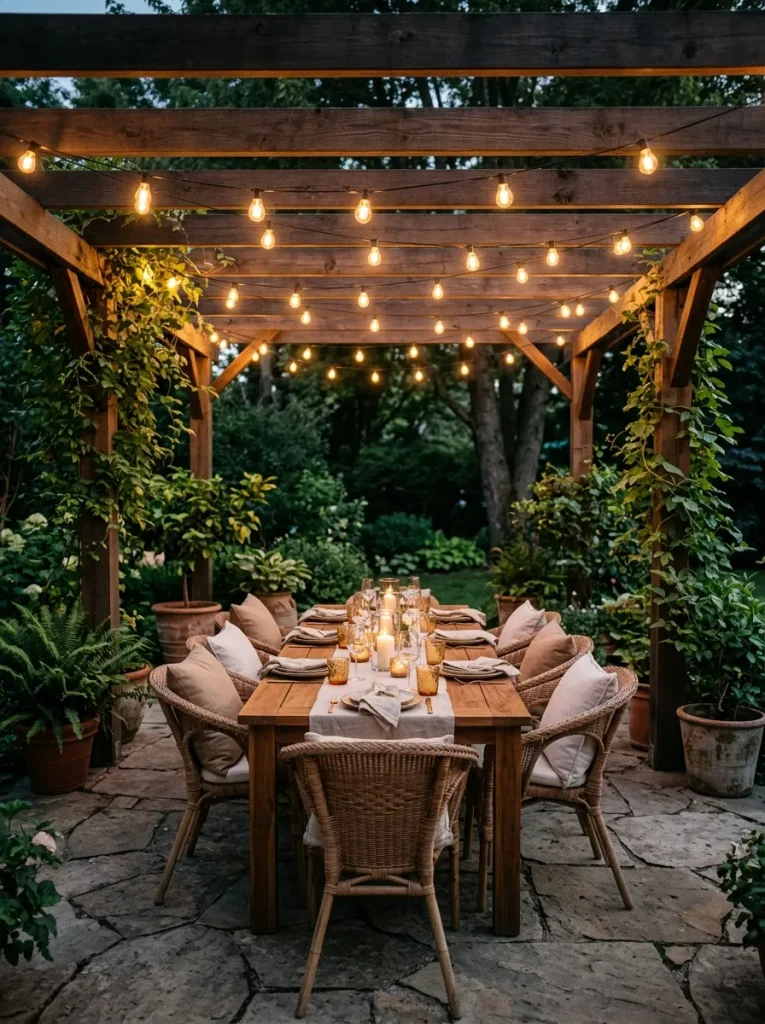
The roof of a pergola gives string lights a natural framework, making installation easier while spreading light across the entire seating area. Run several strands from beam to beam instead of concentrating them around the edges. The repeated lines create a balanced ceiling effect and provide gentle illumination above the table.
For the best result, keep the strands evenly spaced and secure them with outdoor-rated hooks or clips. I’ve noticed that slightly lower strands create a cozier atmosphere, while higher placement gives the area a more open feel. Add a simple centerpiece and comfortable cushions underneath for an inviting evening setup.
Fence Line Glow
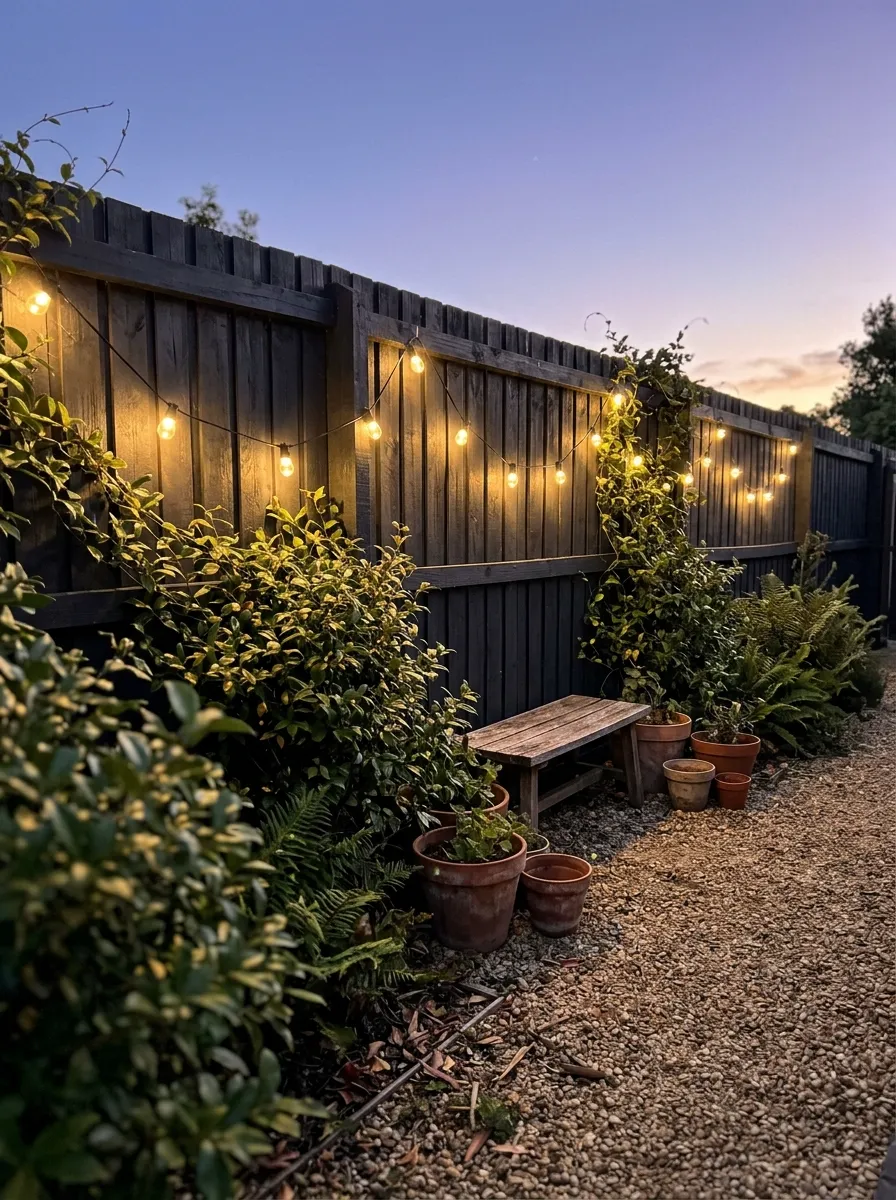
- Follow the fence’s top edge for a clean organized outline.
- Leave small, even gaps between each attachment point.
- Choose warm white bulbs for softer evening illumination.
- Keep cords secured away from walkways and garden tools.
- Pair the lights with greenery to soften the hard fence surface.
A simple fence can become a useful lighting feature with very little hardware. The glow defines the backyard boundary while adding light without taking up floor space. For narrow patios or compact gardens, this approach works especially well because the vertical surface becomes part of the overall lighting plan.
Mason Jar Strands
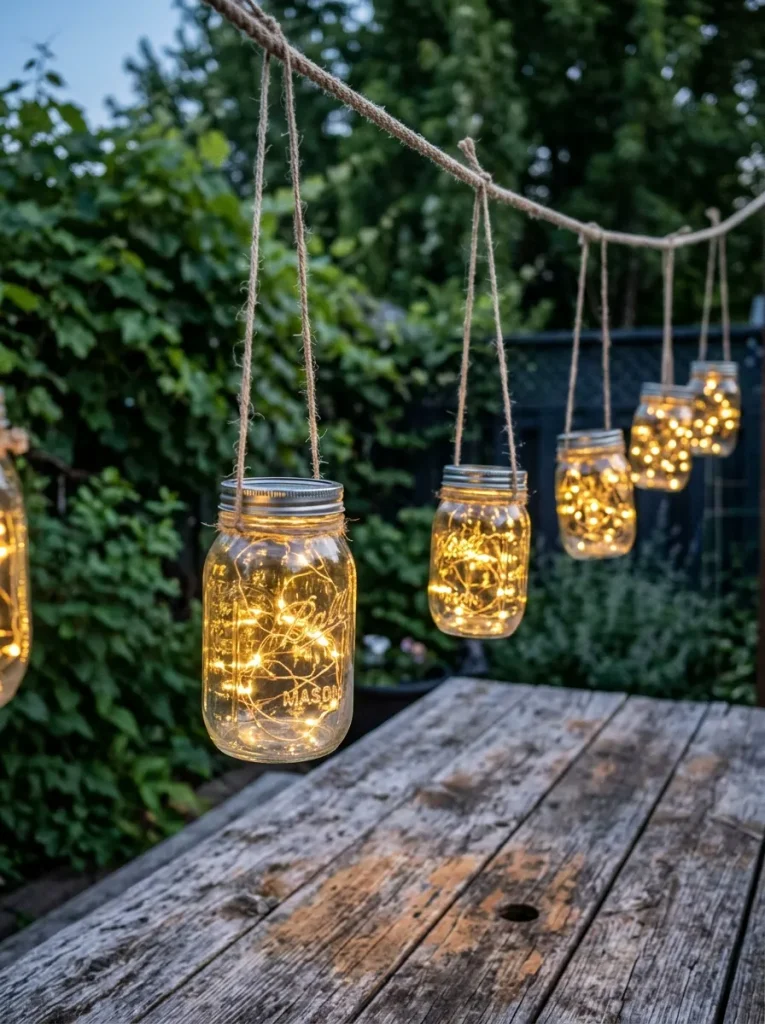
Quick Tip:
Choose lightweight jars and secure each one firmly before adding the lights. Use outdoor-rated LED strands and avoid placing glass where strong wind could cause repeated movement. Keep the spacing consistent so the finished strand looks intentional rather than crowded.
Mason jar lights add a handcrafted detail to patios, balconies and garden seating areas. The glass gently spreads the LED glow while giving the setup a relaxed rustic character. I’ve seen this work especially well above small dining tables, where a few evenly spaced jars create focused light without making the area feel overly bright.
Crisscross Patio Canopy
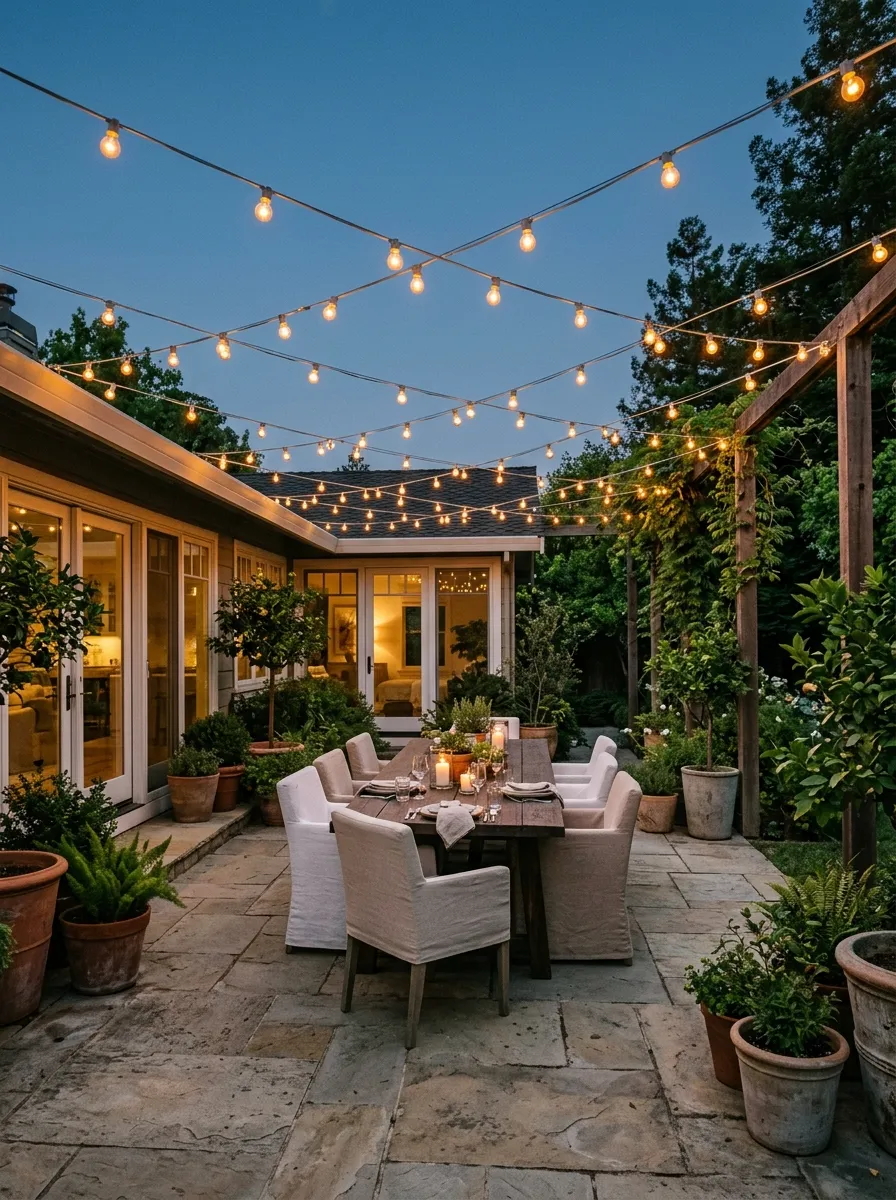
BEFORE
An open patio can feel flat after sunset, especially when the only light comes from a wall fixture. The seating area may look disconnected from the rest of the yard.
AFTER
Diagonal strands create a loose glowing canopy above the furniture. The overlapping lines spread light across the patio while giving the seating zone a defined visual boundary.
Keep the crossing points evenly spaced so the canopy looks intentional rather than tangled. Attach each strand securely to strong anchor points and leave enough height for comfortable movement underneath. For larger patios, use several shorter strands instead of one extremely long run. This makes maintenance easier and keeps the pattern balanced.
Hanging Tree Lights
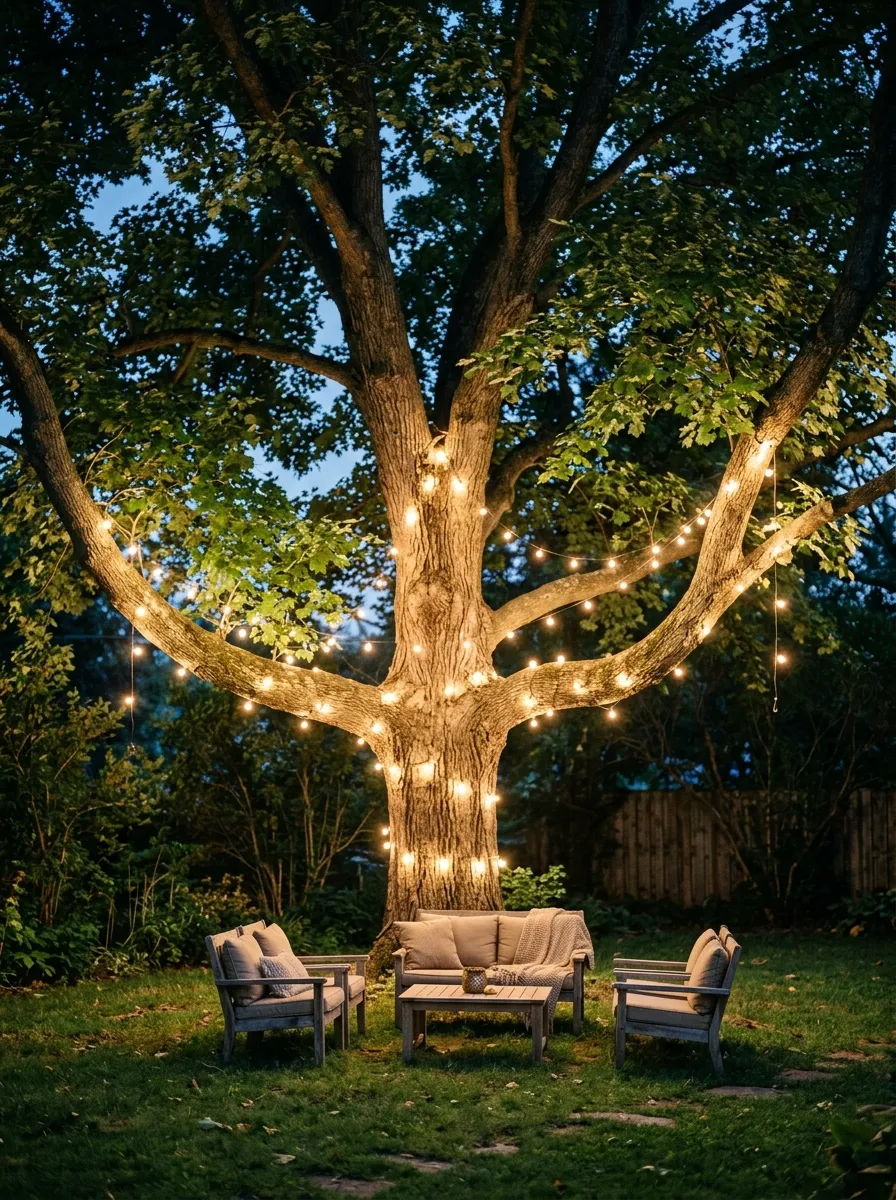
1. Choose sturdy branches. Select healthy, stable branches that can safely support lightweight lighting strands without placing stress on smaller limbs.
2. Wrap the trunk carefully. Begin near the lower trunk and work upward with loose, even spacing. Avoid wrapping too tightly around growing areas.
3. Extend into branches. Run strands outward along stronger branches to create a natural canopy of light above the seating area.
4. Secure the wiring. Use outdoor-rated clips or ties that hold the strand in place without damaging the tree.
5. Check the finished glow. Turn the lights on after dark and adjust spacing where bright or dim patches appear.
Tree-mounted lighting brings the glow higher into the garden, making the surrounding space feel layered rather than flat. Warm bulbs work particularly well against green foliage. Keep electrical connections protected from moisture and avoid fastening wires with nails or anything that could damage the bark.
Wall Mounted Rows

| Feature | Option A: Tight Rows | Option B: Wide Rows |
| Light coverage | Brighter and more concentrated | Softer and more spread out |
| Best for | Small seating areas | Larger patios |
| Visual effect | Defined and structured | Airy and relaxed |
| Installation | More attachment points | Fewer attachment points |
A wall provides a stable surface for creating organized rows of outdoor lighting. Choose tighter spacing when the area needs stronger illumination or spread the strands farther apart for a softer decorative effect. Keep the cords aligned and use weather-resistant mounting hardware suited to the wall material.
Railing Wrapped Lights
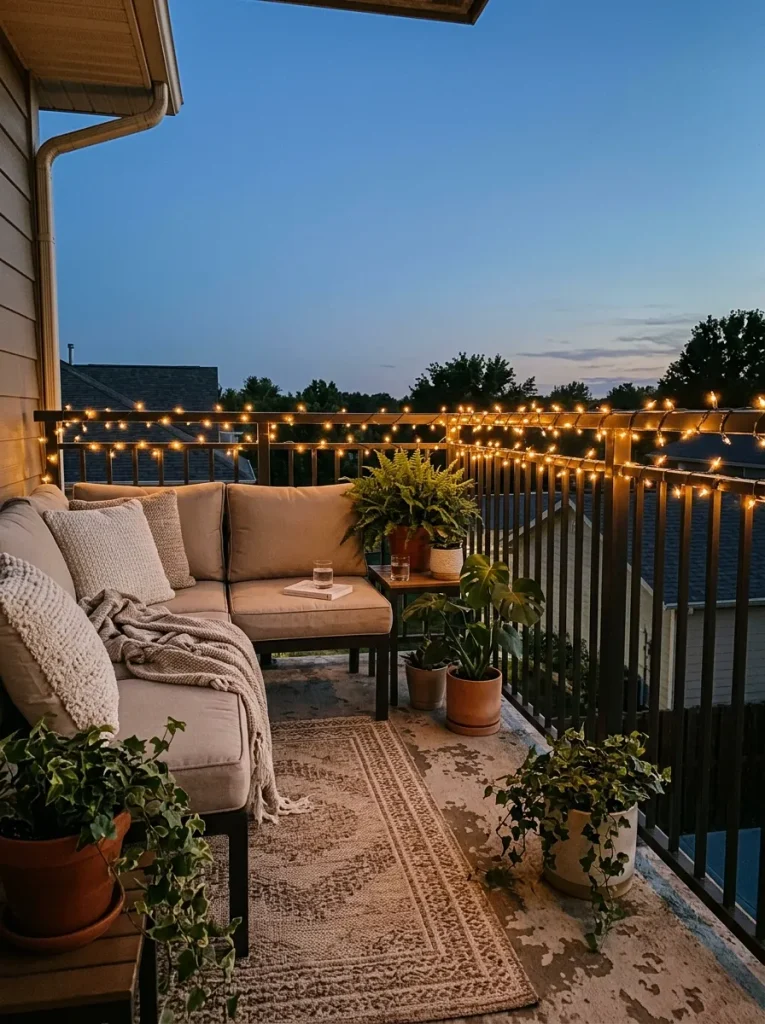
DO:
- Secure the strand at regular intervals along the railing.
- Keep the bulbs facing outward for better light distribution.
- Use weather-resistant clips designed for outdoor surfaces.
- Leave openings around gates and walking paths.
DON’T:
- Wrap cords tightly enough to restrict movement.
- Let loose sections hang near people’s feet.
- Cover electrical connections without proper weather protection.
- Place bulbs where they could be knocked against furniture.
A railing offers an easy route for adding light without drilling into walls or installing permanent fixtures. The repeated bulbs create a clear visual edge around the patio or balcony. For a polished result, keep the spacing consistent and let the railing’s shape guide the placement rather than forcing a complicated pattern.
Curtain Patio Lights
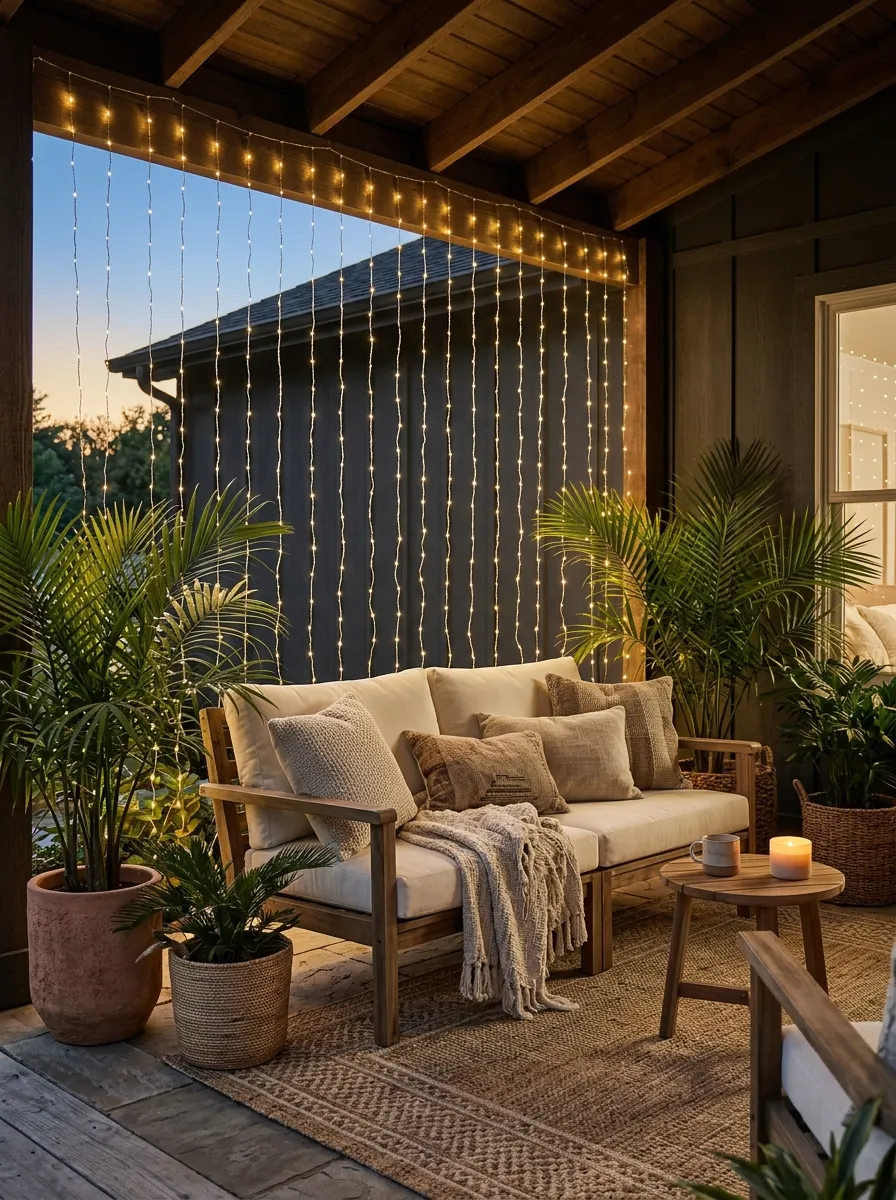
Cost: Low to moderate | Time: 1 to 2 hours | Skill Level: Beginner
Best For: Covered patios and outdoor seating | Light Style: Soft vertical glow
Vertical strands work especially well when a patio has an empty wall or open side that needs more visual depth. The hanging lines create a soft illuminated backdrop without taking up floor space. Keep the strands evenly separated and use a sturdy top support so the weight stays distributed across the entire installation.
Umbrella Pole Lights
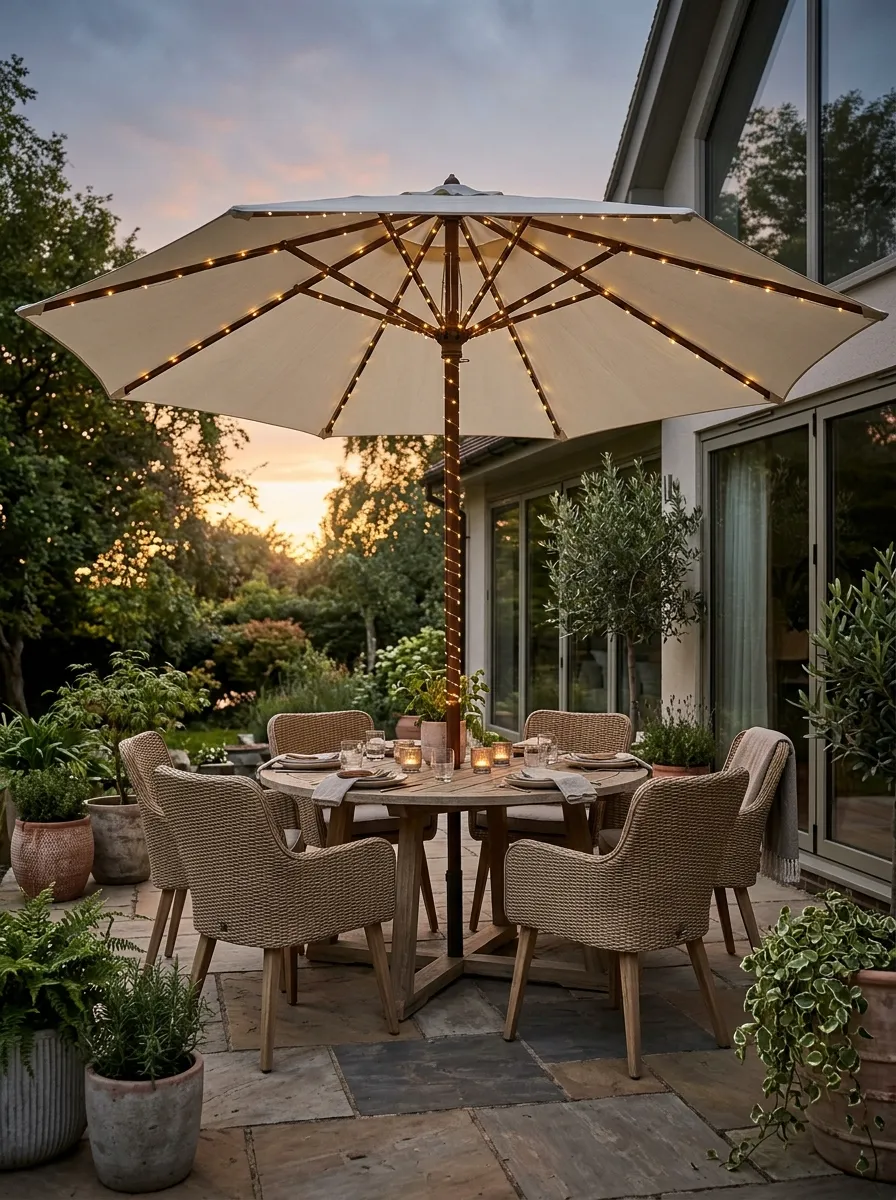
Small changes around a seating area can create surprisingly useful lighting. Wrapping miniature lights around an umbrella pole adds a focused glow directly above the table without requiring a separate overhead structure.
Keep the strand lightweight and attach it loosely along the pole and ribs. Avoid blocking the umbrella’s opening mechanism or creating tension when the canopy moves. In my experience, tiny bulbs look better here than large bulbs because they keep the umbrella visually light while providing enough sparkle for relaxed dinners and drinks.
Bistro Table Border
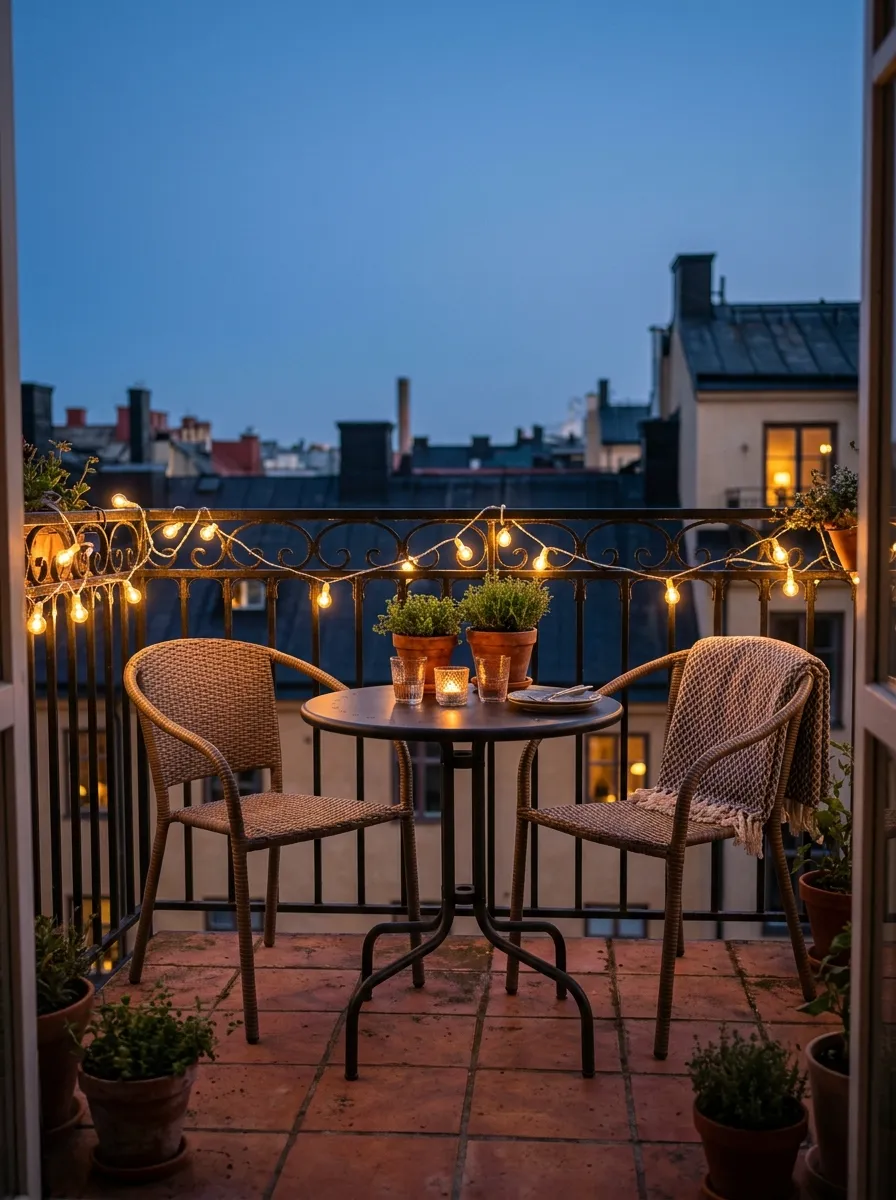
- Run one strand around the outer edge of the seating area.
- Keep the bulbs slightly above eye level to reduce glare.
- Use smaller bulbs around compact tables and balconies.
- Secure corners carefully so the strand stays evenly shaped.
- Pair the lights with simple plants for added texture.
A small dining area does not need a complicated lighting setup. A single border of warm bulbs can visually frame the table while keeping the center open for meals and conversation. This approach is especially useful on balconies or narrow patios where overhead installations would take up too much visual space.
Pergola Corner Drapes
Quick Tip:
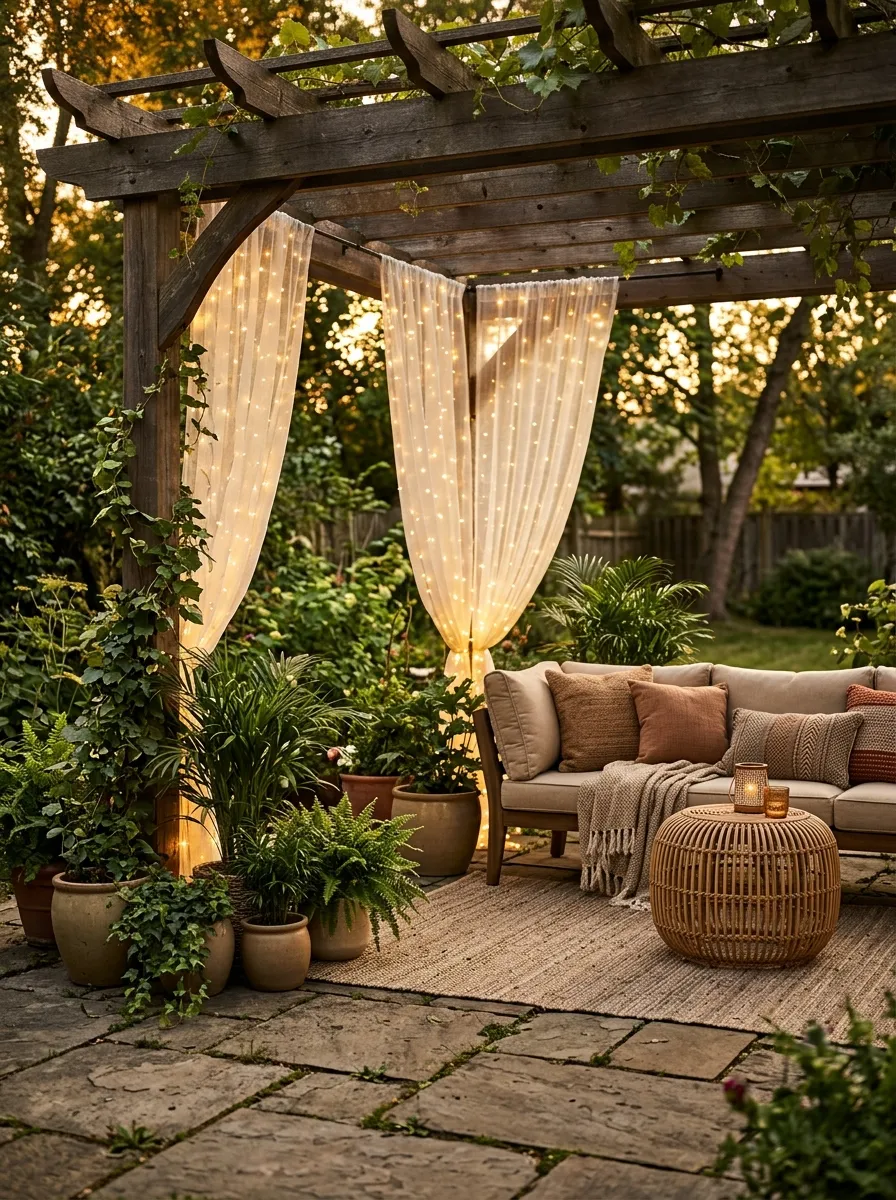
Keep the drapes slightly uneven rather than pulling every strand perfectly straight. Attach the upper points securely, then adjust the lower loops until they hang naturally without reaching into the walking area.
Corner drapes add height and softness without covering the entire pergola ceiling. They work particularly well beside sofas, benches or reading chairs where a gentle side glow is useful. Choose warm LED bulbs and keep the strands close enough to the corner structure that wind cannot repeatedly swing them against walls or furniture.
Garden Path Edges
BEFORE
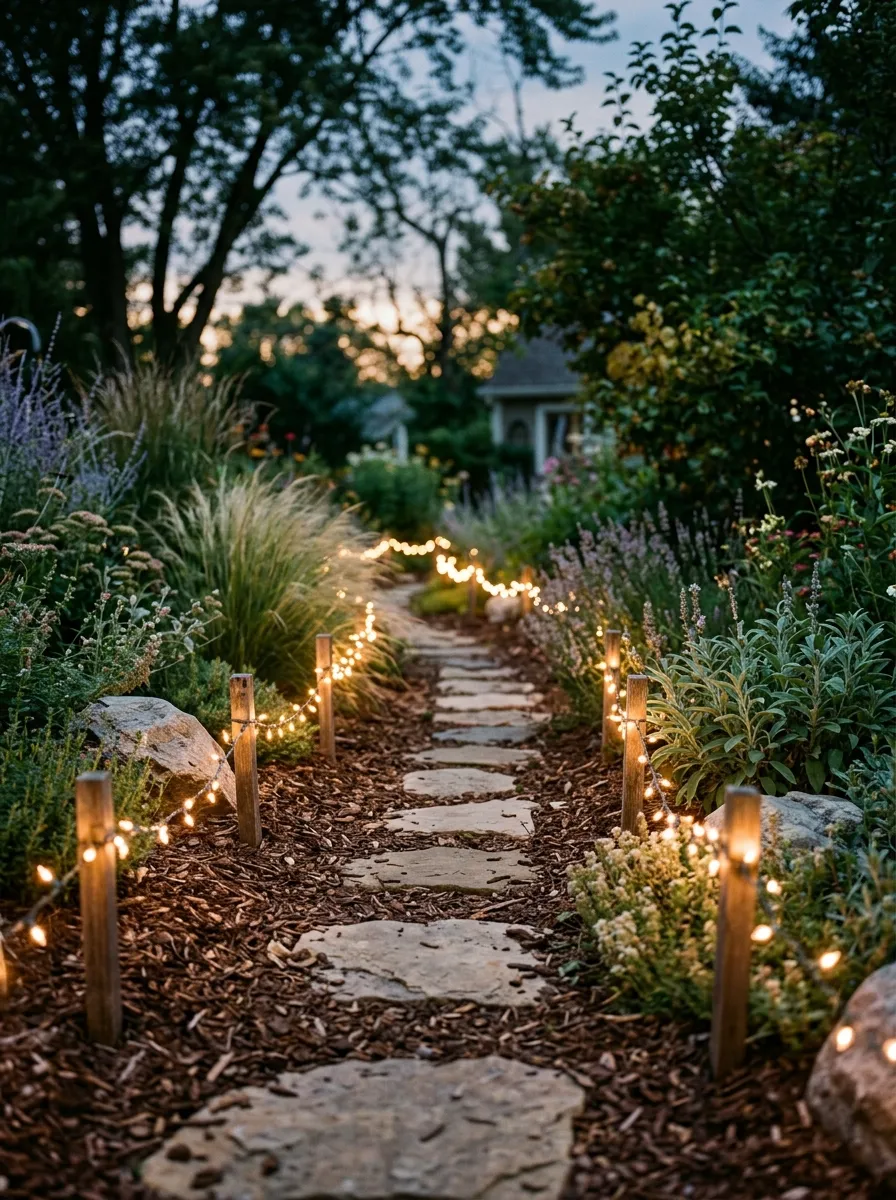
A garden path can become difficult to see after sunset, especially where plants create dark edges. Loose lighting may also leave uneven patches along the walkway.
AFTER
Small lights placed consistently along the path create a gentle visual guide. The warm glow highlights the planting beds while helping visitors follow the walkway safely.
Choose low-voltage outdoor lighting where appropriate and keep electrical cords away from areas where they could be damaged by gardening tools. Space the lights evenly rather than placing several together in one spot. A simple repeating pattern keeps the path attractive while maintaining clear visibility after dark.
Deck Beam Lighting
1. Measure the beam layout. Check the available length and decide where each strand should begin and end before attaching anything.
2. Mark attachment points. Use evenly spaced marks along the beams so the bulbs form consistent lines.
3. Install outdoor-rated supports. Choose clips or hooks suitable for the wood surface and designed for exterior use.
4. Hang the strands. Work from one end to the other, keeping the cable supported without pulling it tightly.
5. Test after dark. Switch the lights on and adjust any sections that appear noticeably brighter or darker.
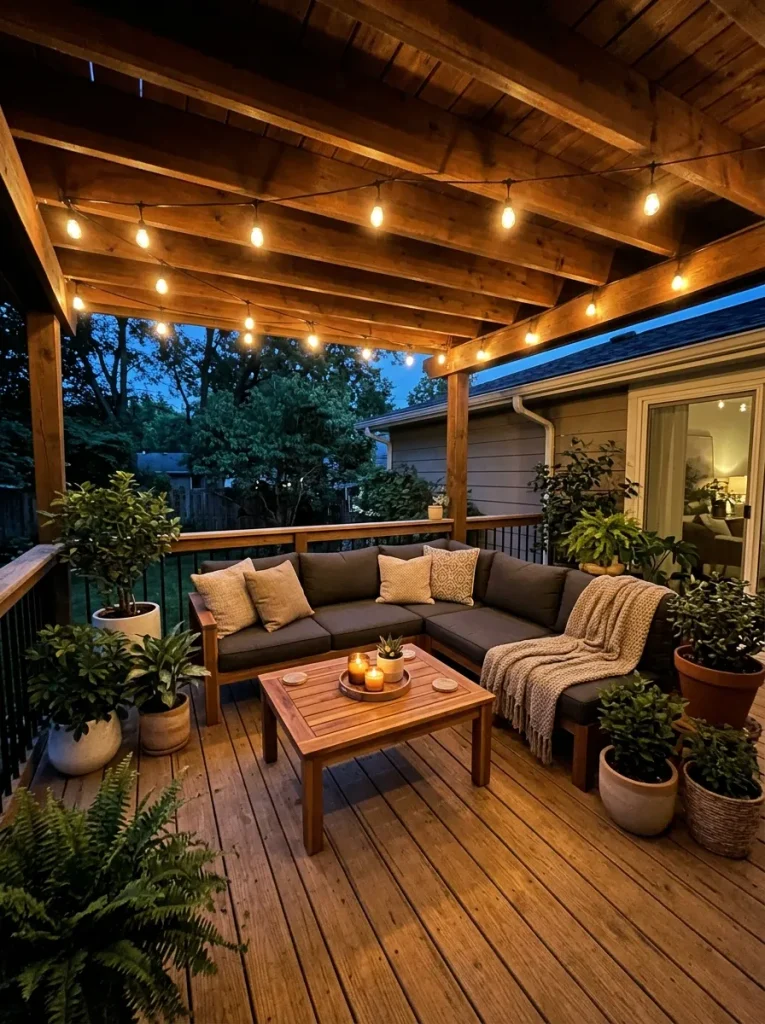
Deck beams make a useful framework for overhead lighting because they already provide strong, evenly spaced attachment points. The finished arrangement gives the seating area a defined ceiling without adding a bulky fixture. For a softer look, choose warm bulbs and keep the strands slightly relaxed between each support.
Gazebo Light Grid

| Feature | Option A: Straight Grid | Option B: Crisscross Grid |
| Appearance | Clean and structured | Decorative and dynamic |
| Installation | Easier to measure | Requires more planning |
| Light spread | Even coverage | More layered coverage |
| Best for | Modern gazebos | Casual garden settings |
A gazebo naturally creates an overhead frame, making it easy to build a consistent lighting pattern. Straight rows provide a tidy appearance, while crossing strands add more visual detail. Before installation, measure each section carefully and keep the bulbs clear of fans, moving doors and areas where people may reach overhead.
Outdoor Lounge Border

DO:
- Outline the main seating zone with evenly spaced bulbs.
- Keep the brightest section near the primary conversation area.
- Match bulb size to the scale of the furniture.
- Secure corners so the border keeps its shape.
DON’T:
- Hang bulbs directly at eye level.
- Leave cables crossing the main walkway.
- Mix several bulb colors in one small seating area.
- Overcrowd the border with unnecessary strands.
A perimeter arrangement helps separate the lounge from the rest of the yard without adding walls or bulky furniture. The glowing outline gives the seating area a clear visual boundary after sunset. Keep the center relatively open so the lighting frames the furniture instead of competing with it.
Balcony Ceiling Strands

Quick Tip:
For a small balcony, use fewer strands with wider spacing instead of filling every available section. Secure the ends firmly and keep the lowest points high enough to avoid brushing against people or furniture.
A few carefully positioned strands can make a balcony feel more defined without making the space visually crowded. Run the lights parallel to the balcony’s longest direction for a clean appearance. Warm LED bulbs are especially useful in compact areas because they provide a soft glow without producing excessive heat.
Hanging Planter Lights

Cost: Low | Time: About 1 hour | Skill Level: Beginner
Best For: Small patios and balconies | Result: Soft decorative glow
Combining greenery with tiny lights creates visual interest at different heights. Wrap the strand loosely around the outside of a planter rather than pressing it tightly against leaves or stems. This arrangement works especially well when floor space is limited, because the lighting and greenery occupy vertical space while keeping the seating area open.
Dining Table Canopy

BEFORE
An outdoor dining table can feel visually exposed once daylight fades. A single wall fixture may leave the center of the table bright while the surrounding seating remains dim.
AFTER
A small overhead canopy spreads warm light across the table and nearby chairs. The defined glow makes the dining zone feel more connected and comfortable for evening meals.
Keep the canopy high enough to maintain clear headroom, then space the strands evenly across the table’s length. Choose bulbs with a warm color temperature for relaxed dining. If the table is exposed to rain, use outdoor-rated components and protect every electrical connection according to the manufacturer’s instructions.
Tree Branch Canopy
Quick Tip:
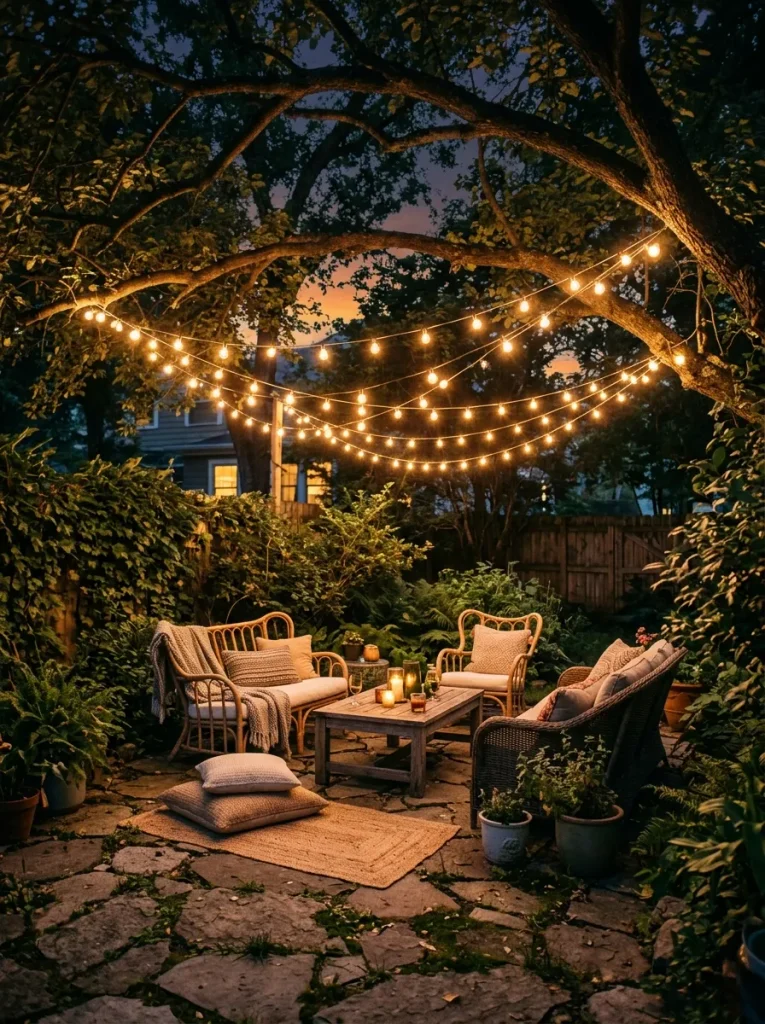
Use strong, healthy branches as anchor points and avoid placing tension on thin or flexible limbs. Leave the strands slightly loose so normal tree movement does not pull against the wiring or attachments.
A branch canopy creates overhead illumination while keeping the garden’s natural structure visible. Start with the highest attachment points, then work toward the seating area so the strands form a balanced shape. I’ve noticed that slightly irregular spacing often looks more natural beneath trees than a perfectly measured grid.
Window Frame Glow

Cost: Low | Time: 30 to 60 minutes | Skill Level: Beginner
Best For: Covered patios and exterior walls | Light Style: Soft outline
Framing an exterior window with small bulbs gives the wall a subtle focal point after sunset. Keep the strand close to the frame and follow its shape rather than allowing large loops to hang away from the surface. This technique works particularly well around patio windows that already overlook a dining or lounge area.
Hammock Glow Line

DO:
- Keep the lighting above and away from the hammock fabric.
- Use sturdy posts or separate anchor points for support.
- Choose lightweight LED strands for decorative lighting.
- Leave enough clearance around the hammock for movement.
DON’T:
- Attach cords directly to the hammock.
- Let loose wiring hang near the ground.
- Place bulbs where a person could hit them while swinging.
- Use damaged strands or exposed connections outdoors.
A hammock becomes a cozy evening retreat when a simple line of warm light defines the space above it. The key is keeping the lighting separate from the hammock itself. Position the strand high enough to stay clear during movement, then add a small table or lantern below for practical reading light.
Poolside Border Lights
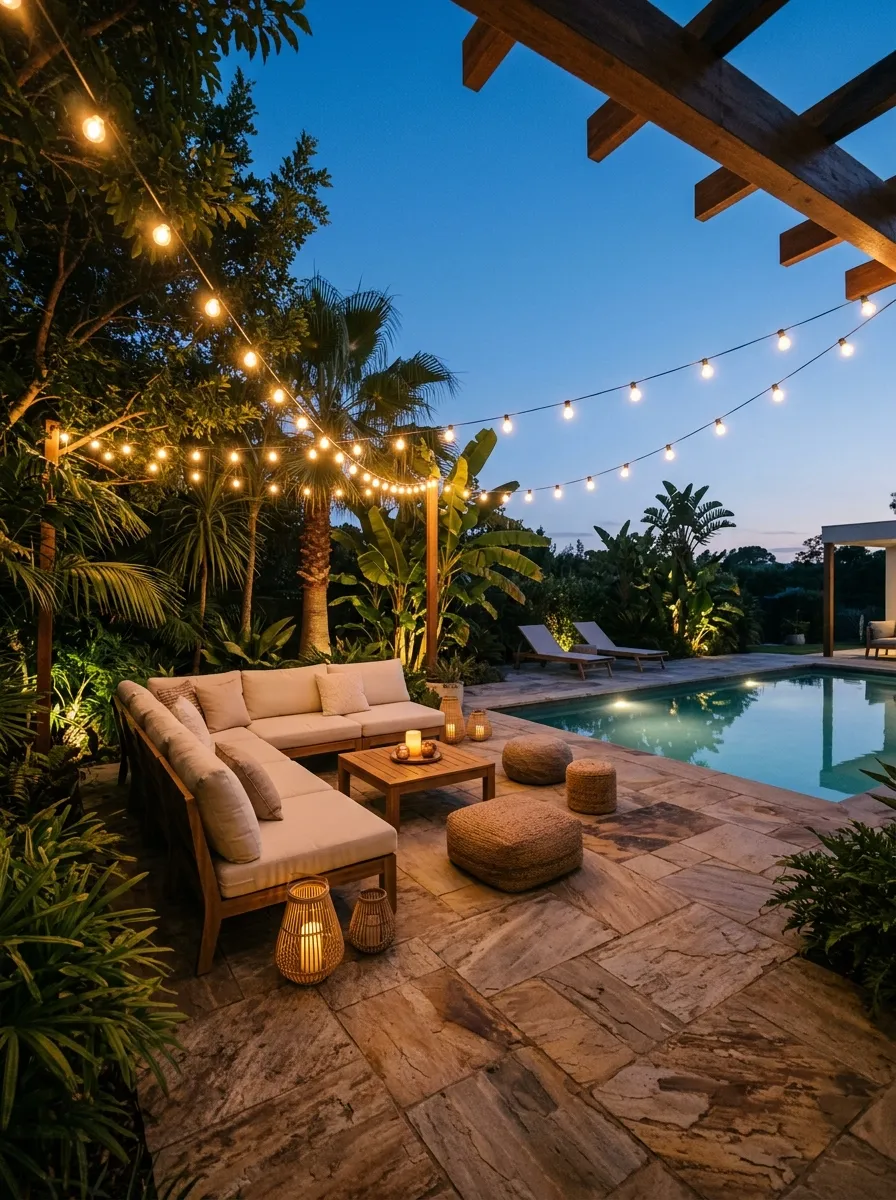
1. Map the border. Walk around the pool area and decide where the lighting can sit safely away from wet zones and walking paths.
2. Mark support points. Identify sturdy posts, walls or structures that can hold the strand securely.
3. Keep clearances generous. Position the lights where people will not bump into bulbs or cables during normal movement.
4. Install weather-rated equipment. Use components specifically intended for outdoor conditions and follow the manufacturer’s installation instructions.
5. Test the layout. Turn the lights on after sunset and check that the glow is balanced without creating harsh reflections.
A poolside border can add definition without placing lighting directly over the water. Keep the arrangement focused on the surrounding seating and pathways instead. Warm bulbs create a softer contrast against blue water, while evenly spaced strands help connect the pool area with nearby dining or lounging spaces.
Outdoor Bar Backdrop
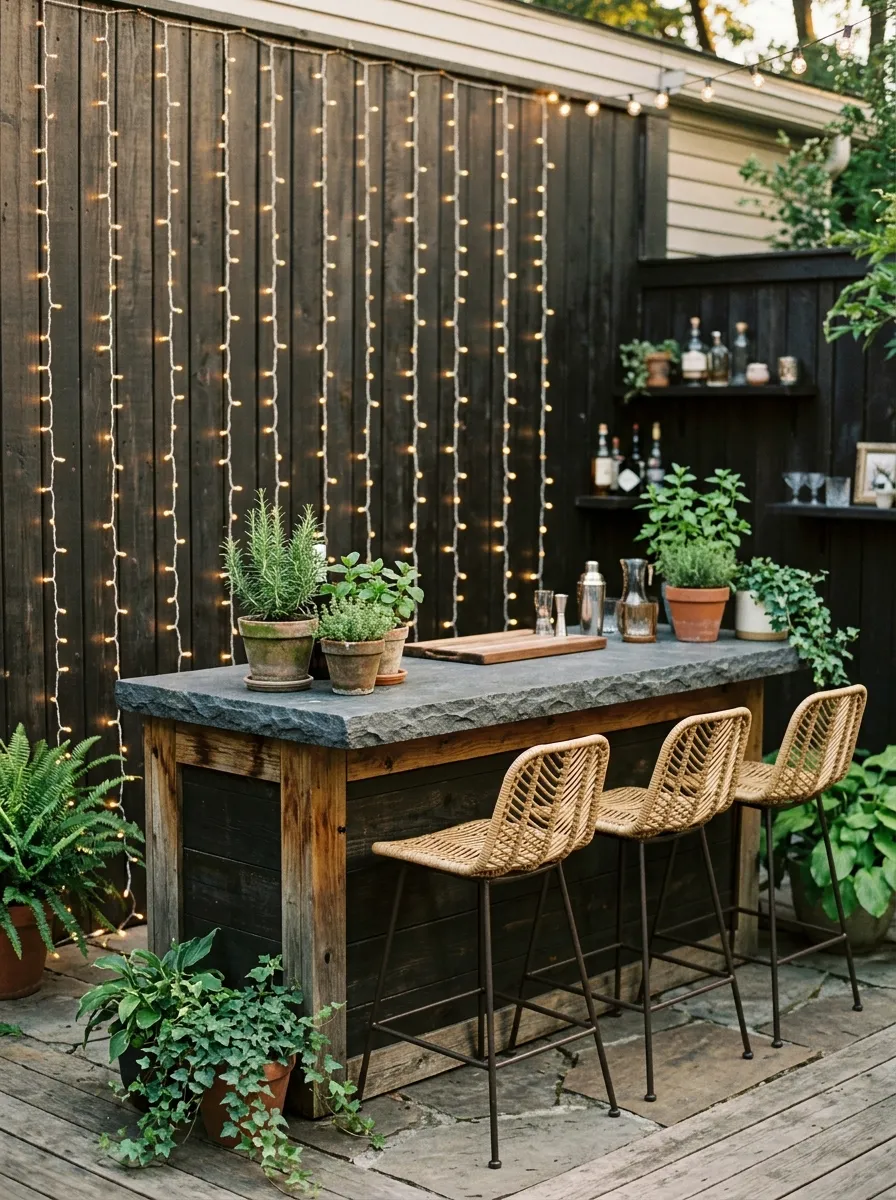
| Feature | Option A: Vertical Strands | Option B: Horizontal Rows |
| Visual effect | Taller and more dramatic | Wider and more structured |
| Best for | Narrow bar walls | Wide outdoor counters |
| Installation | Fewer horizontal supports | More evenly spaced anchors |
| Light direction | Creates vertical emphasis | Spreads light across the backdrop |
A lighted bar backdrop gives a compact entertaining area its own visual focus. Vertical strands can make a narrow wall feel taller, while horizontal rows work well across wider surfaces. Keep the lighting behind or beside the working counter so bulbs do not interfere with food preparation or create glare.
Patio Door Outline

Quick Tip:
Follow the existing door frame closely and keep the strand clear of hinges, handles and sliding tracks. Use removable outdoor clips where possible so the installation can be adjusted without damaging the surrounding surface.
Outlining a patio door adds a subtle illuminated frame that connects the indoor and outdoor areas visually. Small bulbs are usually better suited to this setup because they keep the doorway easy to see through. Keep the bottom section especially tidy so the cord never interferes with opening, closing or walking through the door.
Fire Pit Perimeter
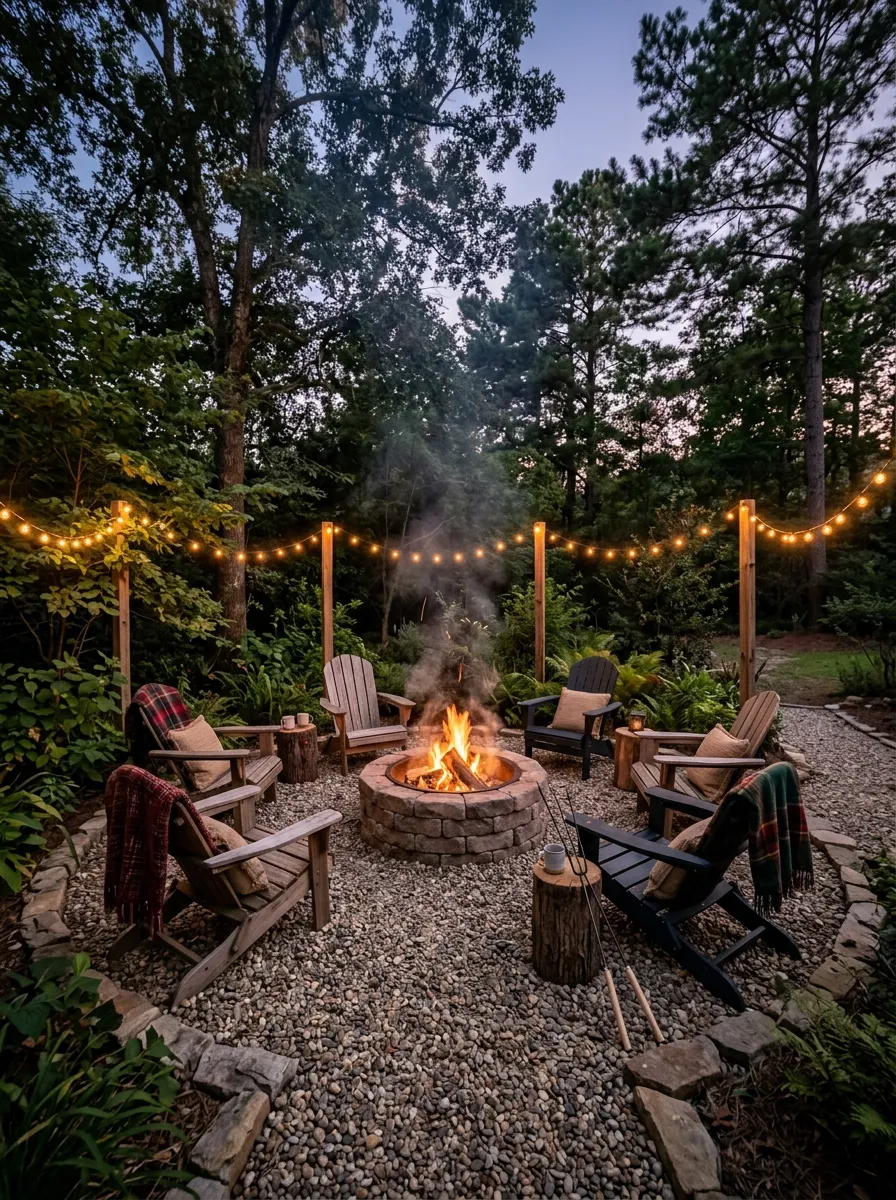
Cost: Low to moderate | Time: 1 to 2 hours | Skill Level: Beginner
Best For: Fire pit seating areas | Result: Defined evening zone
A perimeter of small bulbs can visually organize a fire pit area without competing with the central fire. Keep the strands well outside the immediate heat zone and follow all manufacturer’s clearance requirements. Warm bulbs complement the fire’s natural glow, while consistent spacing keeps the surrounding seating area visually organized.
Porch Railing Drapes

BEFORE
A porch railing can look plain after sunset, especially when the main light comes only from a ceiling fixture. The seating area may also feel visually disconnected from the yard.
AFTER
Soft strands draped along the railing create a warm illuminated edge. The gentle vertical lines add texture while keeping the porch floor open for furniture and movement.
Keep each loop similar in length for a balanced appearance, but avoid pulling the cable tightly around the railing. Secure the upper sections with outdoor-rated clips and keep the lower loops clear of steps. This setup works particularly well on porches where overhead mounting points are limited.
Garden Arch Drapes

DO:
- Attach the top strand securely along the arch.
- Keep the hanging sections evenly spaced.
- Choose lightweight LED bulbs for the curved structure.
- Leave the walkway completely clear beneath the arch.
DON’T:
- Let strands drag across the pathway.
- Wrap wiring tightly around growing plants.
- Use damaged outdoor connections.
- Overload a small arch with too many bulbs.
A garden arch already creates a strong vertical feature, so a simple lighting treatment is enough. Hanging strands emphasize its shape while softly illuminating the path underneath. Keep the design restrained and let the plants remain visible between the glowing lines. It is especially effective around entrances, side paths or small garden seating areas.
Pergola Curtain Sides

Cost: Moderate | Time: 1 to 2 hours | Skill Level: Beginner to intermediate
Best For: Pergolas and covered patios | Light Style: Vertical warm glow
Side-mounted strands can give a pergola more definition without filling the entire roof with bulbs. Hang the lights in evenly spaced vertical lines and keep them close to the outer posts. Combining the strands with lightweight outdoor curtains adds privacy and softness while still allowing plenty of airflow through the seating area.
String Light Chandelier
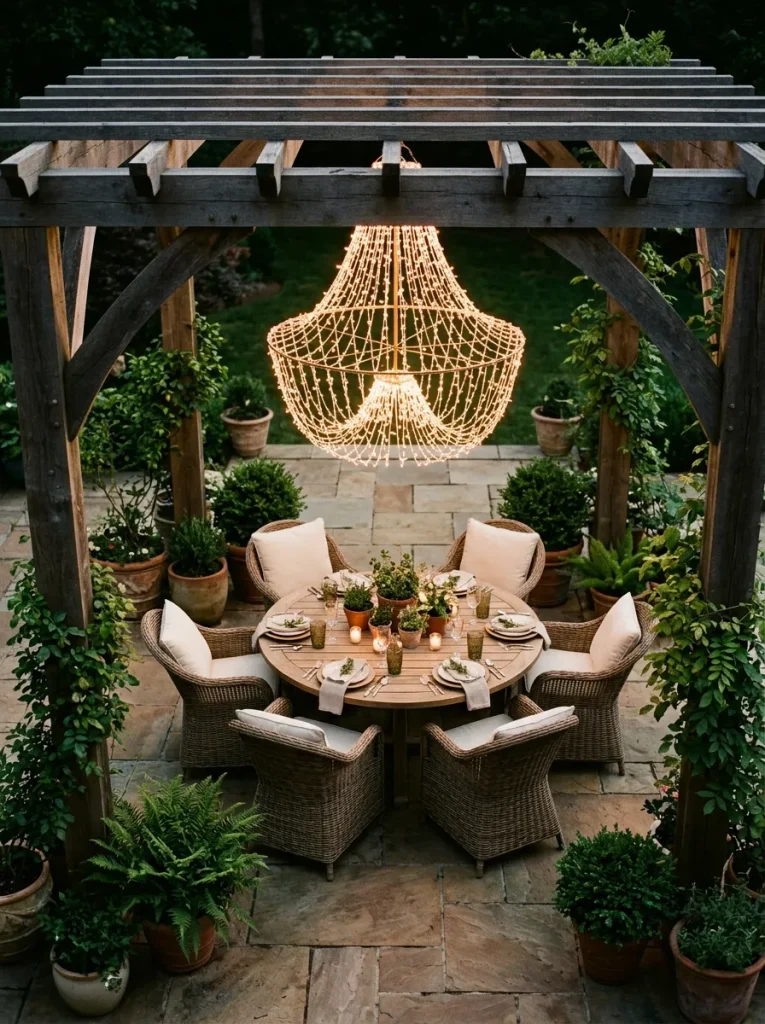
Quick Tip:
Keep the central fixture lightweight and attach every supporting point to a secure overhead structure. Use outdoor-rated components and follow the manufacturer’s weight and installation requirements rather than relying on decorative appearance alone.
A clustered arrangement of string lights can create a chandelier-like focal point above an outdoor table. Start with a central support and let several short strands radiate outward in balanced sections. The result gives the dining area a distinct visual center while keeping the surrounding patio lighting simple and understated.
CONCLUSION
Good outdoor lighting does not need to be expensive or complicated. A few thoughtfully placed strands can define a seating area, brighten a walkway, highlight greenery or make evening dinners feel more inviting. These Outdoor String Light Ideas give you plenty of practical inspiration to start with.
Choose one setup that fits your space and try it first. You can always add more lighting later as you see how the area feels after dark. I’ve seen how small lighting changes can completely shift the mood of an outdoor space. Save this post on Pinterest, try your favorite idea and share it with someone who could use a little more evening glow.